
What to do with Pumpkins after Halloween (and a Pumpkin Recipe!)
By Steven Biggs
Cook Your Halloween Pumpkins
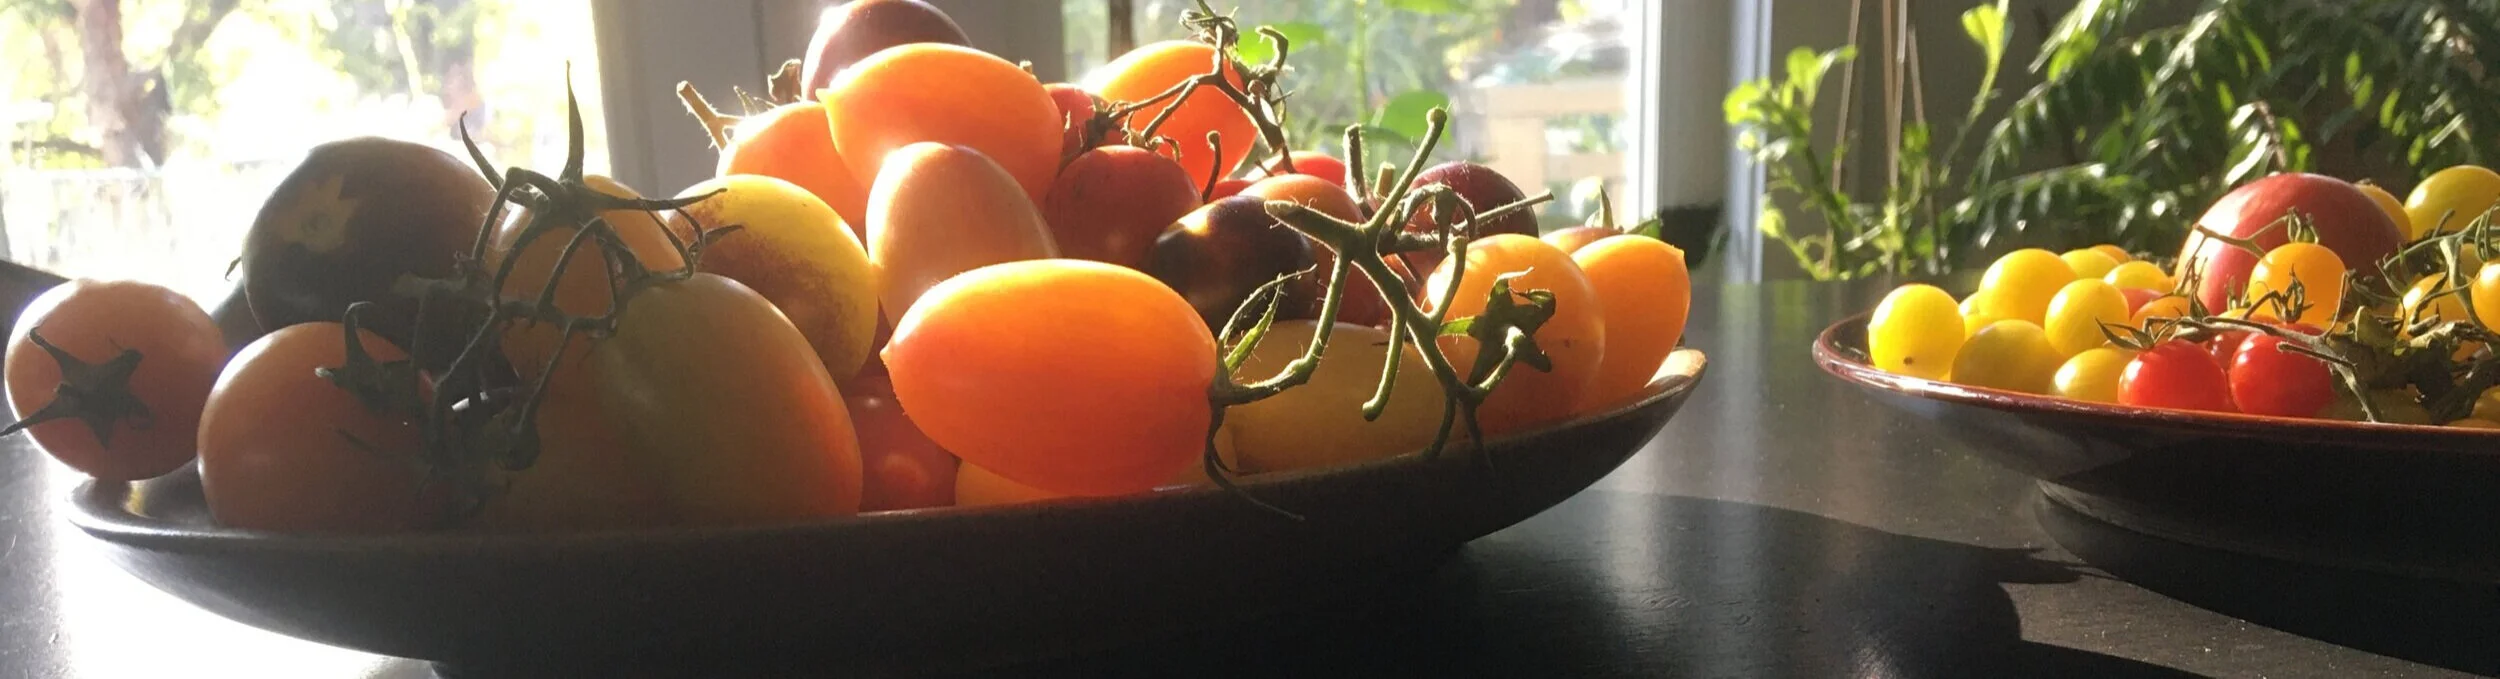
The smell of freshly carved pumpkin is a memory trigger for me. Along with the smell, the gooey, stringy feeling when I reach inside a pumpkin to pull out the seeds makes me feel like a kid again.
I still enjoy thinking up fun faces to carve. One year I carved a blue hubbard squash into an elephant. The pointy stem end was the trunk! (Carving it was challenging. Hubbard squash store well because of the hard, thick rind.)
After Halloween, I cook our jack-o-lanterns. First, I cut them up into manageable chunks. Then I roast the chunks, uncovered, on a cookie sheet.
Once the flesh is cooked and soft, I scrape it from the skin and puree it with an immersion blender. I use some of the pureed pumpkin right away; and freeze some for later. My kids love pumpkin muffins, so I often make a batch of muffins as I’m processing our jack-o-lanterns. (Recipe below.)
Besides muffins, I use home-cooked pumpkin puree for any recipe that calls for tinned pumpkin: pies, pudding, soup, loaves. Pumpkins sold for jack-o-lanterns are not usually as sweet as pie pumpkins, and they’re often a bit more watery. So I adjust recipes accordingly.


Recipe: Pumpkin Muffins
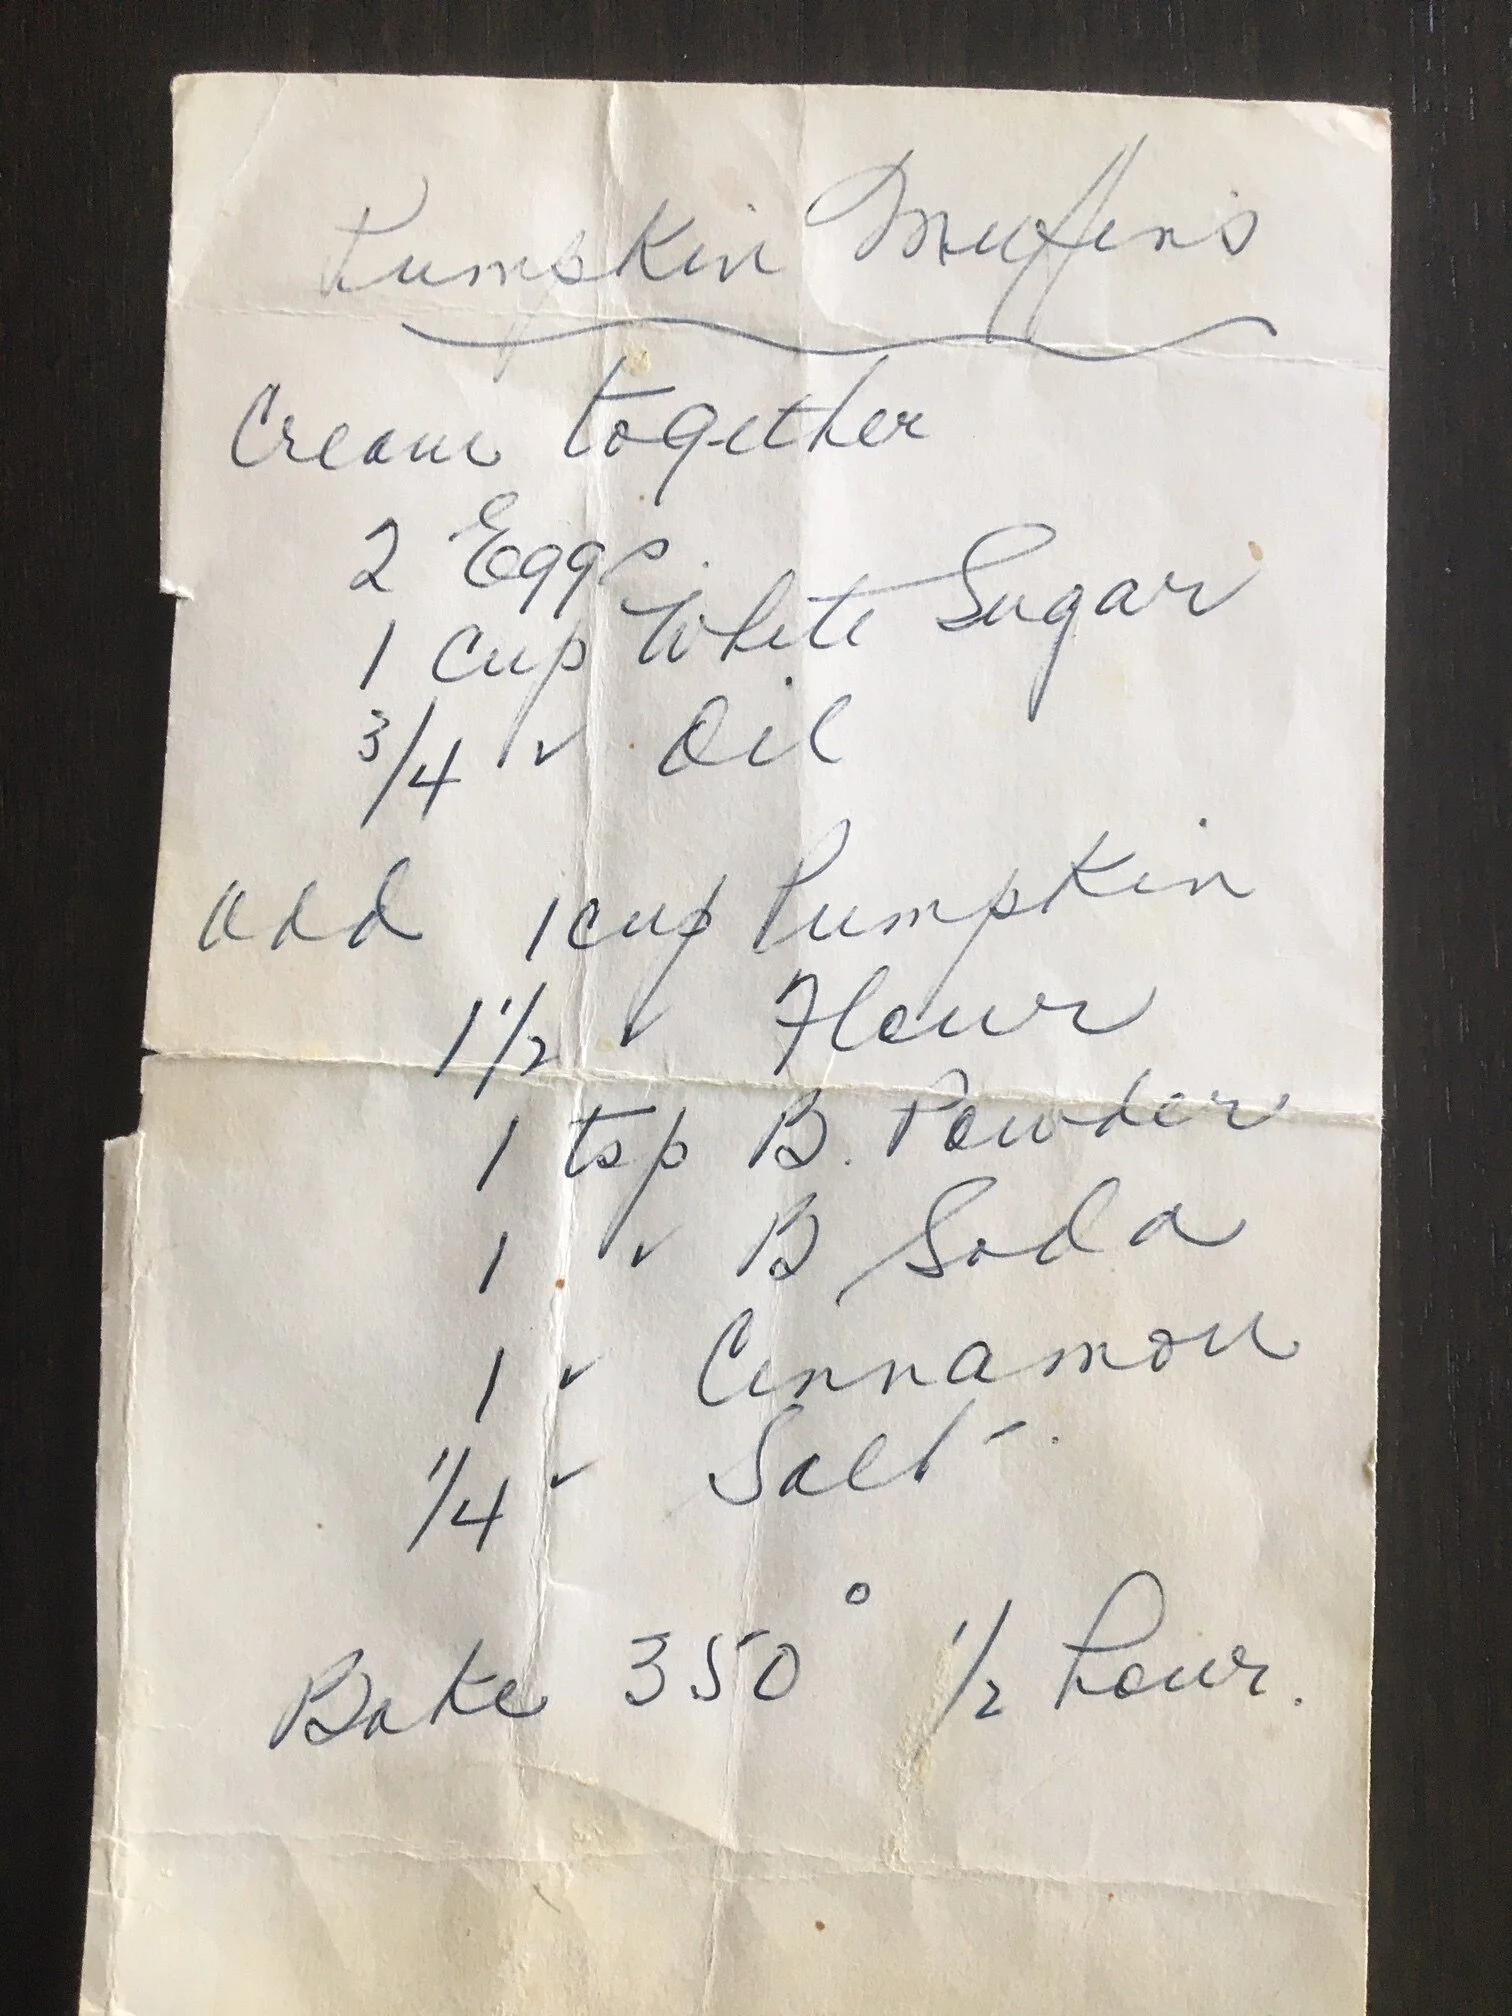
Nana Biggs’ pumpkin muffin recipe. I halve the sugar, and add raisins and nuts.
One of Nana Biggs’ favourite recipes was pumpkin muffins. As a kid, I’d cut up my jack-o-lantern the day after Halloween, and then pack it up to take to Nana. She kept me well fed with muffins!
(My Uncle Bill didn’t like me giving Nana so much pumpkin, because he didn’t like the muffins. I never let him forget that. One year, after I’d moved away from home, I baked him a cake-sized muffin and sent it to him by courier!)
Pumpkin Muffin Recipe
Ingredients
2 eggs
1 cup white sugar
3/4 cup vegetable oil
1 cup pumpkin
1 1/2 cups all-purpose flour
1 tsp baking powder
1 tsp baking soda
1 tsp cinnamon
1/4 tsp salt
Directions
Cream together eggs, sugar, and oil
Add pumpkin
Add flour, baking powder, baking soda, cinnamon, and salt
Bake at 350°F for approximately 30 minutes, until done
Note: I halve the sugar and use less oil if the pumpkin is more watery than tinned pumpkin
Roasted Pumpkin Seeds
I roast the pumpkin seeds too.
After I rinse them (to remove slime and stringy bits), I toss them with a bit of vegetable oil, salt, and garlic powder. Then I roast them on a cookie sheet until they start to make a popping sound.
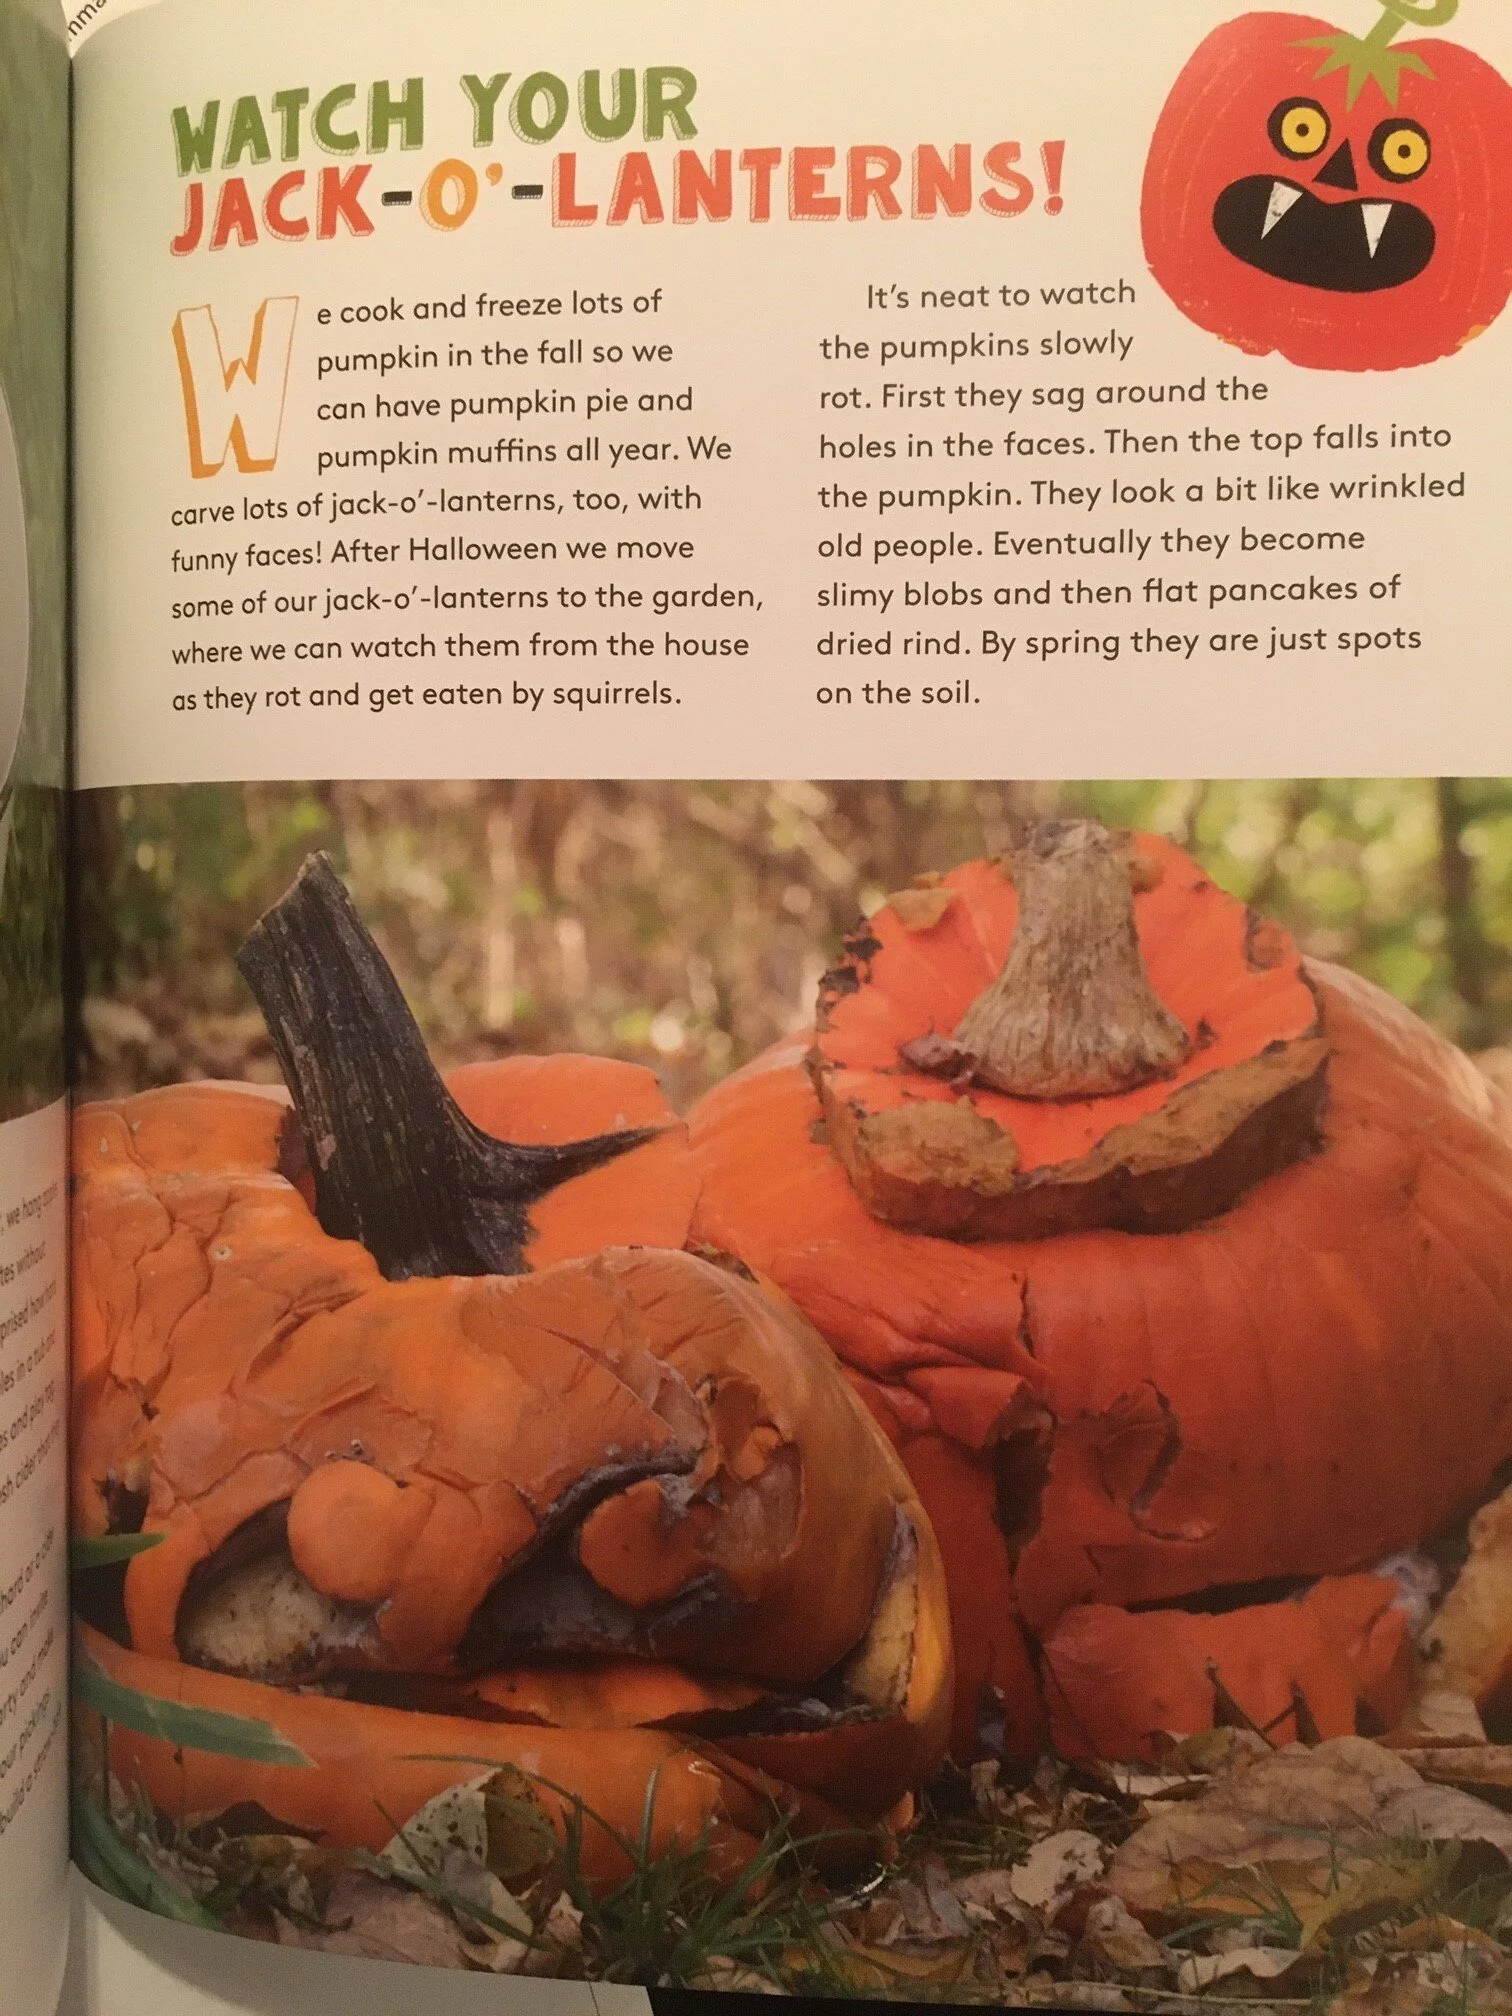
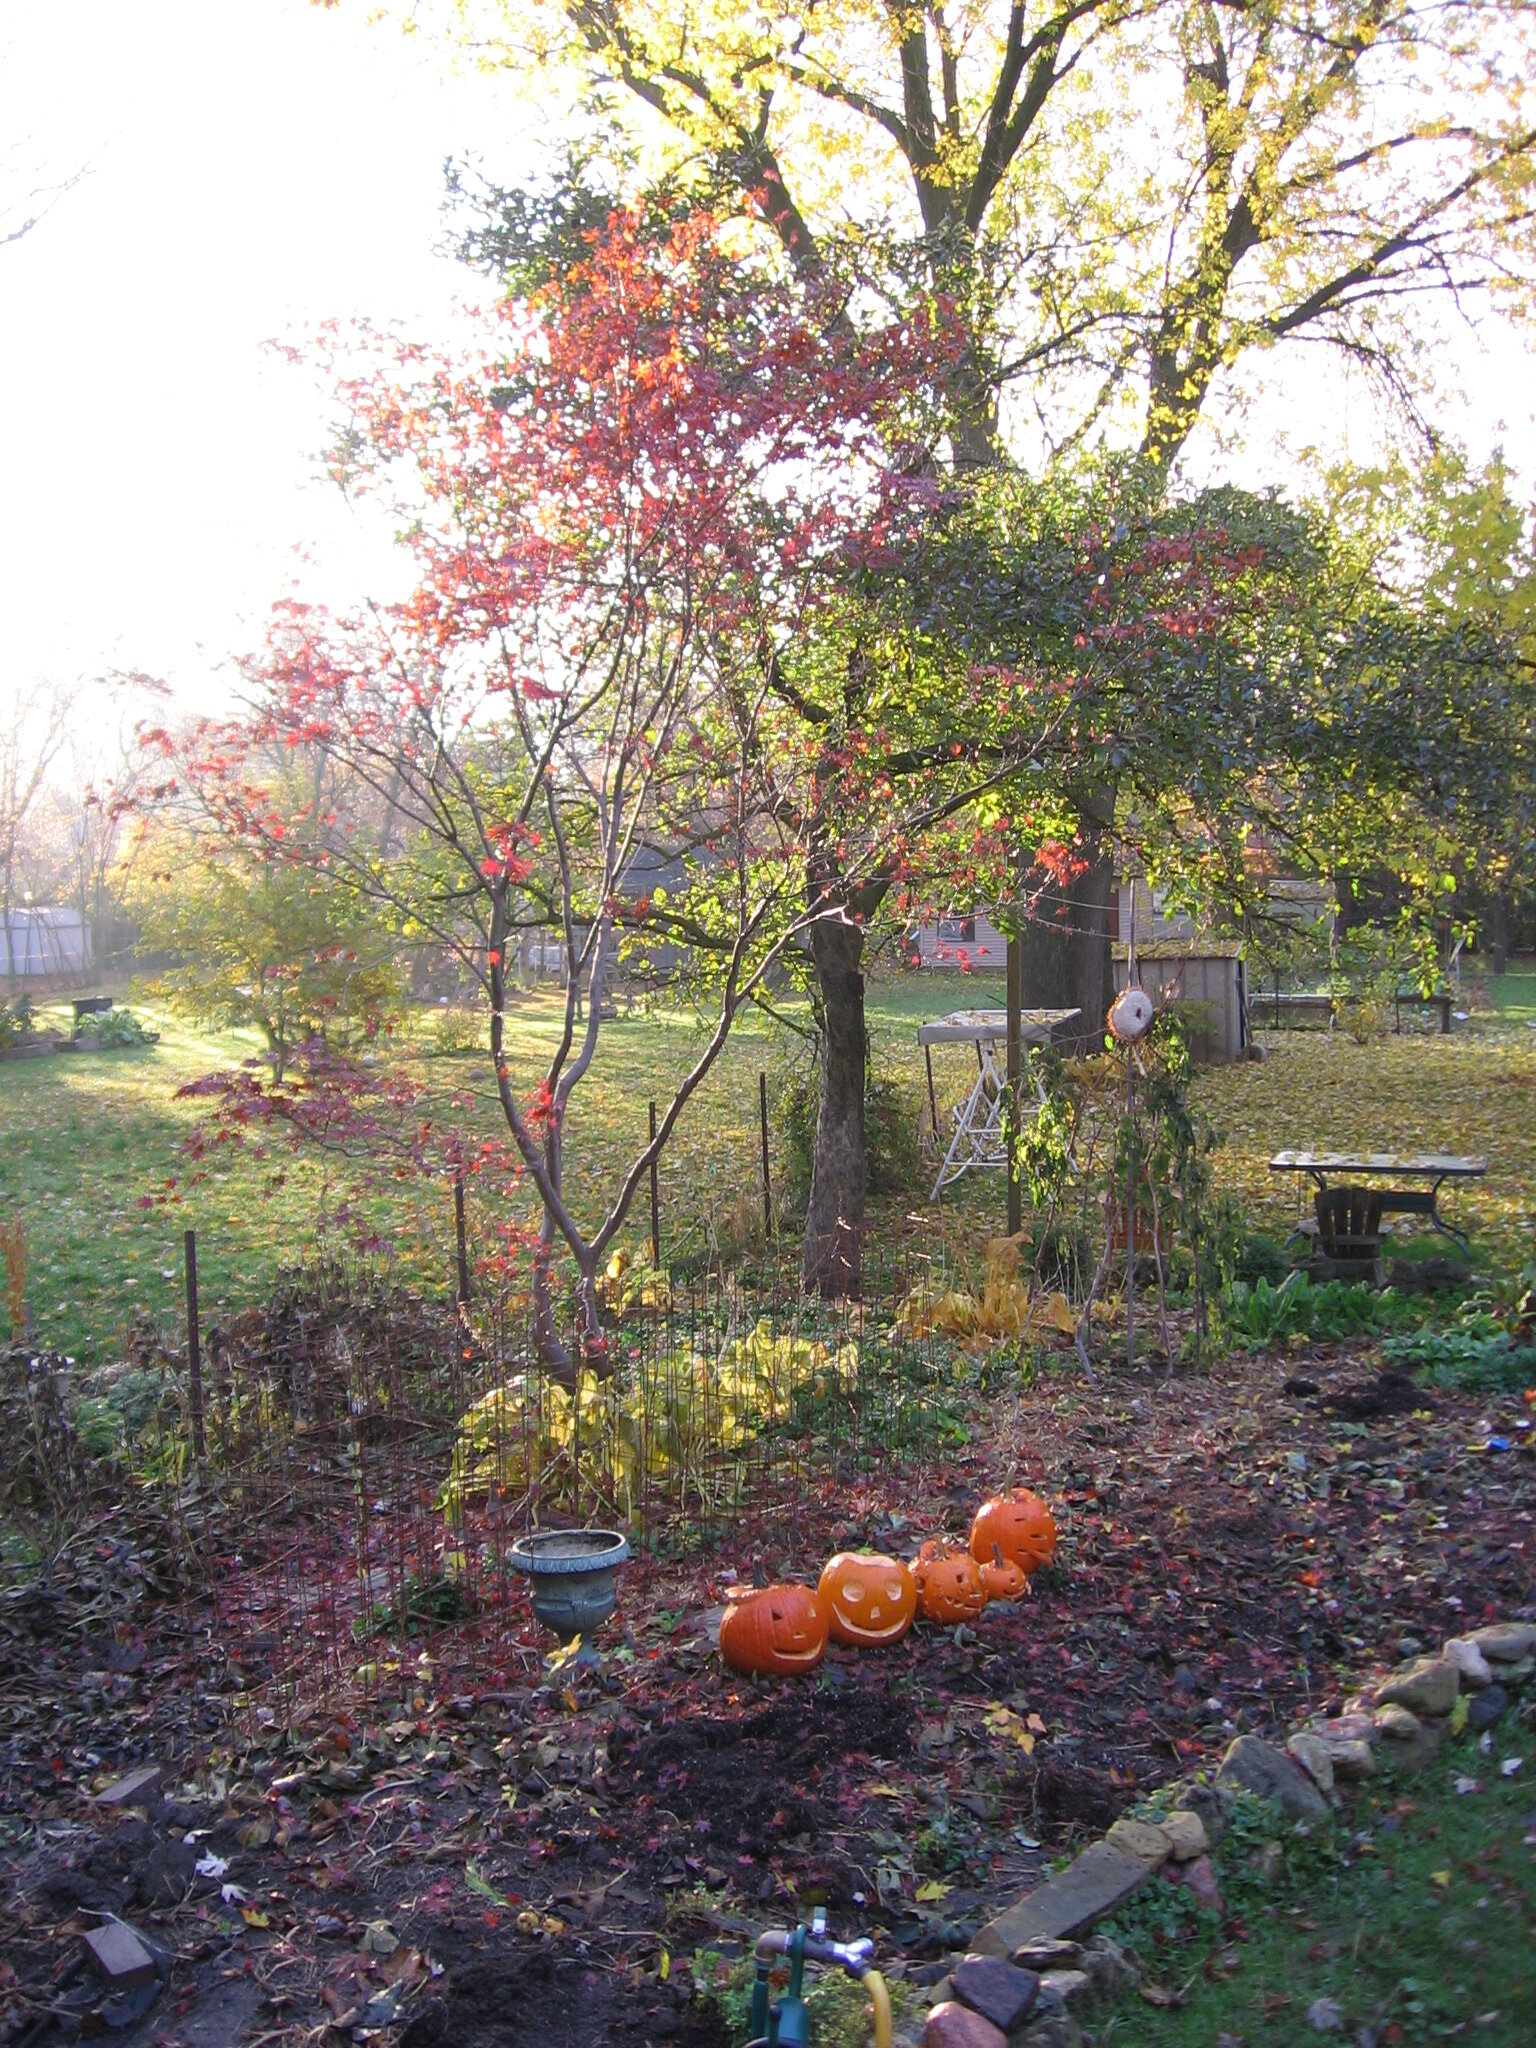
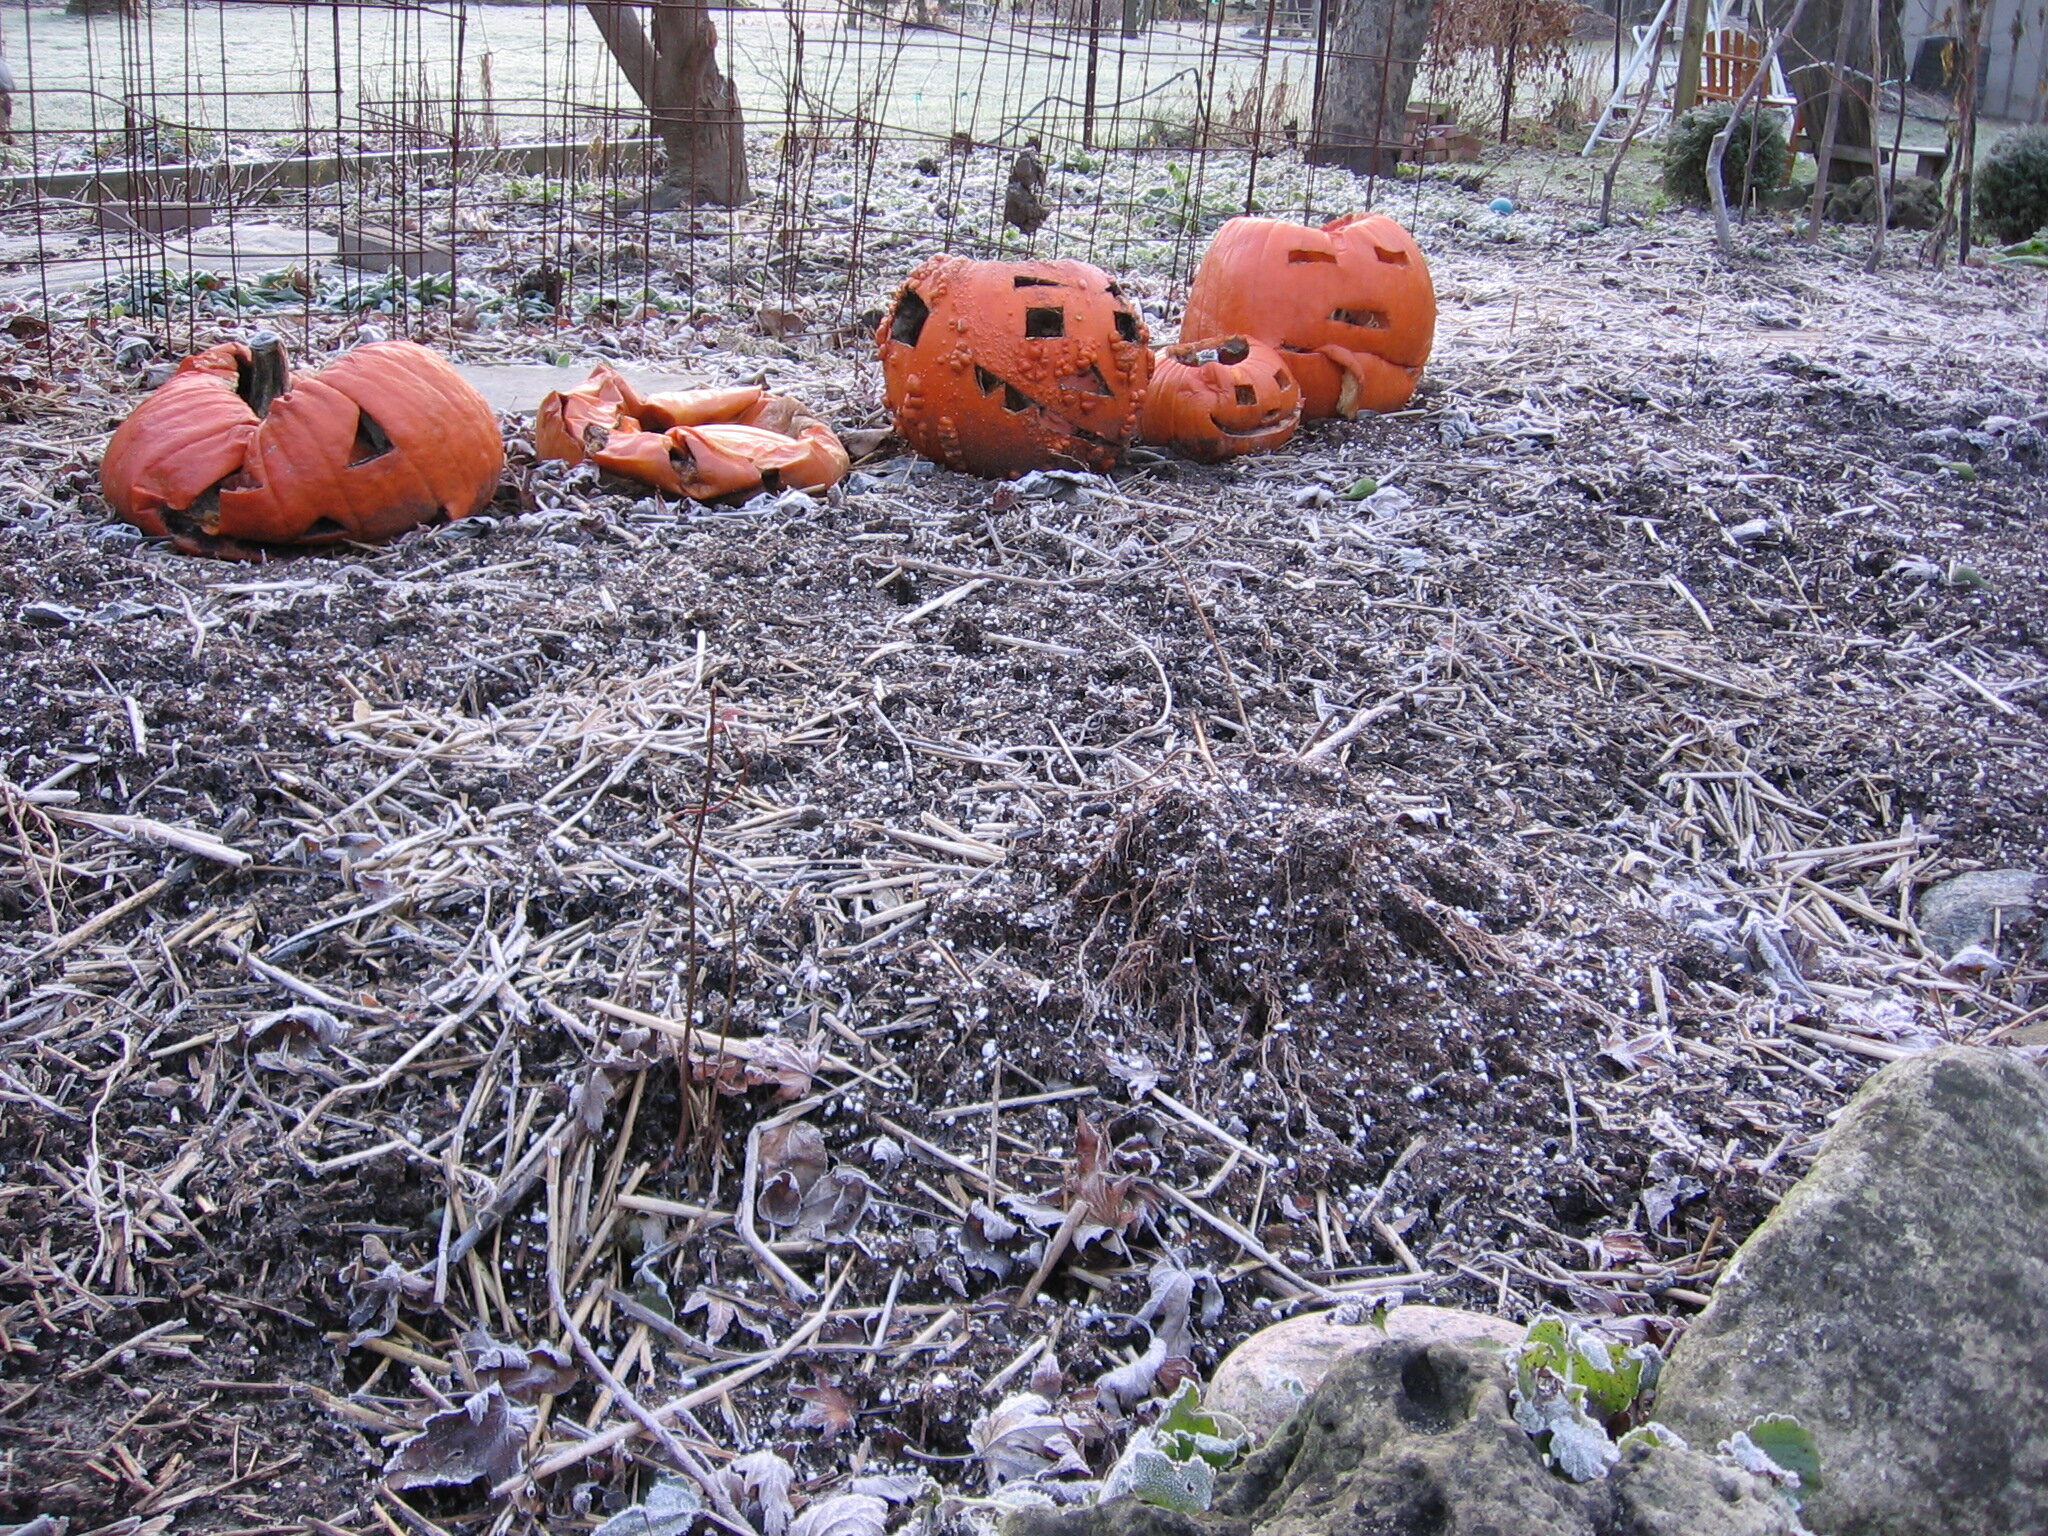
In my daughter Emma’s book, Gardening with Emma, she tells kids how pumpkins in the garden start to sag, and then become spots on the soil by spring.
(If you’ve ever wondered about hulless pumpkin seeds, the ones you see at the store are not individually shelled. They are from a pumpkin variety that produces hulless seeds.)
Can you Compost Pumpkins?
Any pumpkins that I don’t cook end up feeding the soil. I sit them on the garden, outside our back window. Then, we watch them slowly collapse into the soil. My daughter Emma shares this idea in her book Gardening with Emma.
You can also put your jack-o-lanterns in the compost pile.
Find This Helpful?
Enjoy not being bombarded by annoying ads?
Appreciate the absence of junky affiliate links for products you don’t need?
It’s because we’re reader supported.
If we’ve helped in your food-gardening journey, we’re glad of support. You can high-five us below. Any amount welcome!
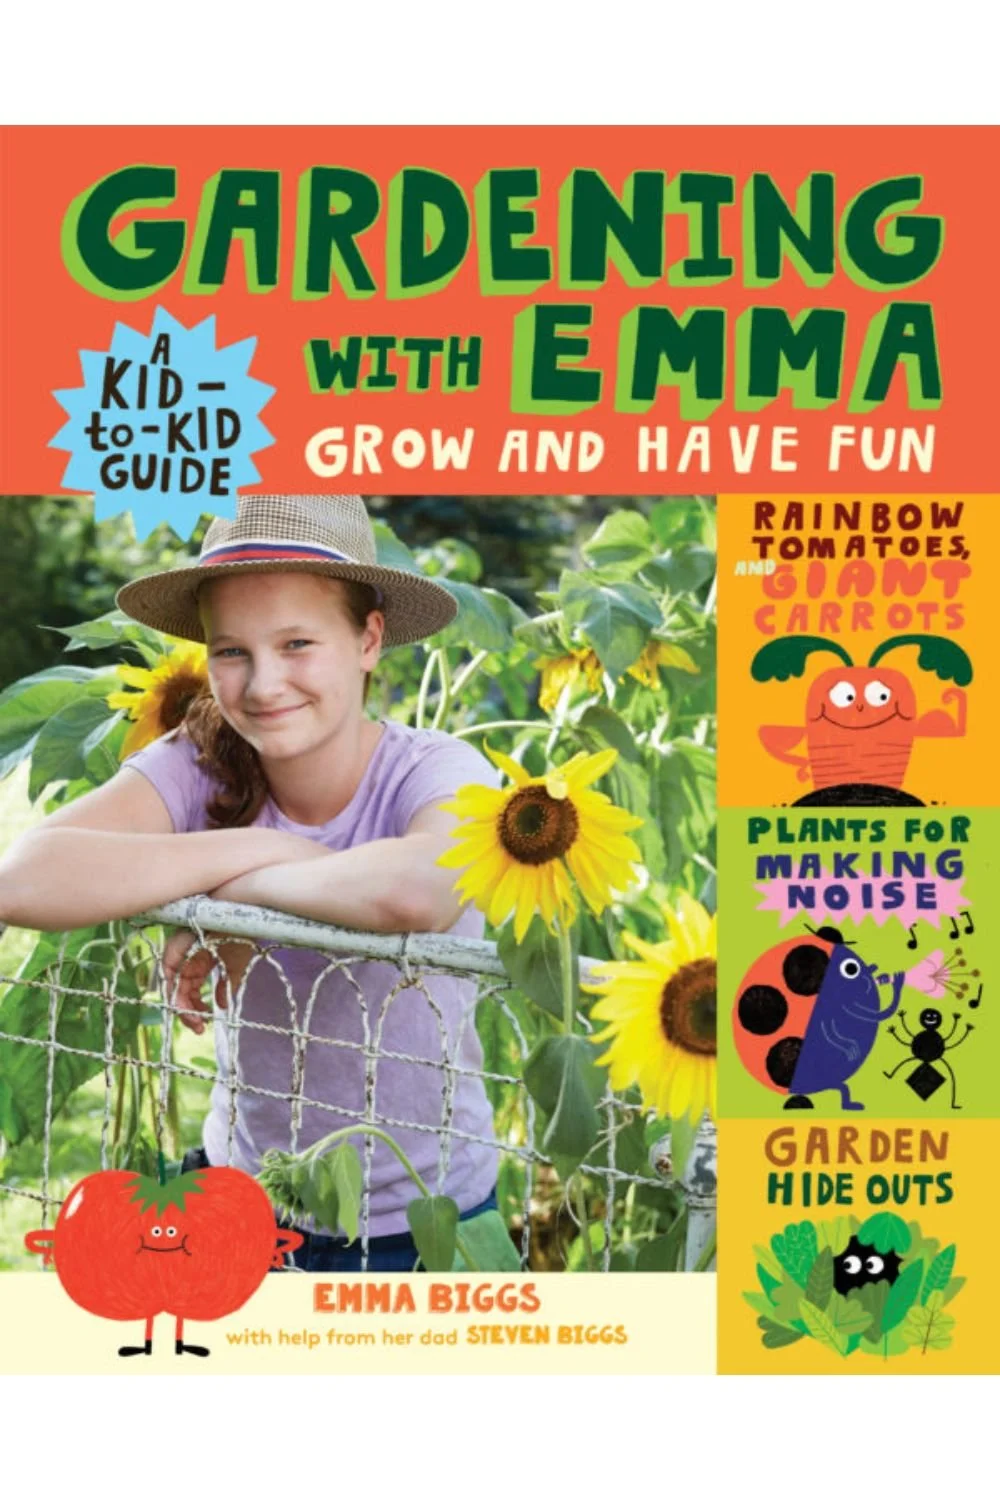
Written for kids by a kid, this guide helps kids see the fun side of gardening, whether it’s growing giant vegetables, making a bug vacuum, or making a sound-themed garden.
Emma shares lots of inspiring ideas for young gardeners about how to grow healthy food, raise cool plants, and have fun outdoors.
Copies from the Food Garden Life shop are signed by Emma!
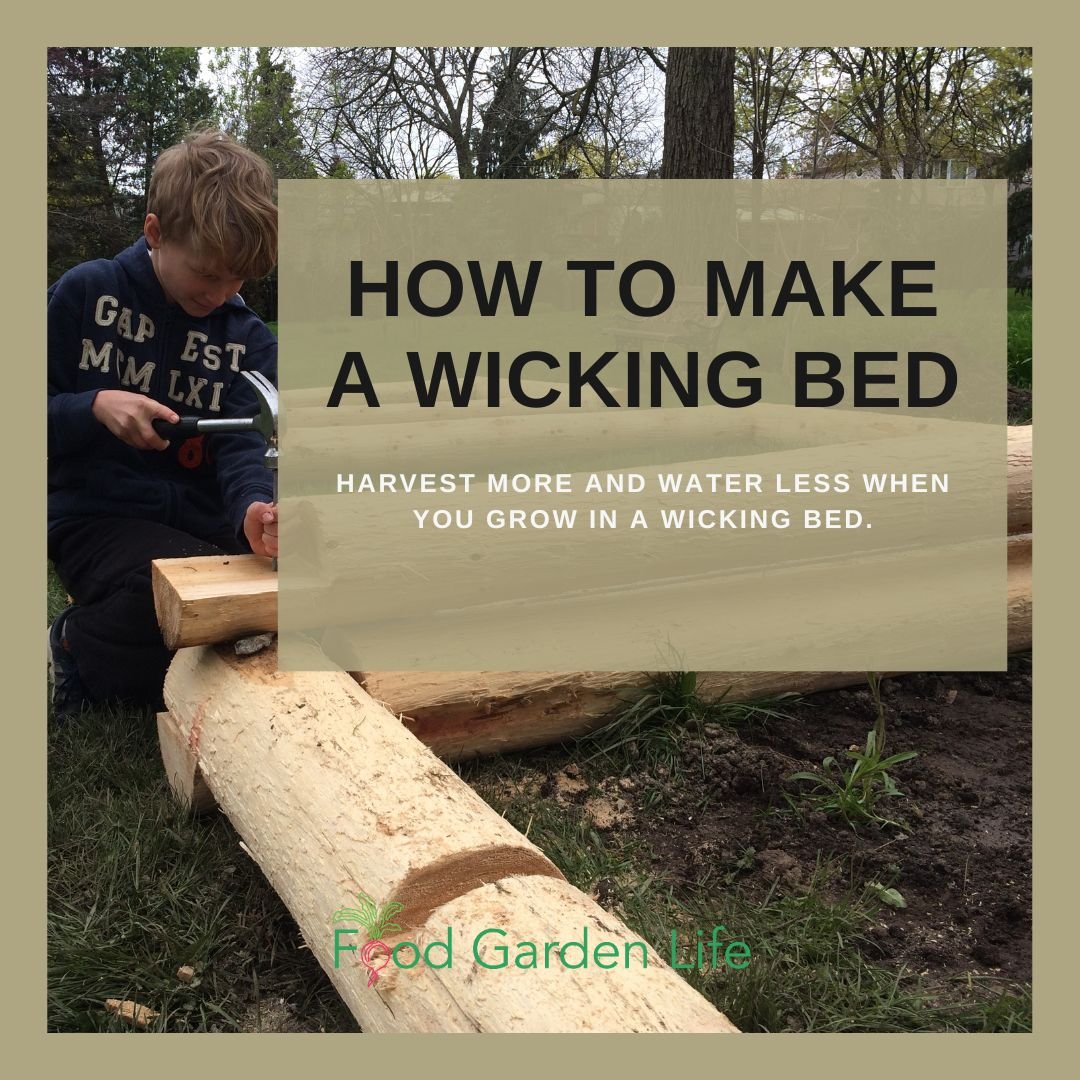
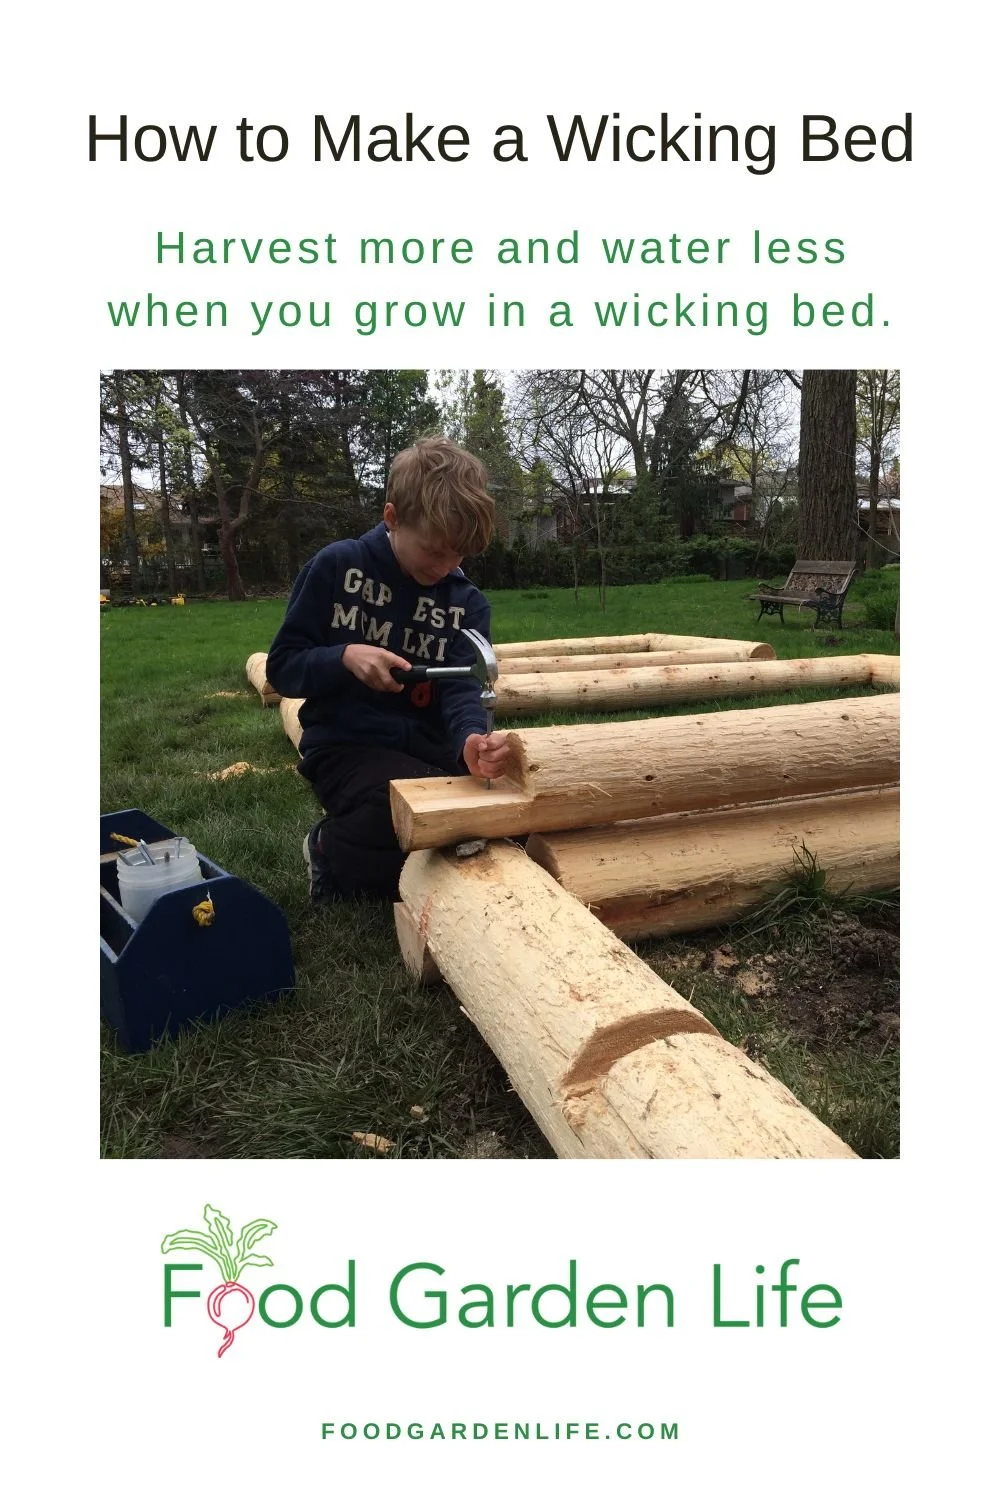
How to Make a Wicking Bed: A Raised Garden Bed that Keeps the Soil Moist
Harvest more and water less when you grow in a wicking bed. Find out how to make a wicking bed.
By Steven Biggs
Harvest More and Water Less with a Wicking Bed Garden
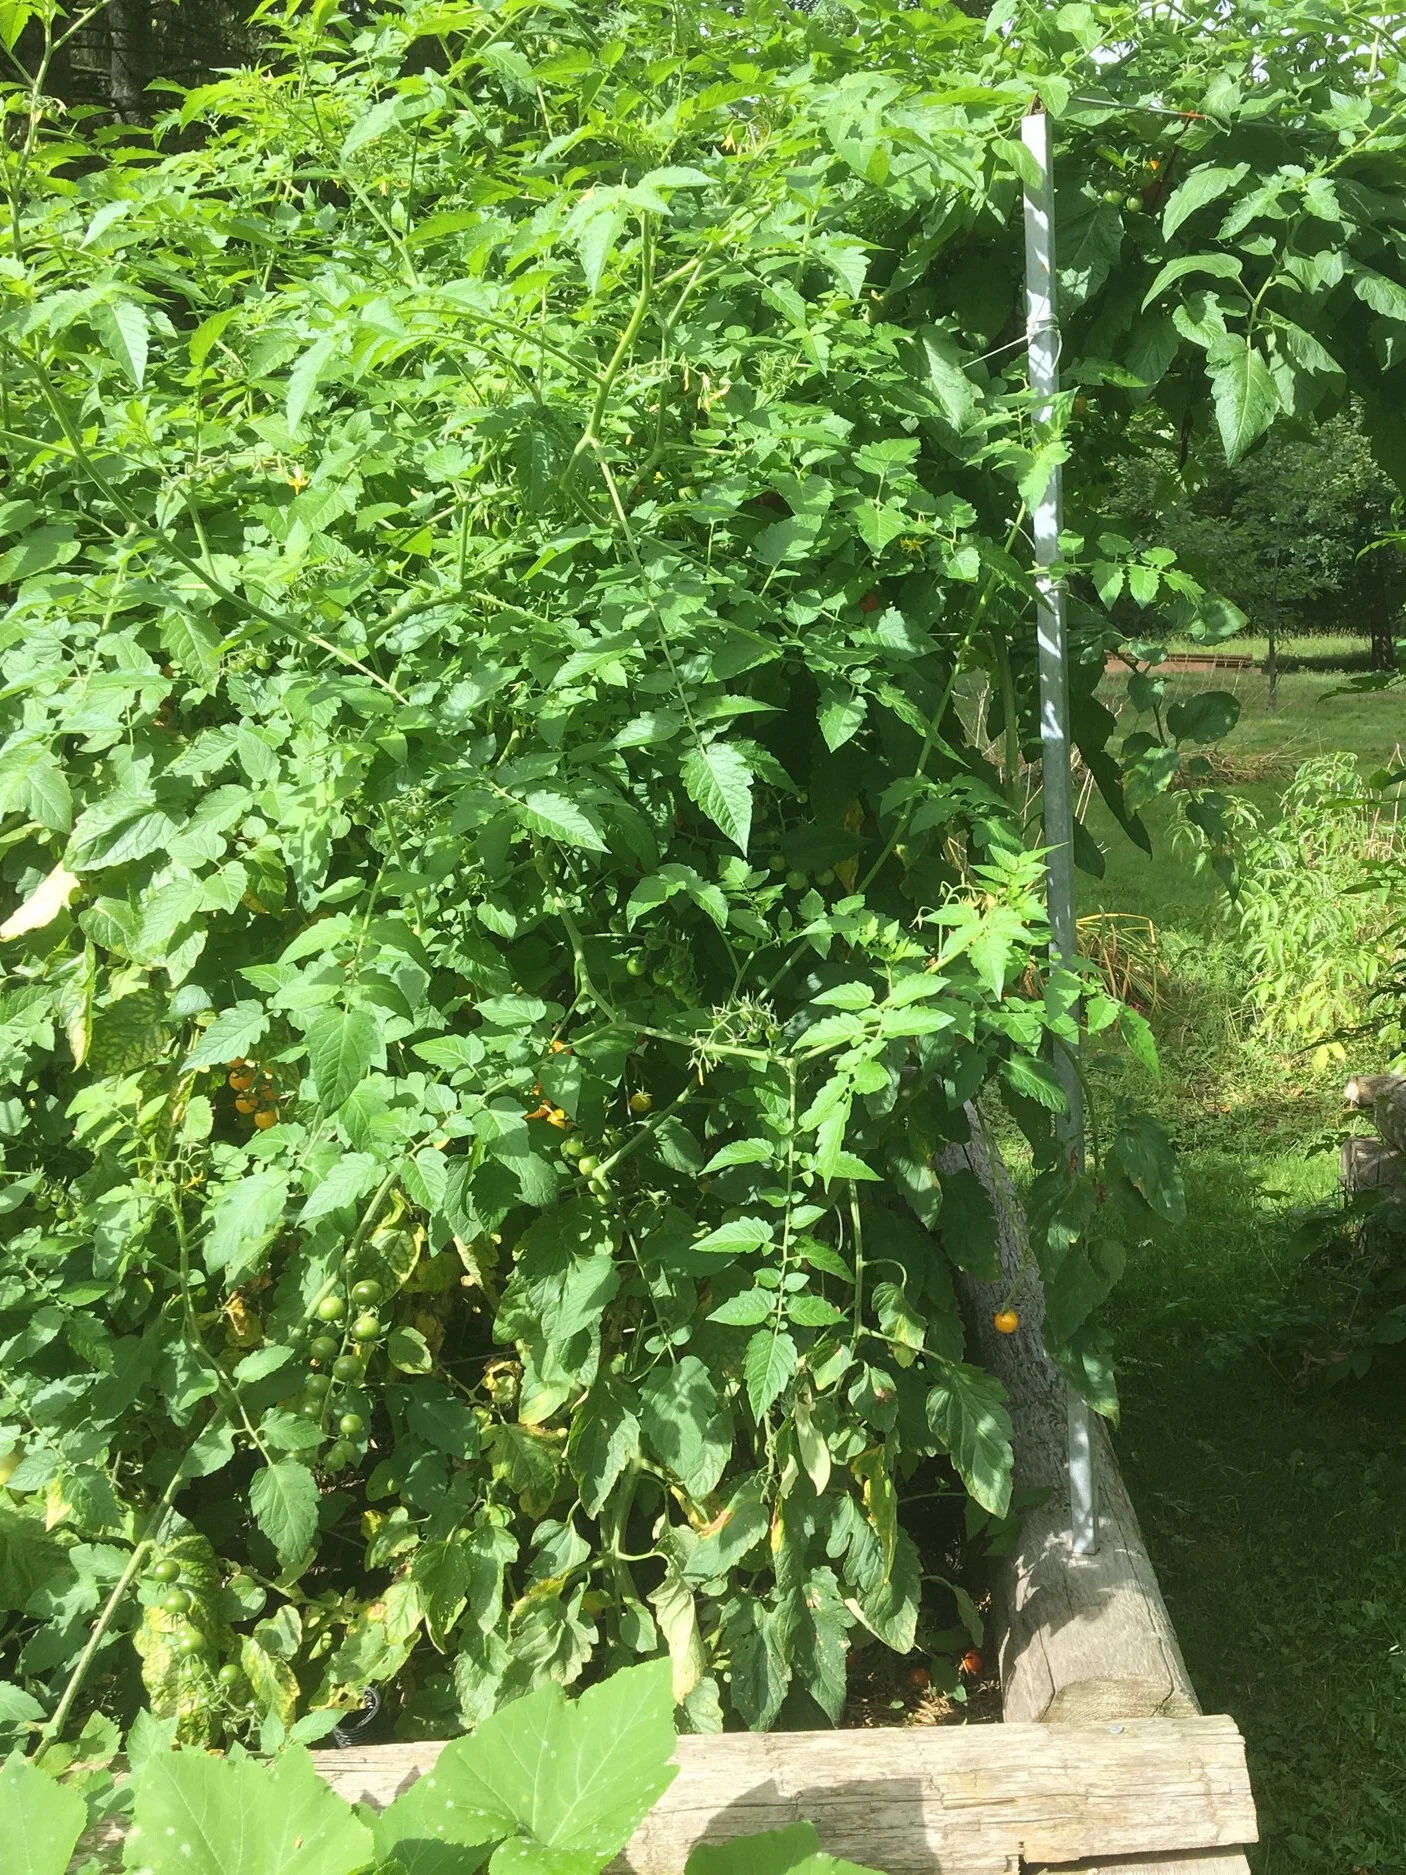
The potting mix in the wicking bed will wick moisture up to where plant roots can get it.
Wicking beds are a great way to maximize the use of space in a small garden. That's because this sort of raised bed keeps the soil continuously moist.
And that continuously moist soil is great for your crops.
With ample soil moisture, you can plant more densely. And with ample moisture, your crops produce more for you.
There's one other benefit of a wicking bed: You spend less time watering. Instead of frequently watering by hand or setting up a sprinkler, now you can fill up your wicking bed with water...occasionally.
Want to water less often? Want crops that thrive because they get consistent soil moisture? Keep reading to find out how to make this type of self-watering garden bed.
What's a Wicking Bed?
A Raised Garden Bed with Plumbing!
A wicking bed is simply raised bed with a water reservoir (a water storage area) at the bottom.
Water moves upwards (it "wicks") from the reservoir into the soil layer above. This "wicking" is the same ideas as what happens in an oil lantern as oil moves up the wick.
Wicking beds work the same way as sub-irrigated planters (a.k.a. SIPS or “self-watering” pots): Water wicks upwards into the soil above through capillary action. But while a sub-irrigated planter is often small enough to be picked up and moved, a wicking bed is a large, stationary raised bed.
Continuous Moisture Means Less Plant Stress
And Higher Yield
When there isn't enough moisture in the soil for plants, it's a stress.
And that stress affects yield.
Because the soil in a wicking bed remains moist, the plants don't have water stress. Without that stress, the increase in yield can be considerable.
(Of course, no one minds the time saved by having to water less frequently!)
Even in the heat of summer, when the plants are quite big, we water our wicking beds about once a week.

We turbo-charged our production by growing our vegetable plants in wicking beds.
Another Reason to Use a Wicking Bed
Edible Gardening near Black Walnut Trees
Our neighbour's large black walnut tree is beautiful. But walnut trees give off a compound called “juglone.”
And juglone affects the growth of many plants…including tomatoes.
We tried growing tomatoes in the backyard many times…and they always died.
We solved the problem by growing tomato plants in wicking beds. That's because the tomato plant roots never get into the juglone-contaminated soil below.
Find out about juglone-tolerant plants for gardening near black walnut trees.

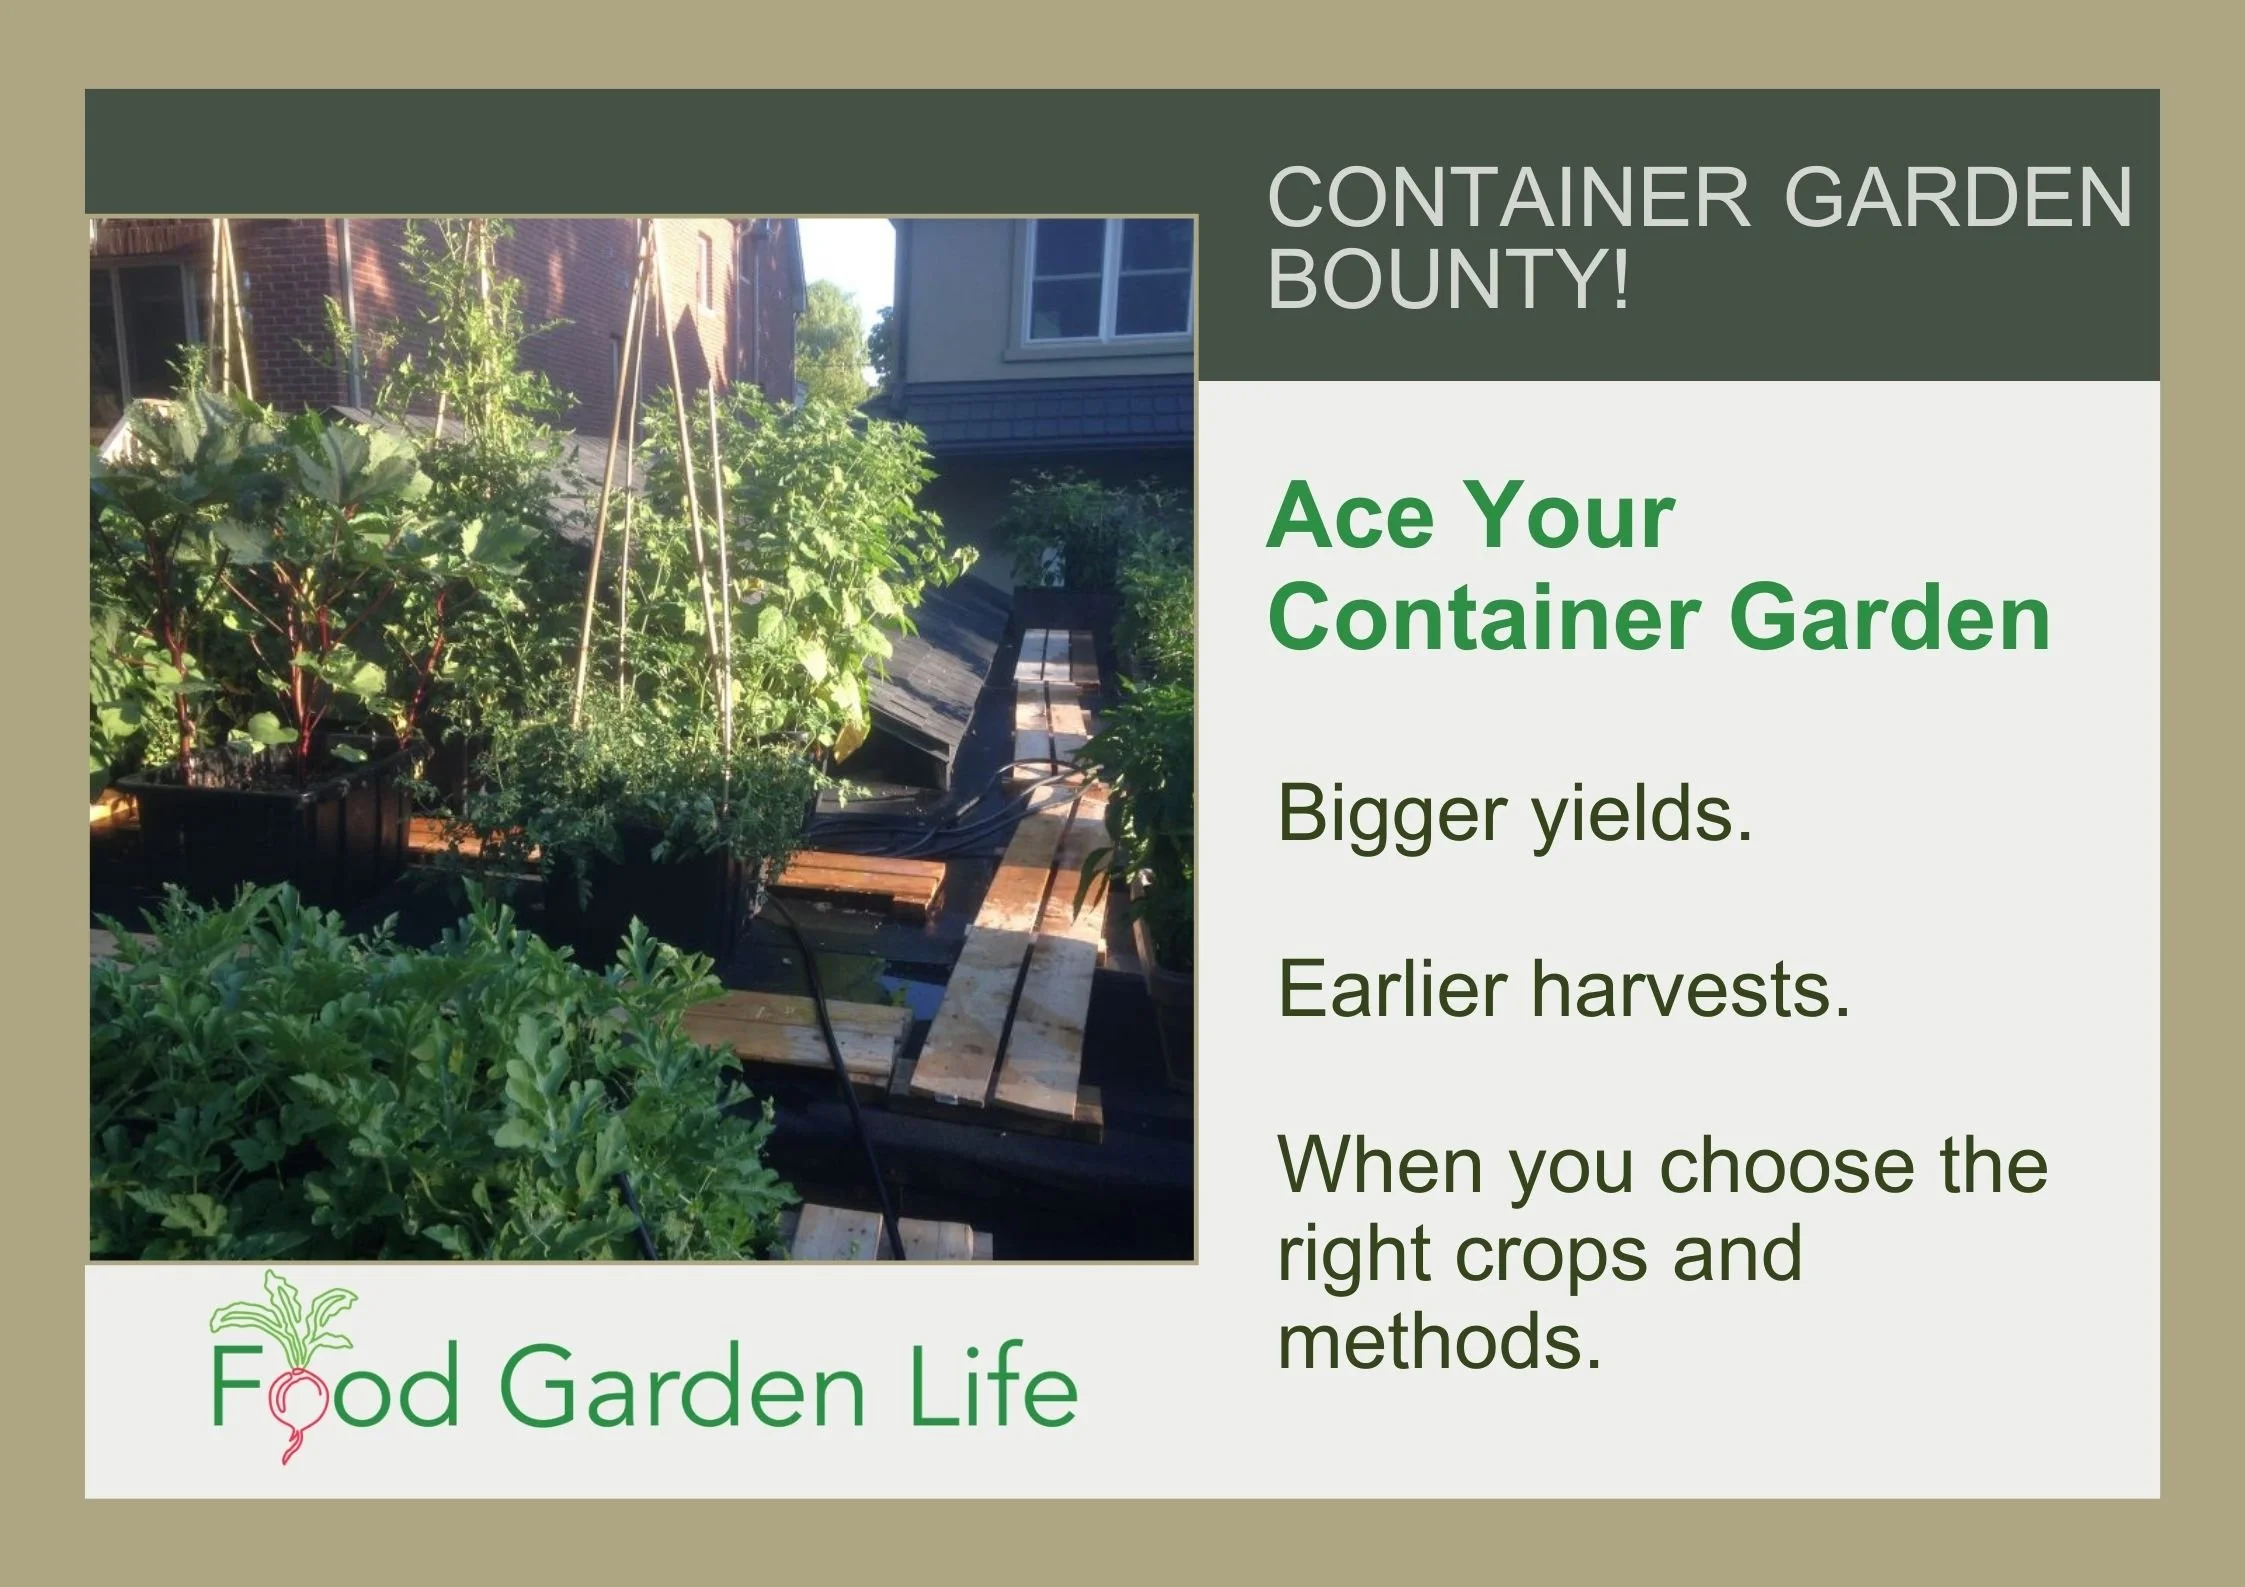
Want to Ace Your Container Garden?
Find out about top crops, how to choose the right soil, feeding your plants, and what to look for as you're choosing containers. More on Vegetable Container Gardening Class.
Make Your Own Wicking Bed
Wicking Bed Design - Be Creative!
Be creative! You might want to make a wicking bed from salvaged material—or maybe you want a bed that ties in with the aesthetic in your landscape. (I think a red-brick wicking bed would look nice in my garden! One day…)
Later in this post you'll see photos of wicking beds that I made with my kids. I used cedar fence posts. But there are all sorts of materials you can use to make them.
Not sure what to build your wicking beds with? Here are thoughts to start with:

Be creative with the materials you choose for your wicking beds. We used cedar fence posts to make our wicking beds.
Find something that ties in with the aesthetic in your garden
Choose materials that are good value
See if you have materials on hand that you can reuse as you make your beds
Here's why I chose cedar fence posts:
They are long-lasting and not much more expensive than dimensional lumber
I didn't use treated lumber because it's not suitable for edible gardening
I didn't use dimensional lumber because raised beds made with dimensional lumber often sag outwards over time
I used pond liner to create the reservoir because I already had liner from a former pond
Wicking Bed Workings
The Raised Bed
There are many materials you can use to create the frame for your wicking bed.
I've seen wicking beds made from:
Large plastic bins
Intermediate bulk containers (IBCs)
Cinder blocks
New lumber
Recycled wood
The Reservoir
The bottom of your wicking bed must hold water. It's the water reservoir.
If you're making the wicking bed from a container that is closed at the bottom (for example, an intermediate bulk container), you won't need to line the bottom of the bed to create the water reservoir. (Instead, you'll drill a hole at the top of the reservoir level for excess water to drain away.)
If you make a wicking bed from wood or stone, it won't be sealed at the bottom. So you'll need to create a reservoir at the bottom to hold water. Do this by lining the bottom of the bed with some sort of liner. Choose a material that is durable enough so you won't need to take apart your wicking bed to repair a puncture. Pond liner is very durable, and widely available.
The Plumbing
A wicking bed has a "fill tube" that extends up above the soil layer. You might also see this called the "inlet pipe."
Down below, the fill tube reaches into the reservoir area. This tube is how you add water to the reservoir. Simply put your hose into the tube and leave the hose running until the reservoir is full.
Ideas for what to use to make a fill tube:
Dishwasher drain hose (that's what I used, as it's big enough that I can put the hose into it when filling the wicking bed)
PVC pipe (sometimes called a PVC inlet pipe)
Downspout
You also need to have some way for excess water to escape once the reservoir is full. So that your plants don't have wet feet after heavy rain or if you fill it for too long!
In other words, once the reservoir is full, any additional water drains from the bed.
Ideas for an overflow:
In the case of my own wicking beds, the liner only extends up to the height of the reservoir level, so and excess water drains out behind the liner and through the cedar posts...no fancy fittings or overflow tube required
For IBCs and rigid beds, drill holes at the desired overflow level
Some gardeners also install an overflow pipe or overflow tube through the hole...looks a bit more tidy
The Wick
The water moves upward from the reservoir into the soil mix through capillary action. In other words, it wicks.
But for it to wick properly, it has to be able to move up and along something. Luckily, gravel works well. So gravel is often used to fill the reservoir area.
This might sound strange to you, filling an area intended for water with gravel. But there can be lots of open space between particles in some types of gravel...and that space is perfect for holding water.
The type of gravel available to you depends where you live. Some people use pea gravel. Around here, it's easy to get what's called 3/4" "clear" gravel which has only large rocks. That's what you want. Make sure the gravel doesn't also include fine particles too, because fine particles fill up the space that we want for the water.
A layer of landscape fabric over top of the gravel prevents soil from filling up the spaces in the gravel.
The Soil
Don't cheap out on soil. It's critical.
The soil must have good wicking action. Capillary action.
And to have that, it should have lots of air spaces within it.
So don't use straight top soil. It often packs down too much. A high quality potting mix or soil amended with lots of organic matter is better suited to making a wicking bed.
IMPORTANT POINT ON SOIL: The water will only wick upwards so far. That means if the soil is too deep, water won't wick all the way to the zone where your plant roots are. Aim for a soil depth of 30-40 cm (12-16").
Other Options
There are many ways to make a wicking bed, so if you research the topic don't be surprised when you find all sorts of variations.
Plumbing! If you're a do-it-yourselfer, you might be interested in hooking up a water supply and shut-off! I've seen videos where people demonstrate this sort of set-up, using the same sort of plumbing supplies used for toilets. When the water level gets low, this sort of system automatically refills the reservoir.
Weeping tile. A perforated pipe or drain tile in the bottom area along with the gravel permits water to quickly move through the reservoir. It also means you don't need as much gravel. You’ll see weeping tile in the pictures of my wicking beds, below.
Materials List for My Wicking Bed
Here's what I used to make wicking beds.
Cedar fence posts.
Pond liner. The pond liner holds water in the bottom of the bed. Once the sides of the pond liner are folded upwards and fixed into place, it creates a shallow water storage area at the bottom of the bed—about as high as the weeping tile.
Weeping tile.
3/4” gravel. Use “clear” gravel, which means that it does not have smaller pieces of gravel that will fill up the spaces in between. That way the space is available to hold water.
Dishwasher drain tube. To create a fill tube, sometimes called an inlet pipe.
Landscape fabric. Its purpose is to keep the soil from filling up the weeping tile and the spaces between gravel.
Soil. I used a mix of high quality potting mix blended with compost.
Steps for Making a Wicking Bed
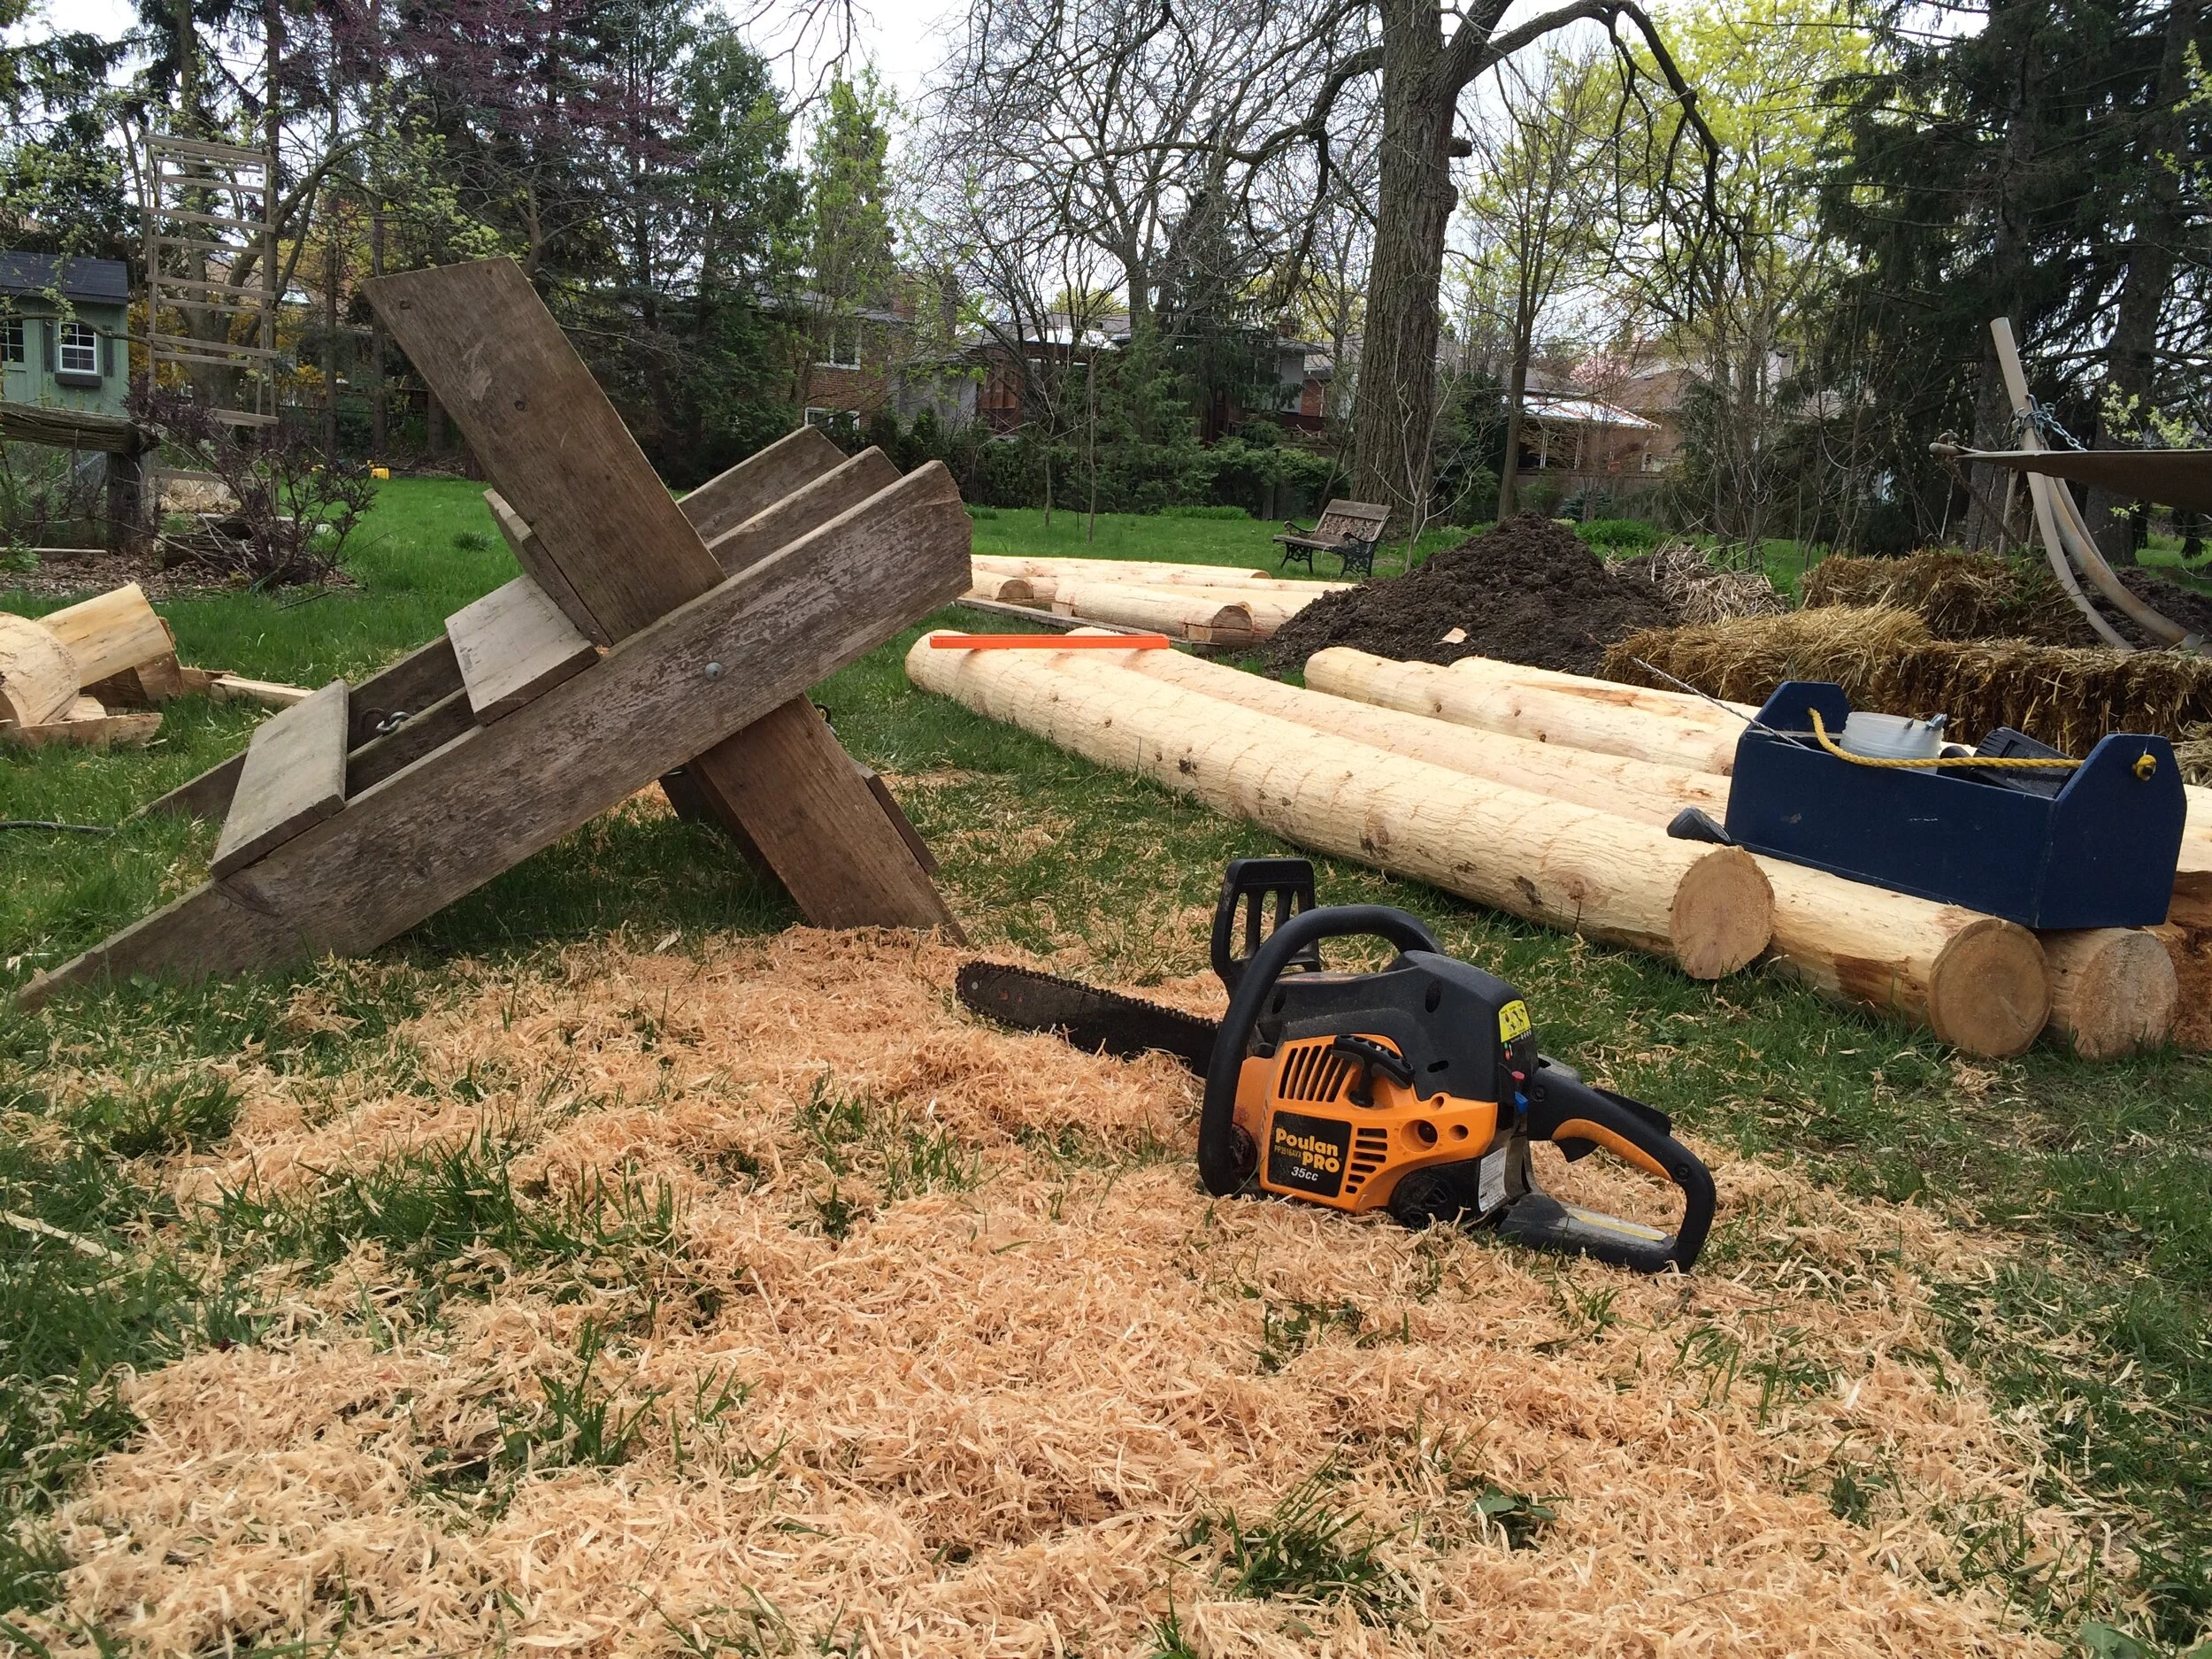
Cut posts to length and notch the ends.
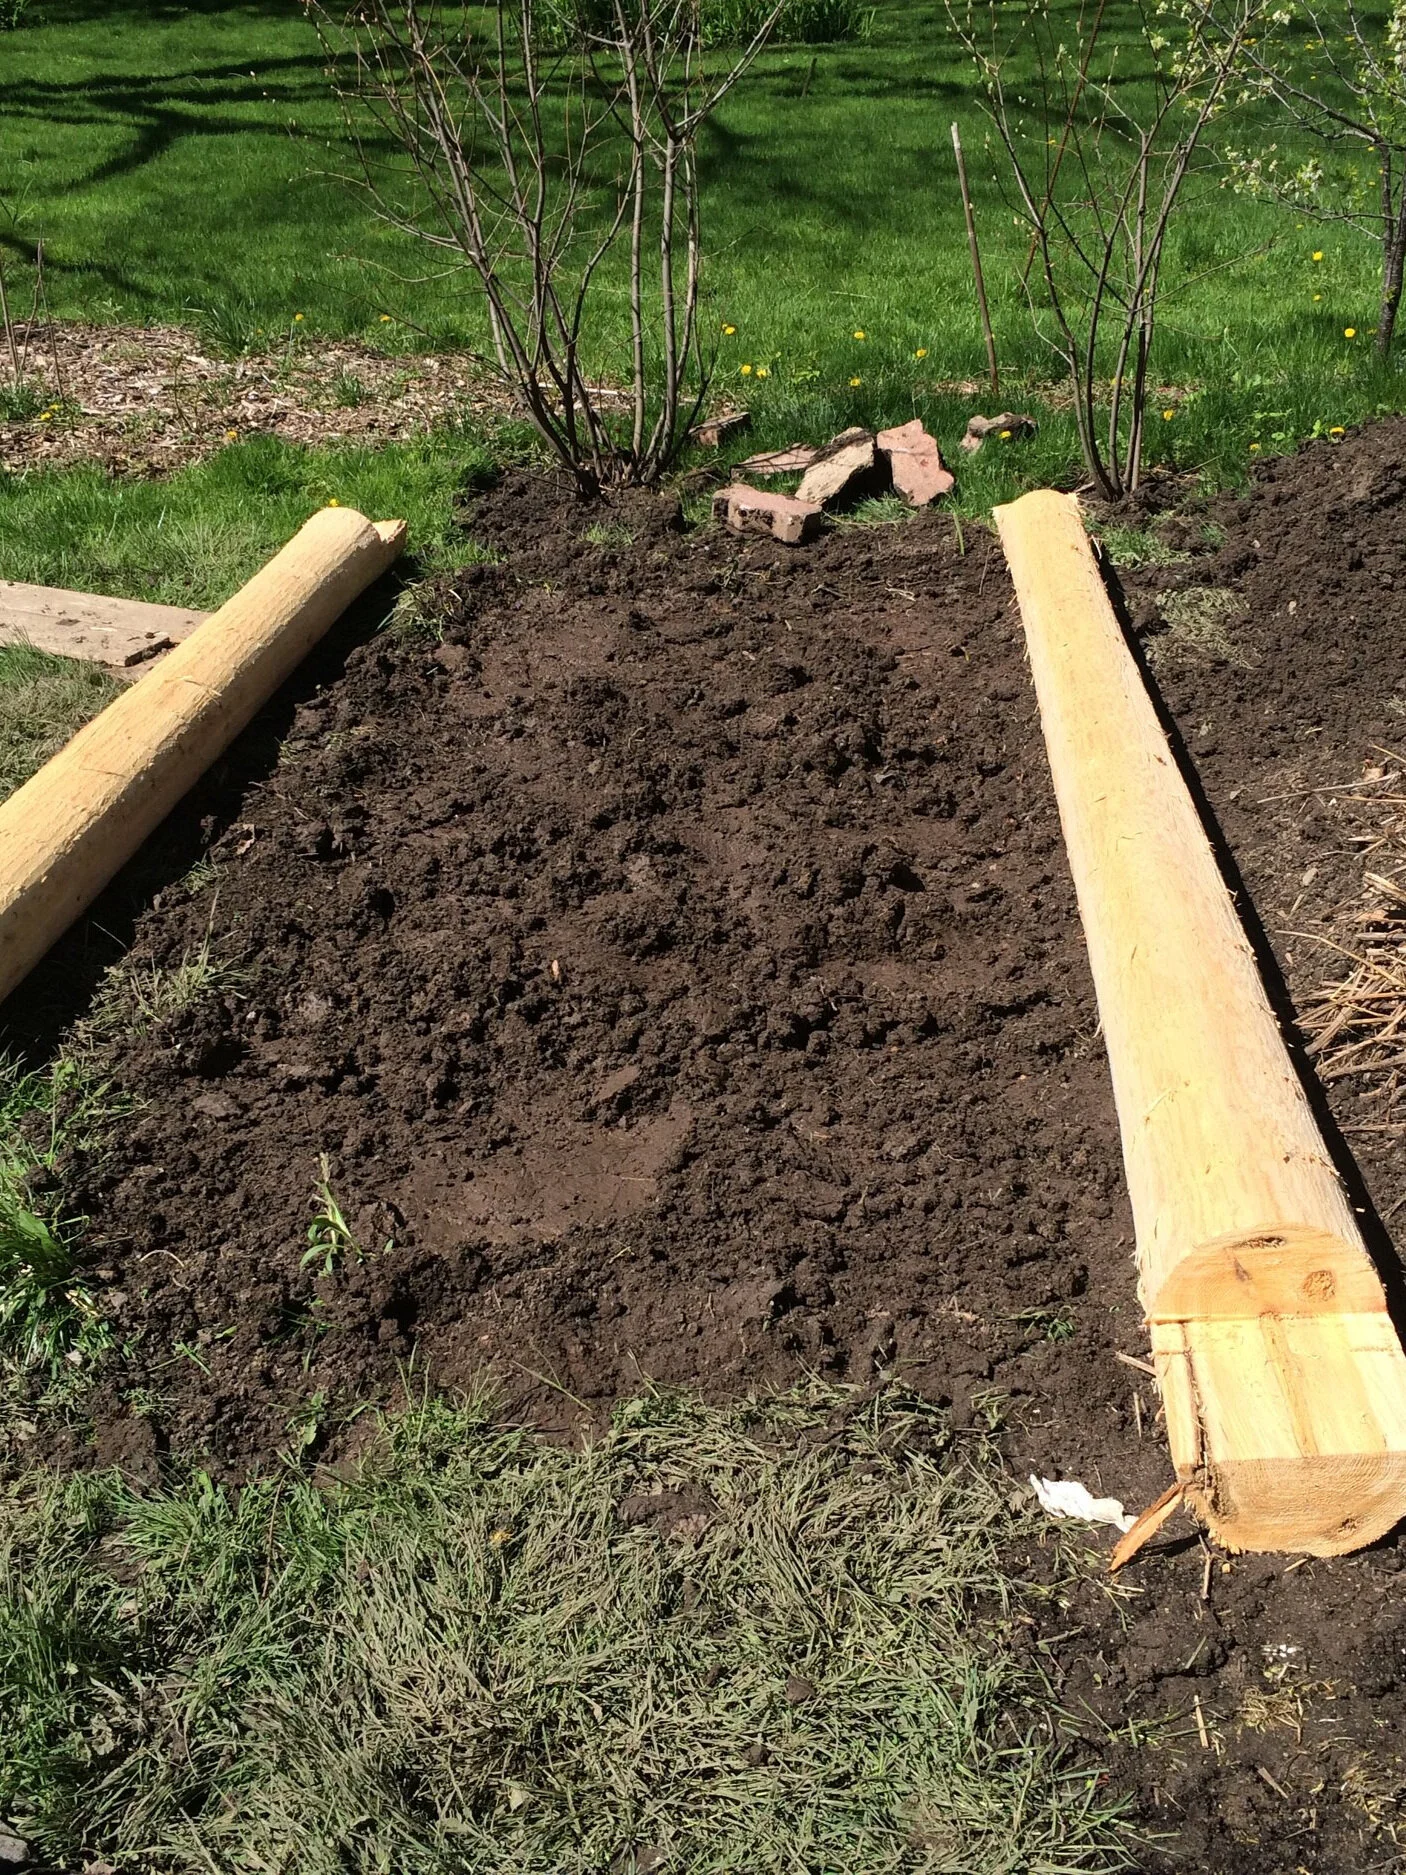
Place notched posts directly on the ground. Level the ground first.
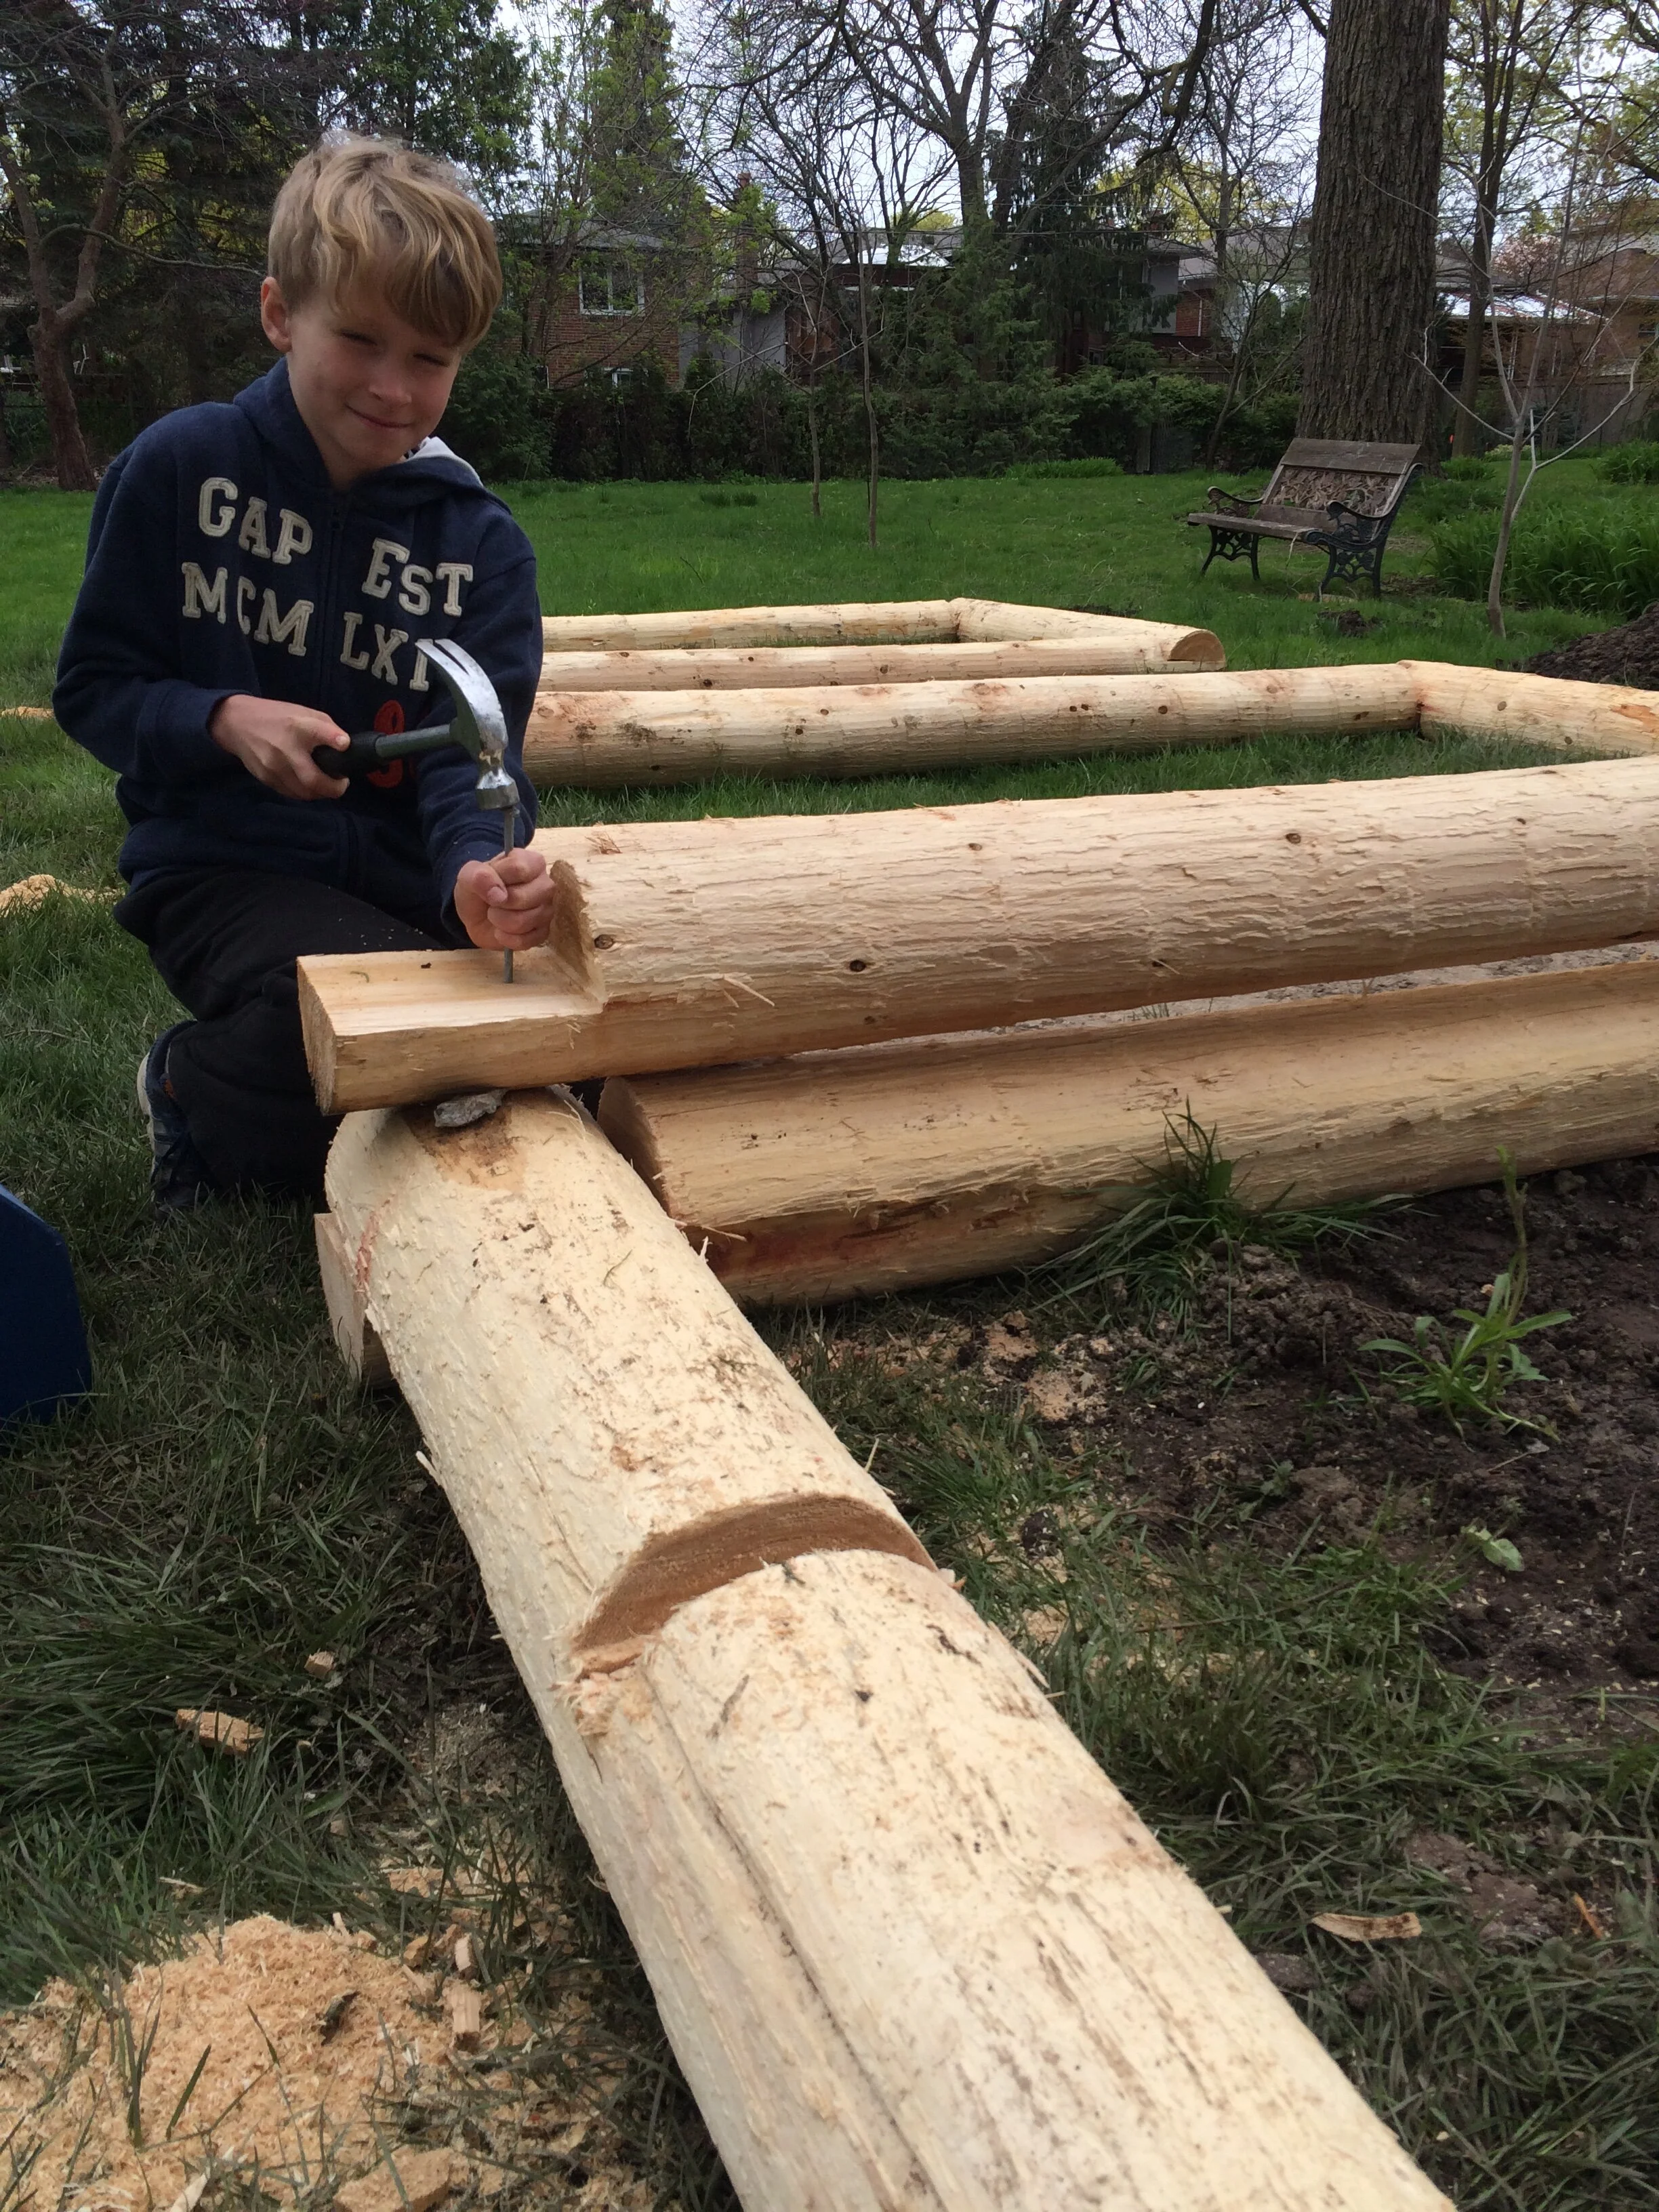
Nail spikes into the corners of the posts to keep them in place.
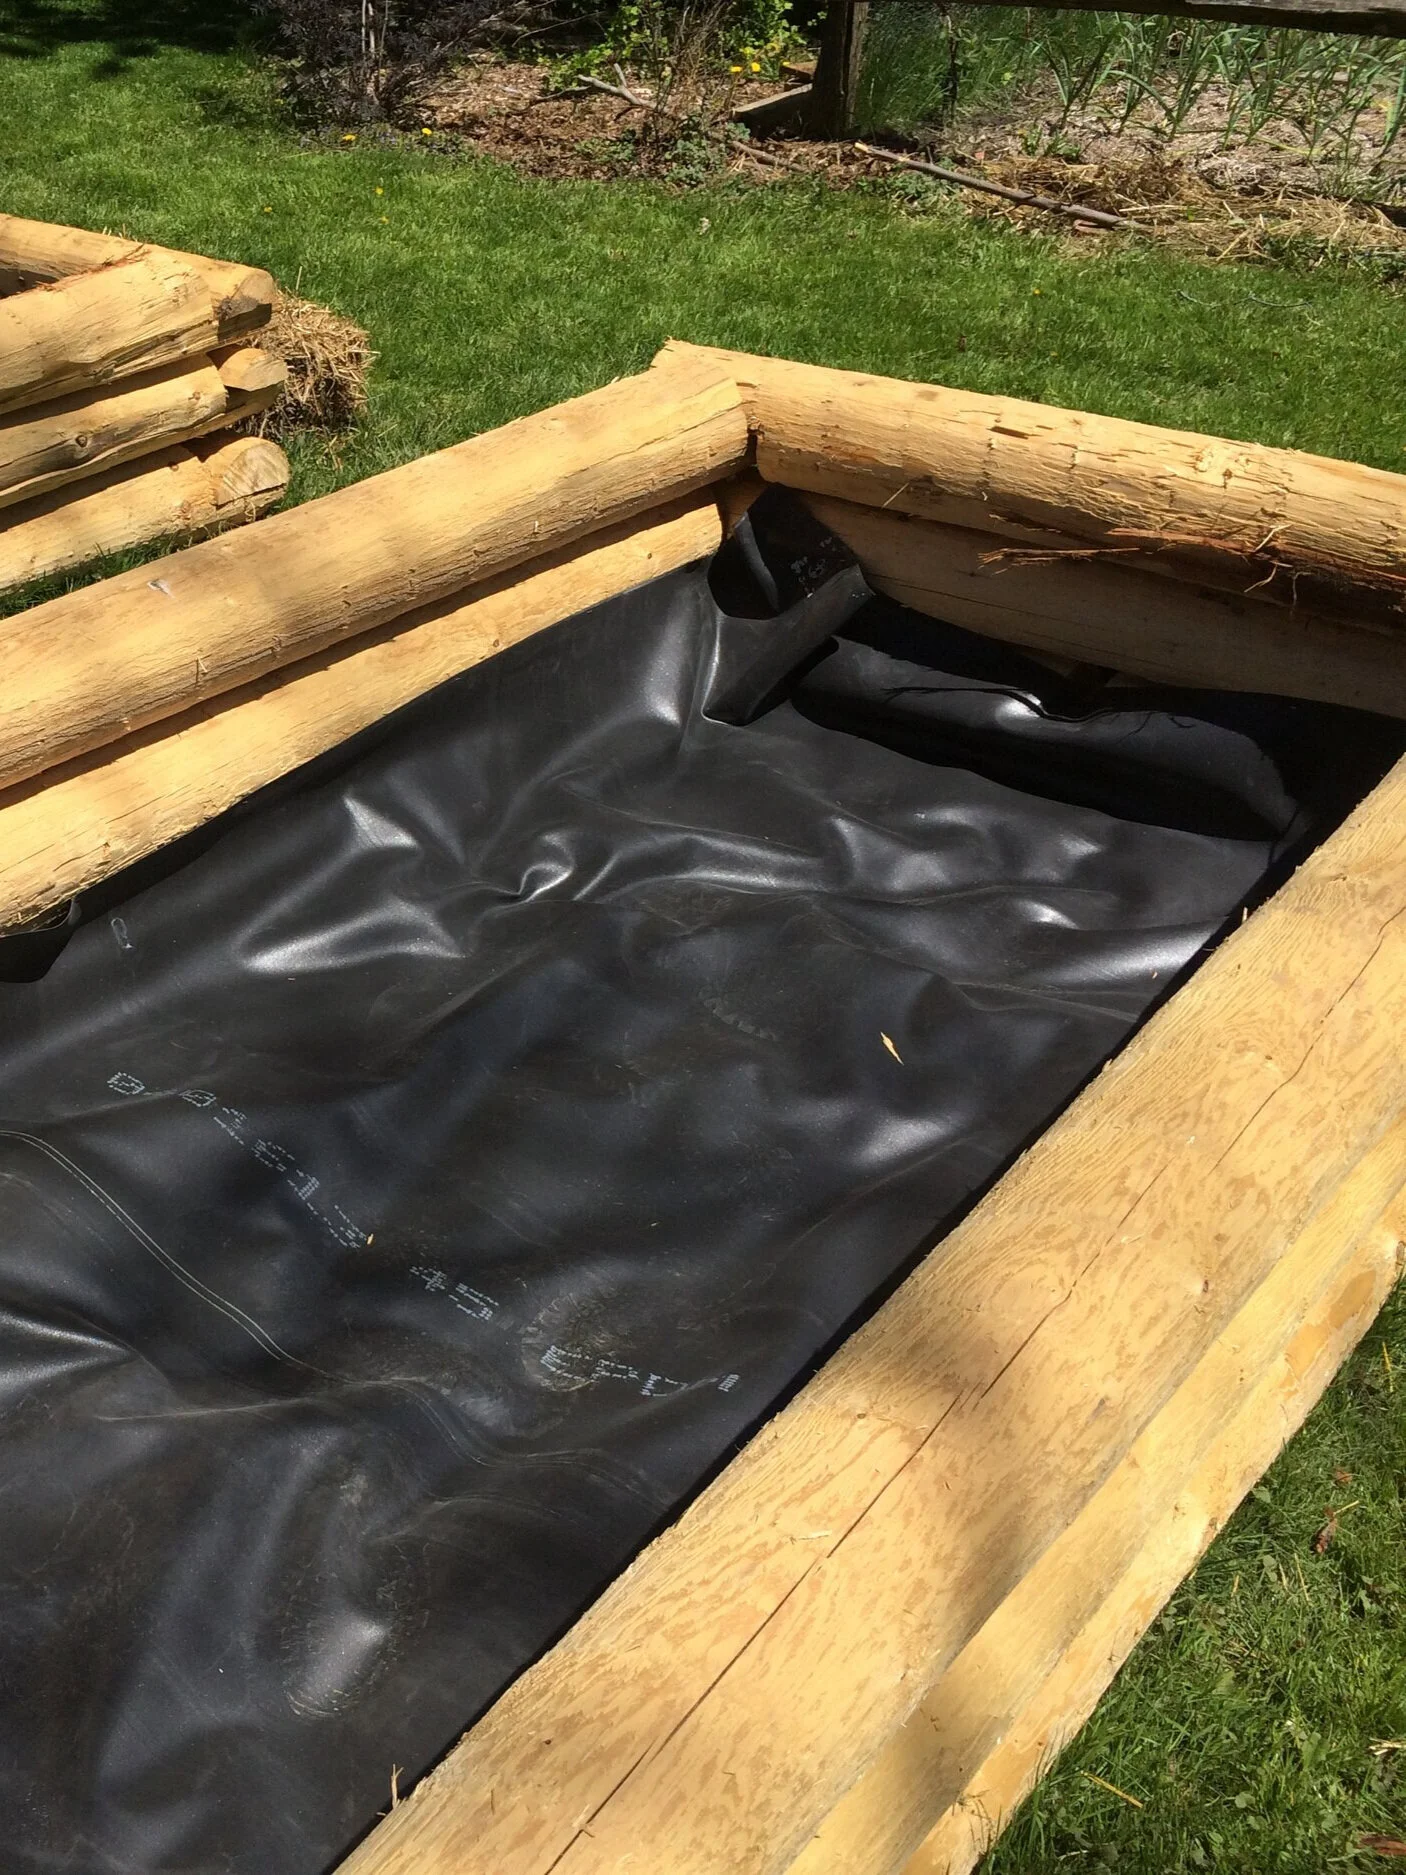
Install liner at the bottom by placing it on the ground, and up about 8-10 inches at the side. Secure temporarily with staples, to keep it in place until the gravel pins it into place.
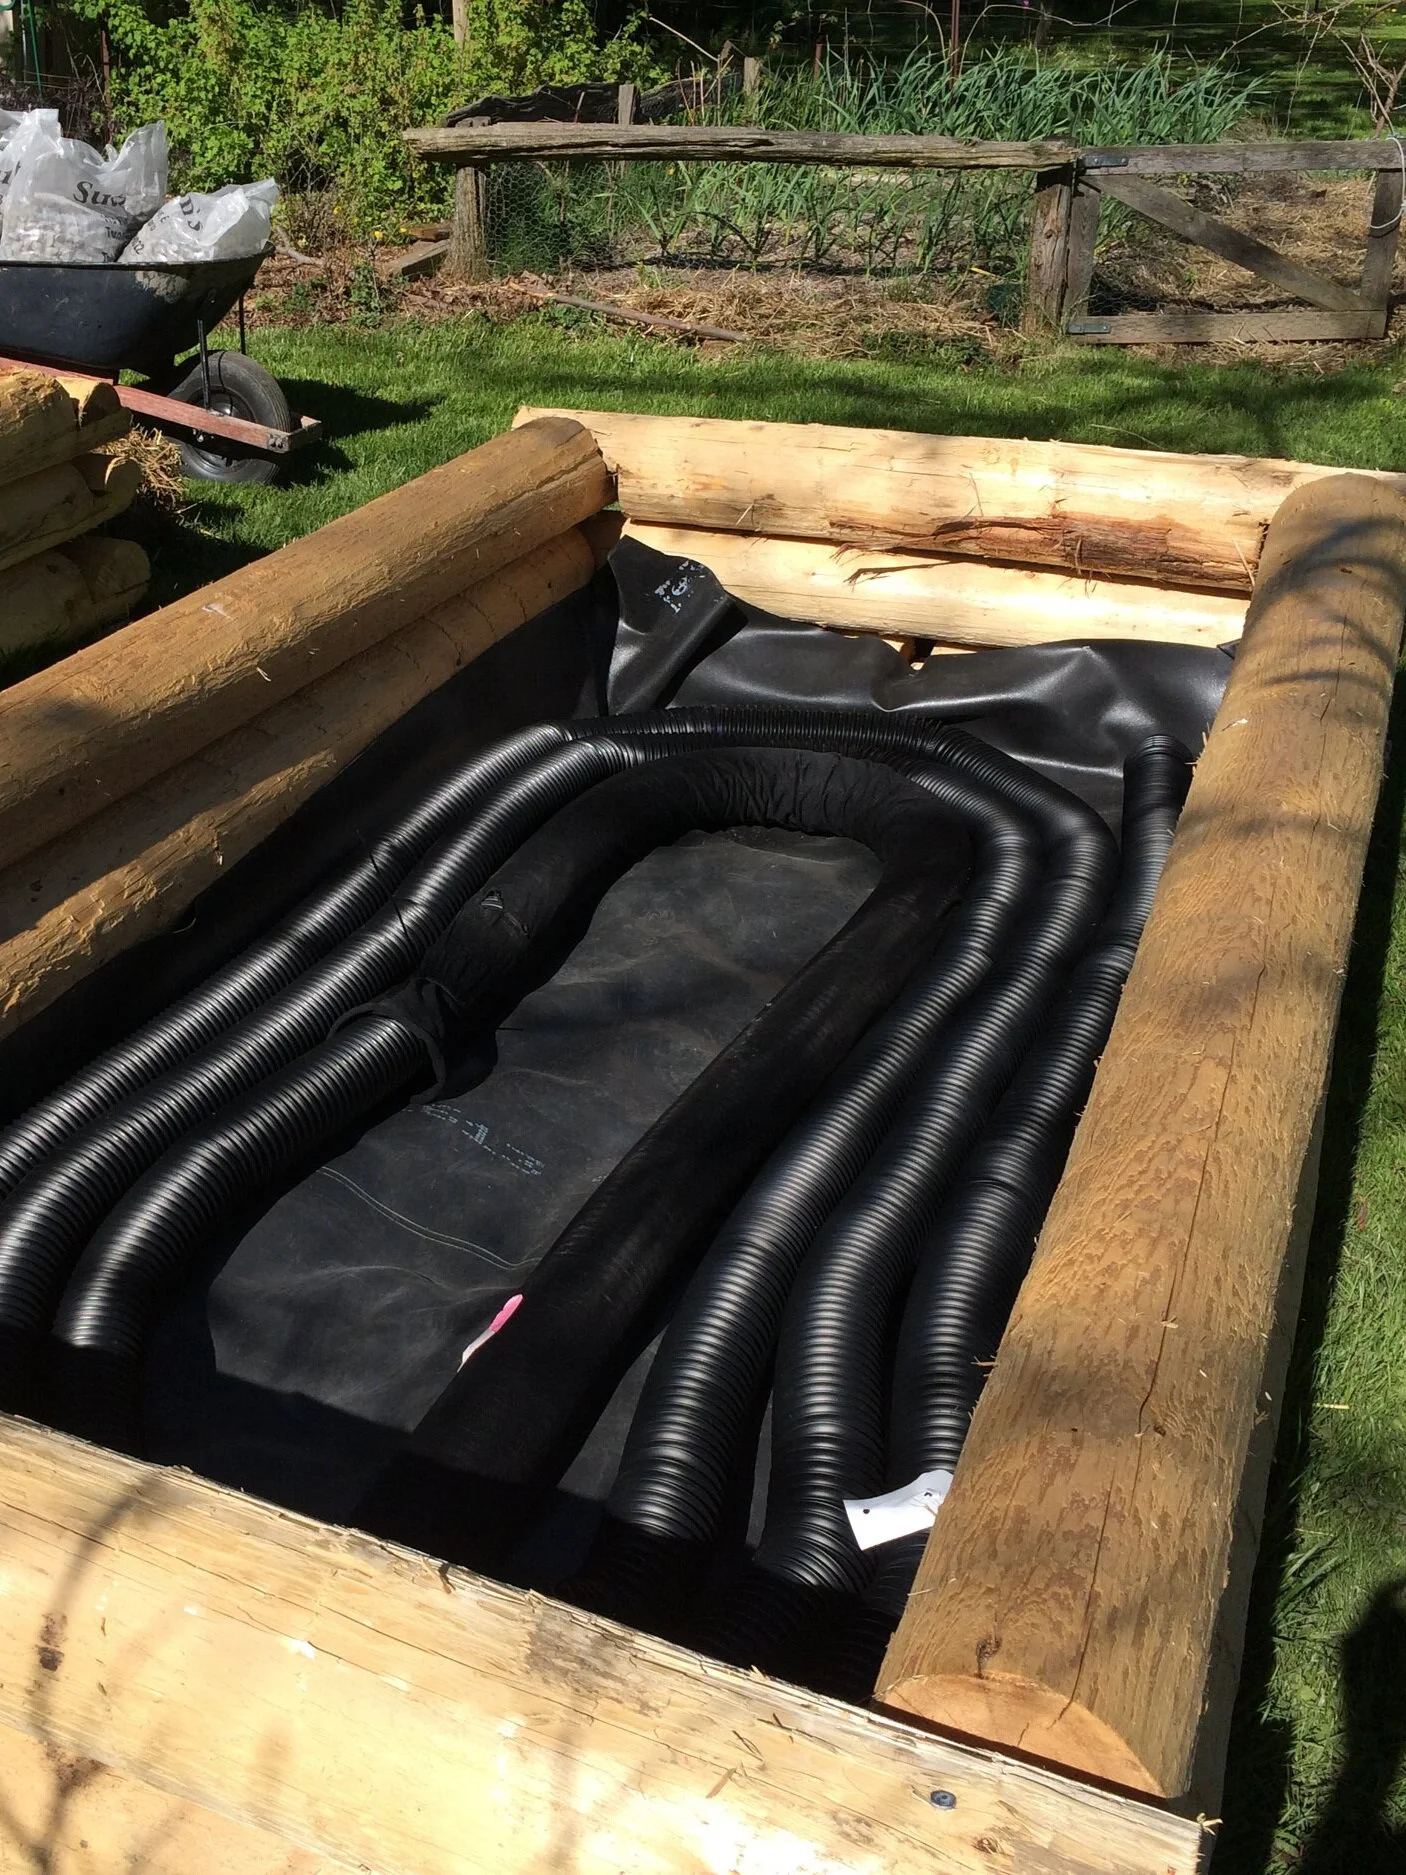
Place coils of weeping tile in the bottom. The tile permits water to quickly move through the reservoir, and it also holds up the soil above.
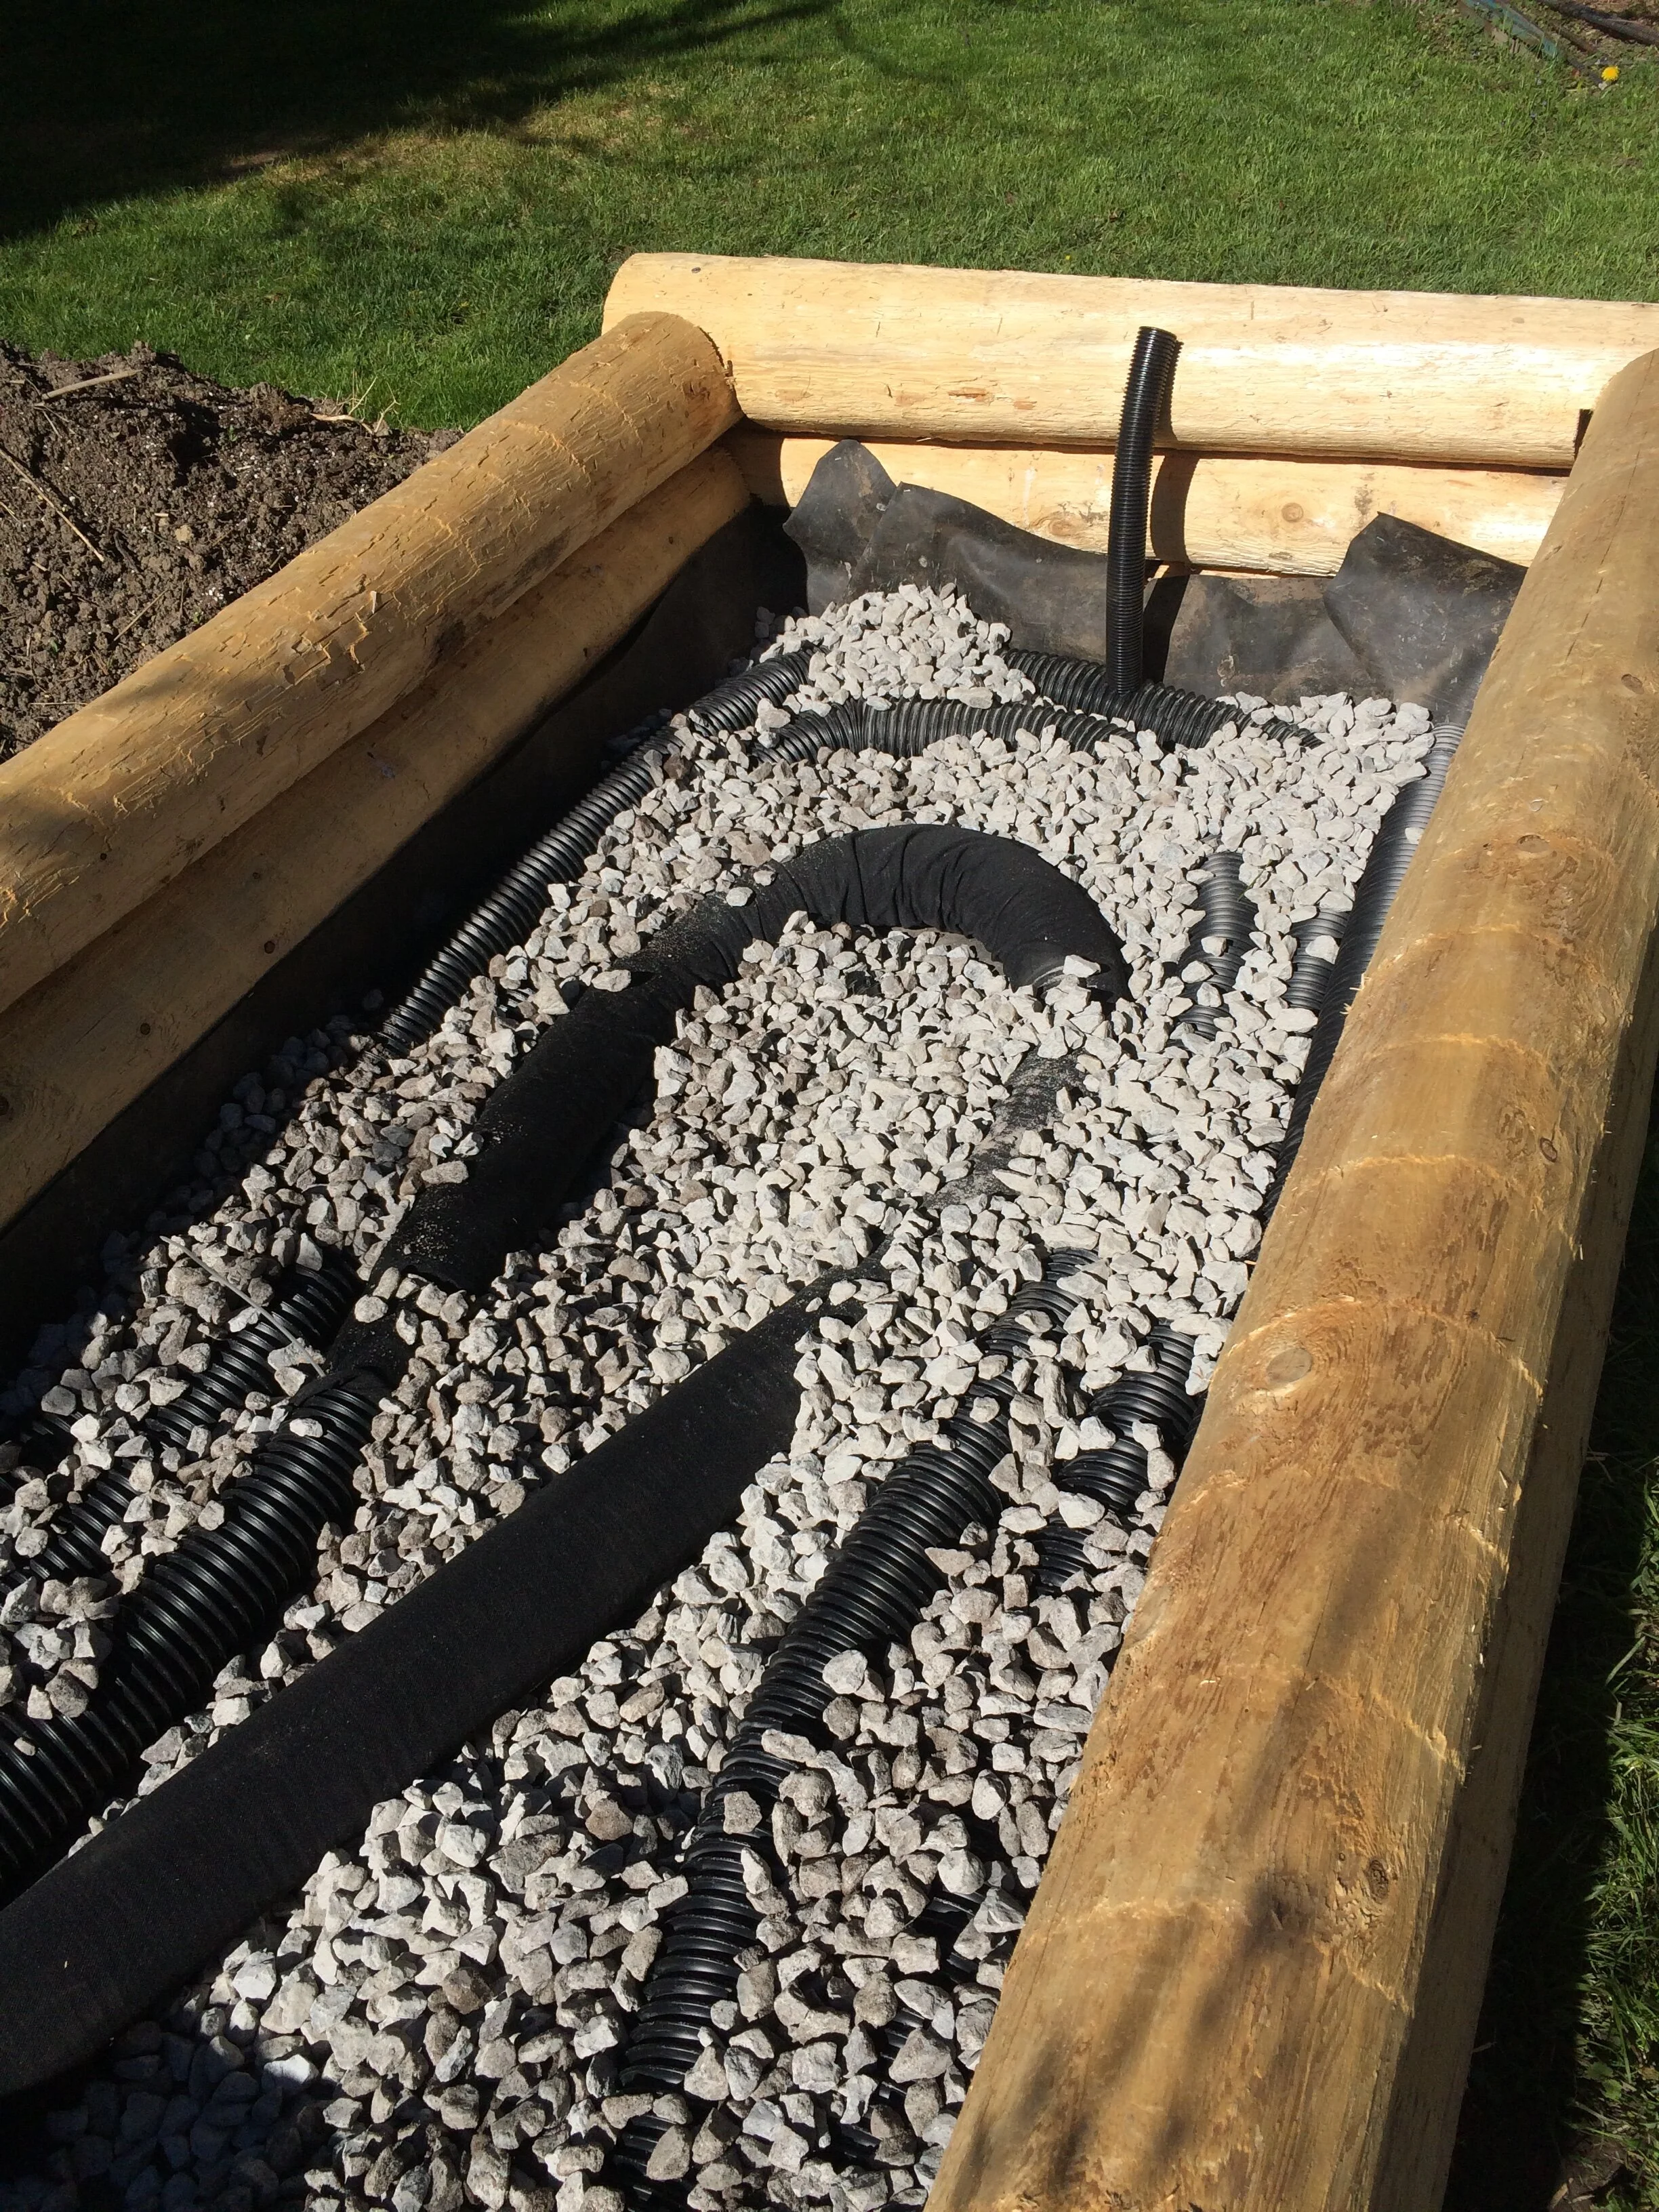
Add gravel. It supports the weight of the soil above, while the spaces between the pieces of gravel fill with water. Water moves upwards through the gravel by capillary action.
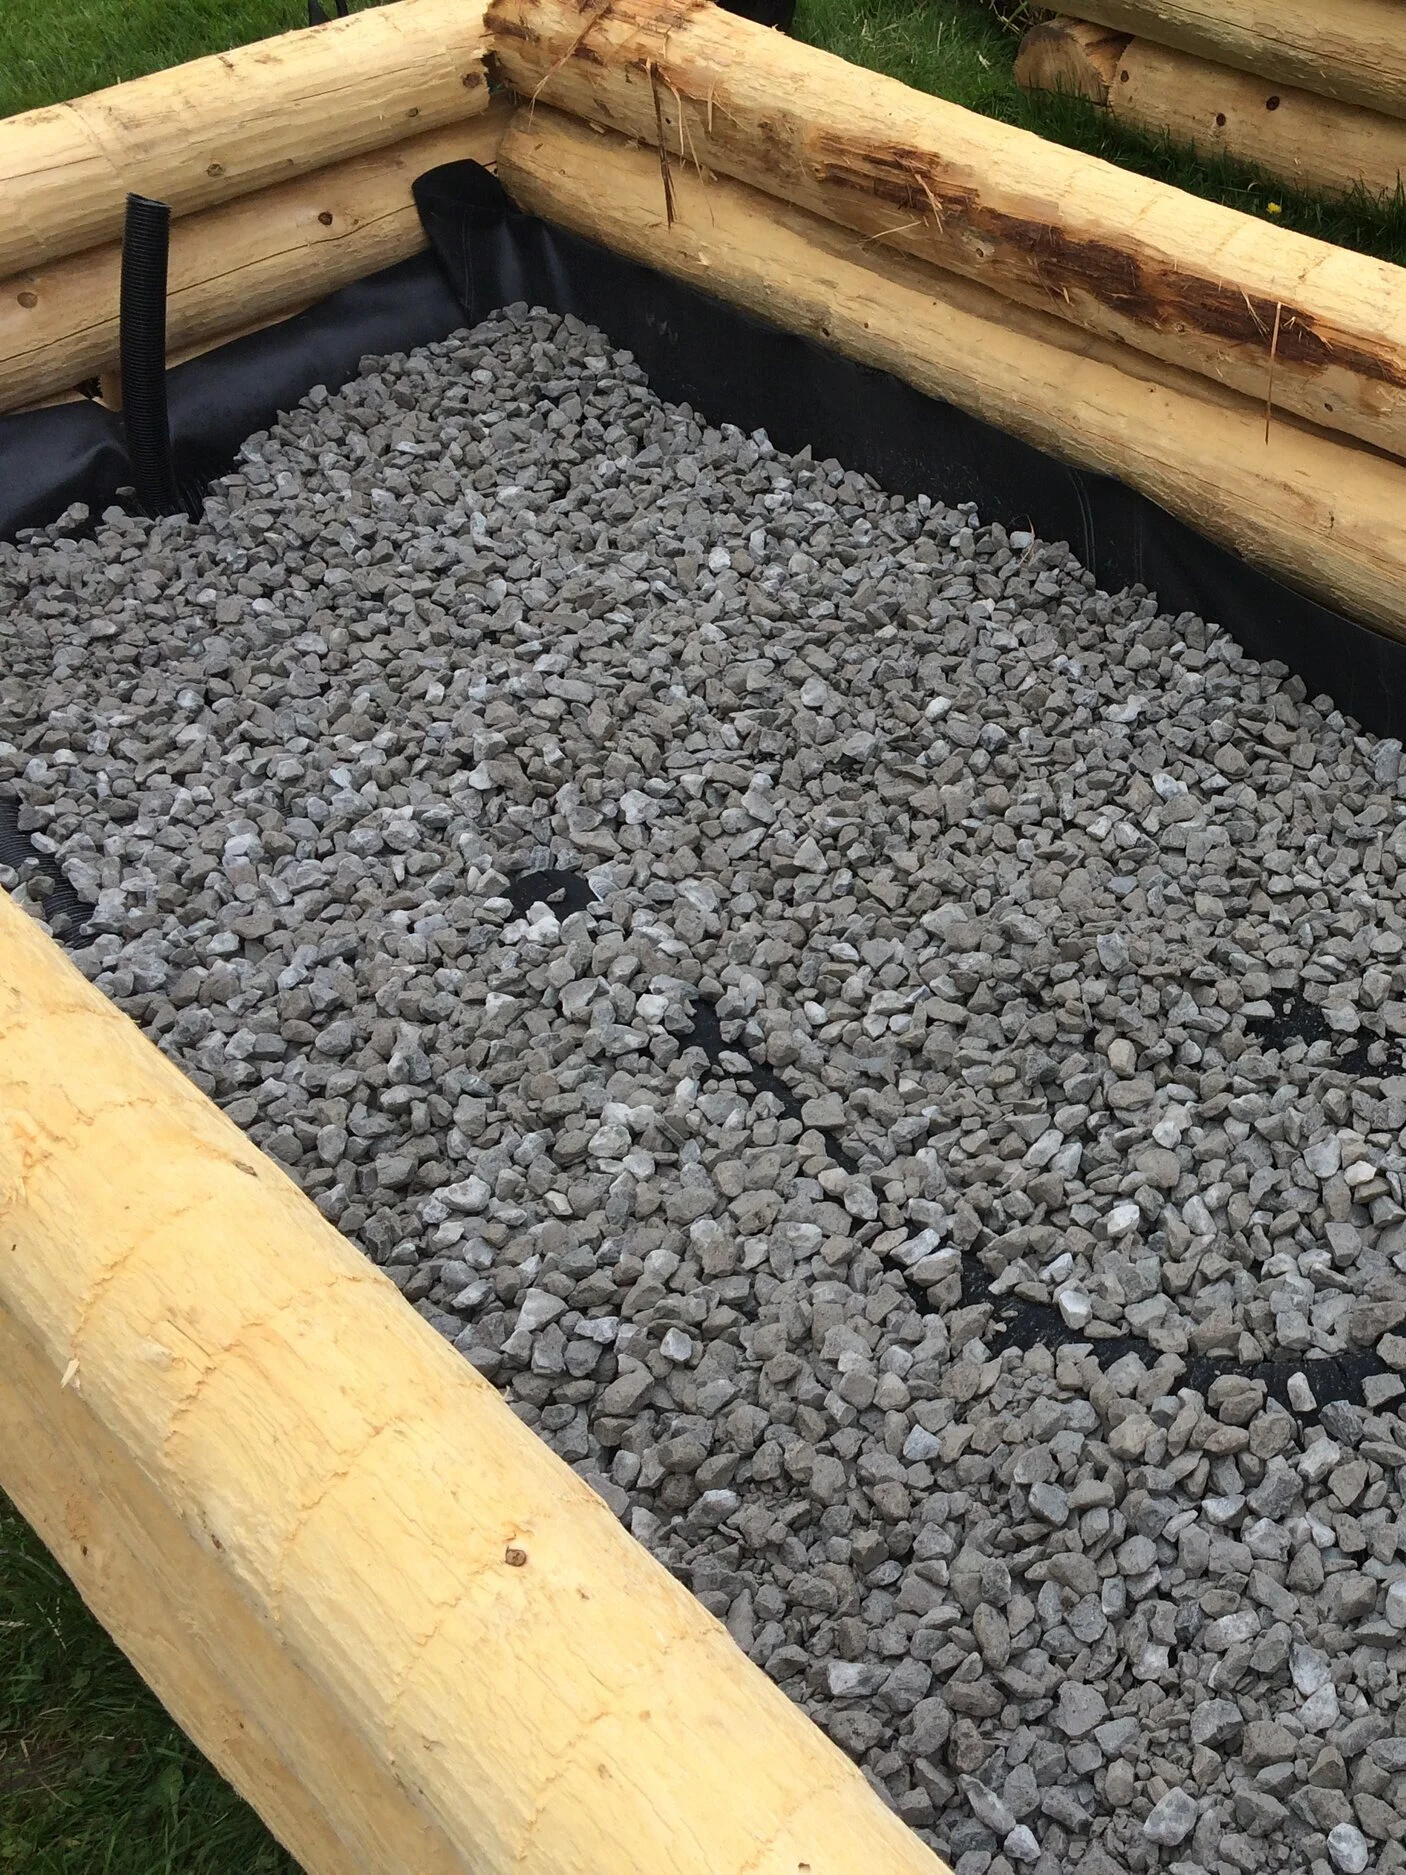
Note the fill tube at the far end, a piece of drain hose installed into the weeping tile. This permits filling of the reservoir with a hose after soil has been added.
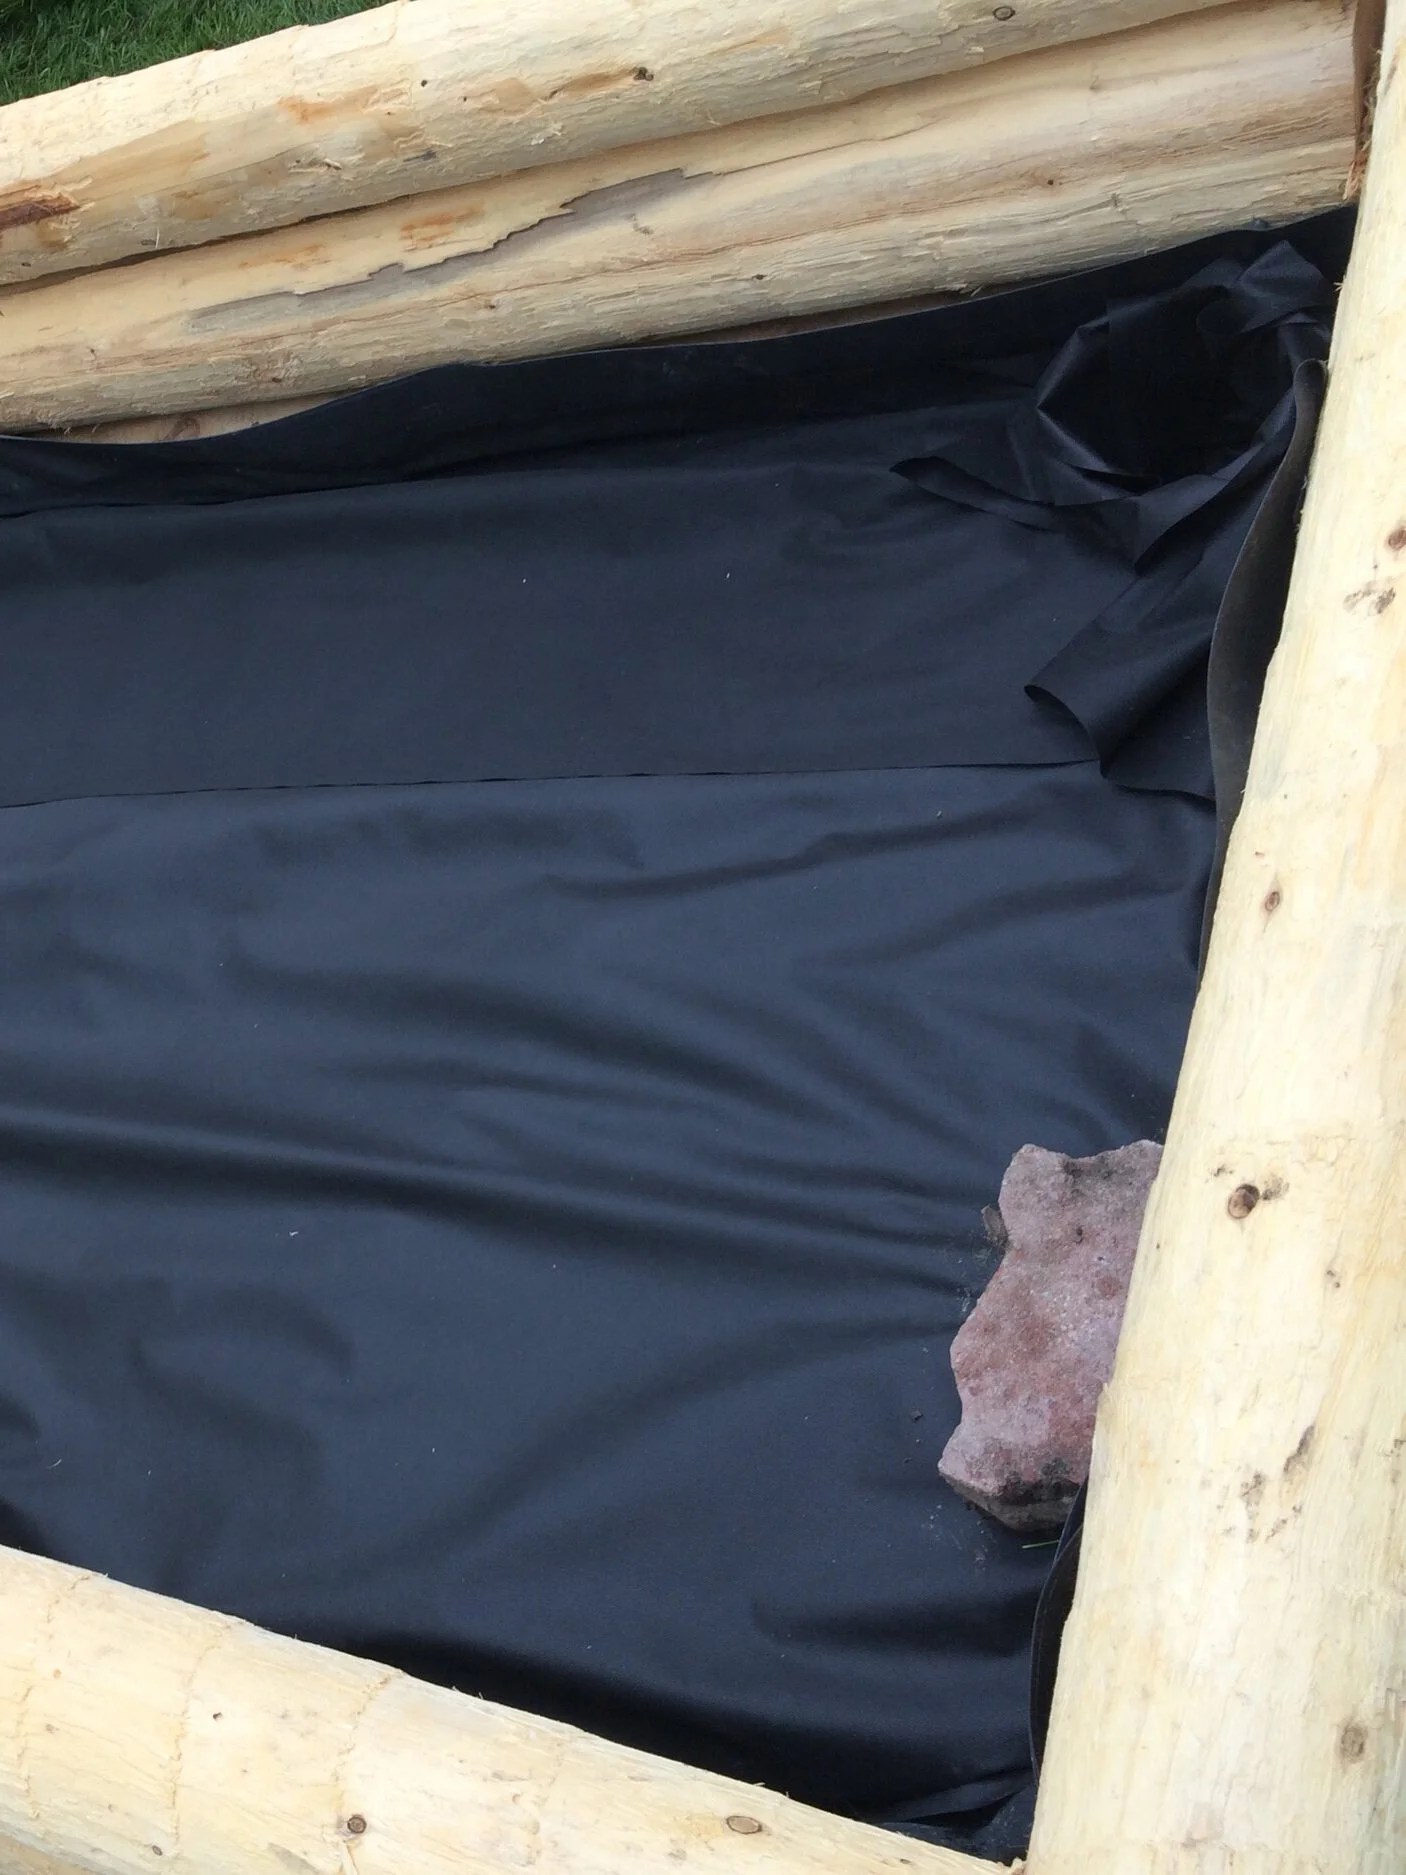
Cover with landscape fabric to keep soil out of the reservoir area. Note the depressing in the top-right corner: While in theory water wicks up the gravel, I also created this soil-filled wick that dips into the reservoir. Not necessary, so I wouldn't do it again.
Soil depth: 30-40 cm (12-16") of soil works well. If there is too much soil, the water will not wick all the way to the top.
Pin this post about how to make a wicking bed.
Watering my Wicking Beds
I know that there is enough water in the reservoir when I see water coming out of the side of the bed. It's low-tech—but it works.
One More Reason for Wicking Beds
Soil contamination is another reason to consider growing in a wicking bed. Soil contamination can be a concern in areas where there is a history of industry, and also on former orchard lands where sprays with heavy metals might have been used. Or, like me, it could be from a nearby black walnut tree.
Find out more about soil contamination and what to do about it.
FAQ Wicking Beds
I’m already doing raised bed gardening. Can I retrofit my existing raised beds with this system of irrigation?
Yes, you can retrofit an existing raised garden bed to turn it into a wicking bed. But be prepared to first empty out the bed…so it means some digging!
I want my wicking bed to be a metre (3’) high. So it’s less bending for me while I’m gardening. Is that OK?
With wicking beds, less is more. Too much soil, and the water doesn’t wick all the way to the top of the soil. 30-40 cm (12-16”) soil depth is best for wicking.
If you want a taller raised bed, consider an elevated bed, on legs. (Like a sub-irrigated planter on stilts!) Then you can have the easy access you want, and the wicking won’t be compromised by excessive soil depth. And as a bonus, you won’t spend as much money on soil!
Here’s one other consideration: If you’re transplanting sizeable plants into a deep wicking bed, and don’t mind top watering for a bit until the roots reach a soil depth where there’s moisture from wicking, then maybe you don’t need to worry about soil depth.
Can it freeze in the winter? Does this work for raised bed gardening in Canada?
It’s fine for gardening in Canada and other places with cold climates. We use wicking beds in our urban garden here in Toronto.
Find This Helpful?
Enjoy not being bombarded by annoying ads?
Appreciate the absence of junky affiliate links for products you don’t need?
It’s because we’re reader supported.
If we’ve helped in your food-gardening journey, we’re glad of support. You can high-five us below. Any amount welcome!
Another Way to Add Growing Space in a Small Garden
Straw-bale gardening is a great way to grow on paved areas and areas with poor soil. And you also have a raised garden bed...so less bending required!
Find out more about straw-bale gardening.
More Ideas for Your Vegetable Garden
Find lots more articles about growing vegetables and edible plants in the Grow Vegetables area of this site.
Articles and Interviews
Courses: Edible Gardening
Find out about how to grow lots of vegetables in containers. Find out about potting mix, best types of containers, top crops, and how to care for your plants.
Want to create and edible garden or edible landscape but not sure where to start? Find out how to design a garden, choose plants, and create a functional, beautiful, edible landscape.
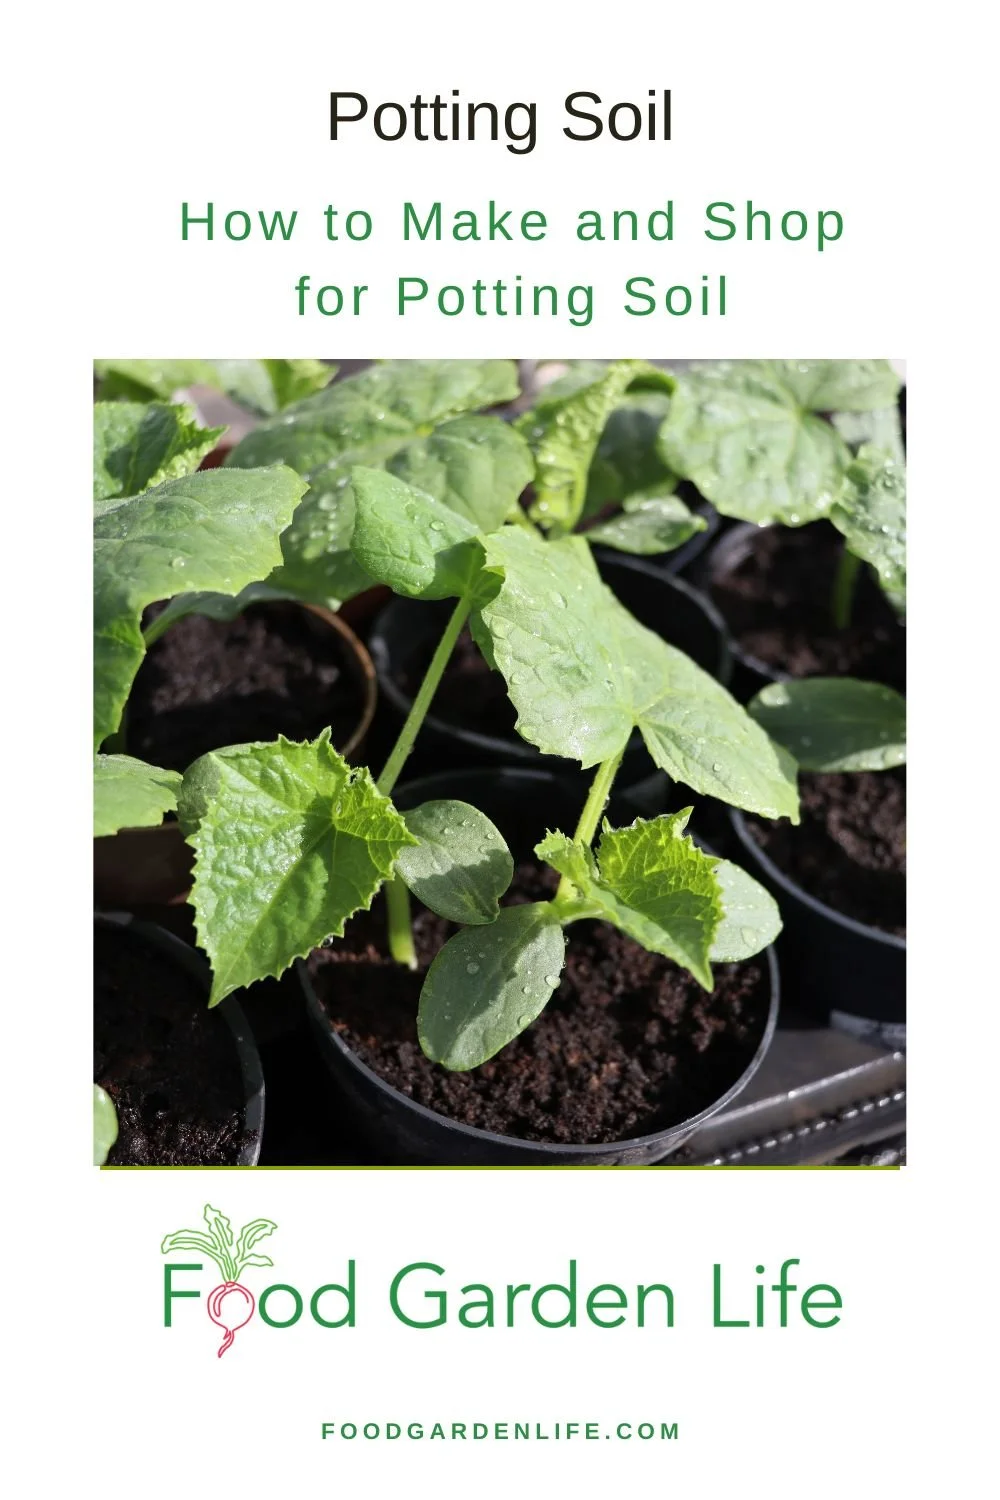
Potting Soils: Choose the Right Potting Soil
A good potting soil helps your container vegetable garden thrive!
By Steven Biggs
Choose the Best Potting Mix
Ever had potted plants that just seem to stall?
It could be the soil.
Good potting soil can be the difference between potted crops that grow like gangbusters...and those that don't seem to do anything.
This guide covers key soil ingredients, types of soil mixes, and tips to help you choose good soil. If you're a home gardener who wants to keep things simple but use the best soil mix, keep reading.
Key Takeaways
Potting soil is a soil blend made for the growing conditions in containers.
Despite the name, it often contains no garden soil.
Common potting soil ingredients include peat moss, compost, coir, perlite, and vermiculite.
There are specialty potting soils for specific plants and purposes.
You can buy ready-made potting soil or blend your own.
Understanding Potting Soil
Potting Mix vs. Potting Soil
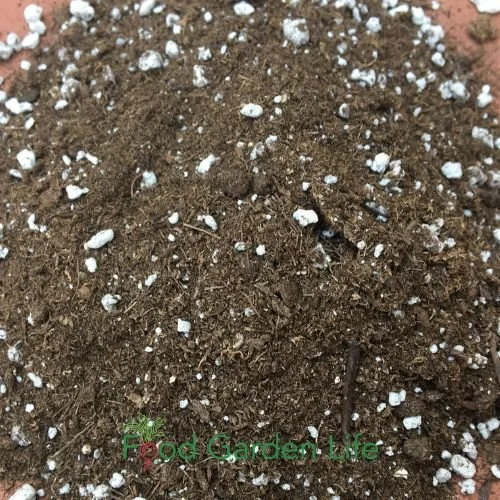
Potting mix is made for the growing conditions in containers. Many have no soil. This mix has peat moss and perlite.
You might come across a few different names used for potting soil, including potting mix, growing medium (if you're reading technical sources), potting medium, soilless medium, and soilless mix. In British English, you'll also find term "compost" used for potting soil.
In a Nutshell
Potting soil is a soil mix made for plants in containers. Because the roots of plants in containers can't spread out to find water, moisture retention is important.
But even though we need the soil to hold moisture, we also need lots of little air pockets. That's called "aeration." Those little air pockets helps excess water move through the soil, while also leaving space for the soil to hold on to some of the water, until the plant roots can absorb it.
Some potting soil mixes—though not all—contain food for the plants. It could be in the form of a separate fertilizing product. But it might also come from one of the soil ingredients.
In short, a good potting mix retains moisture...yet drains well. It doesn't pack down with repeated watering.
Potting Soil vs. Garden Soil
Soil from the garden is rarely ideal for potted plants. That's because it often packs down with the frequent watering.
Garden soil can also contain weed seeds and diseases.
Key Ingredients in Potting Soil
Ask 10 gardeners for soil-mix recipes and you might come away with 10 different recipes. Like most things in life, there's more than one way to go about it.
But there are some ingredients that are frequently used to make commercial potting mixes. We'll look at some of them below.
Organic Ingredients
By "organic" we just mean something that was once living. Organic ingredients include peat moss, coir, compost, and composted bark chips.
Maybe before we even jump into these organic ingredients, let's not ignore the elephant in the room. There's an environmental footprint to potting soils. Peat moss is extracted from peat bogs, where carbon has been sequestered long-term. When we use peat moss for gardening, that carbon is quickly released back into the environment. Coir is touted an environmentally preferable substitute, though it's from a crop planted where there were once rain forests...and then it's shipped a long ways for a northern gardener like me.
If this environmental footprint is on your mind, here are some thoughts:
Don't waste potting soil—and certainly don't use it like a garden-soil amendment
Use your potting soil for more than a year where appropriate
Consider potting-soil ingredients such as home-made compost and composted forestry waste
Peat Moss
Peat moss is widely used because it holds water really well—like a sponge. Yet it still drains well. Lots of air pockets, yet still moisture that plant roots can take up.
When peat moss gets very dry, it repels water. (It becomes "hydrophobic" if you like the technical jargon.) So if you're mixing your own soil, moisten the peat moss beforehand. (Commercially prepared soil mixes often have an ingredient called a "wetting agent" that makes the peat less hydrophobic.)
Because peat moss is acidic, ground limestone is often added to peat-based potting soils. This helps to balance the pH. (And that's important because if the soil is too acidic, plants might not be able to take up the nutrients they need.)
Coir
Coconut coir is commonly used as an alternative to peat moss. We're talking about the fibre from coconut husks. As well as being used in place of peat moss, some gardeners blend coir with peat moss.
Coir-based soil mixes are sold in bags, as are peat-based soil mixes. But you can also find compressed bricks of coir. They're completely dry and very lightweight. These bricks are soaked in water before making a potting mix.
Compost
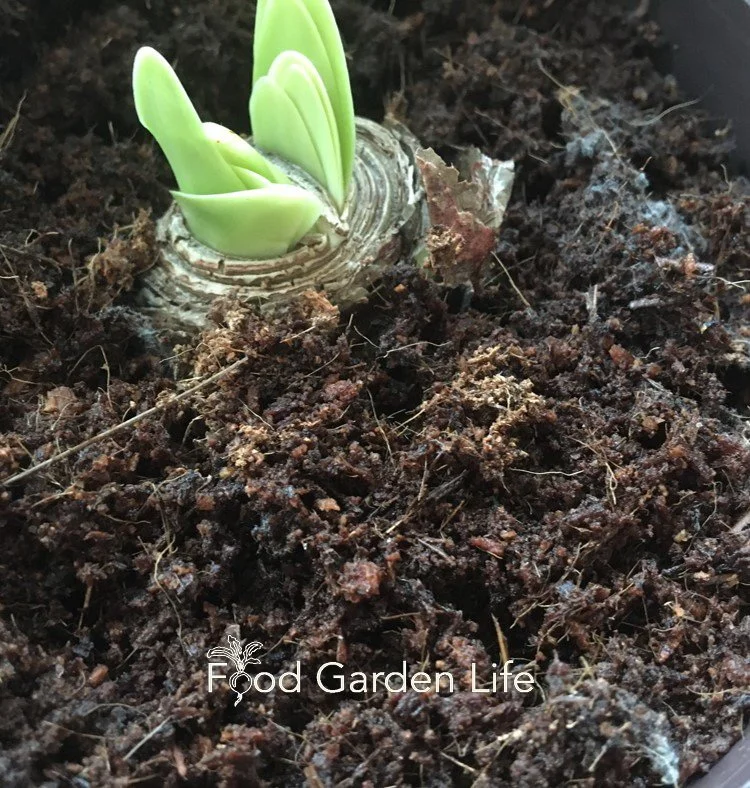
Here’s a close up of a potted bulb growing in a soilless coir mix. You can see the long fibres.
The nutrient content of a compost depends on what it's made from. For example, composted animal manures or composted seafood waste contain higher nutrient levels that something such as composted leaves (a.k.a. leaf mould.)
If you’re aiming to make your own peat-free soil mixes, leaf mould (composted leaves) is a traditional ingredient. Leaf mould breaks down more quickly than coir and peat.
Composted Bark Chips
Composted bark chips are sometimes added to soil mixes for larger plants. The bark bulks out the soil mix, while holding moisture.
Worm Castings
Worm castings—worm poo—add nutrients and microbial activity to a soil mix.
Inorganic Ingredients
With inorganic ingredient, we're mainly talking about "aggregates," things that add structure to the potting soil. These include perlite, vermiculite, sand, and grit. Light-weight materials such as perlite and vermiculite are common in commercially prepared soilless potting mixes.
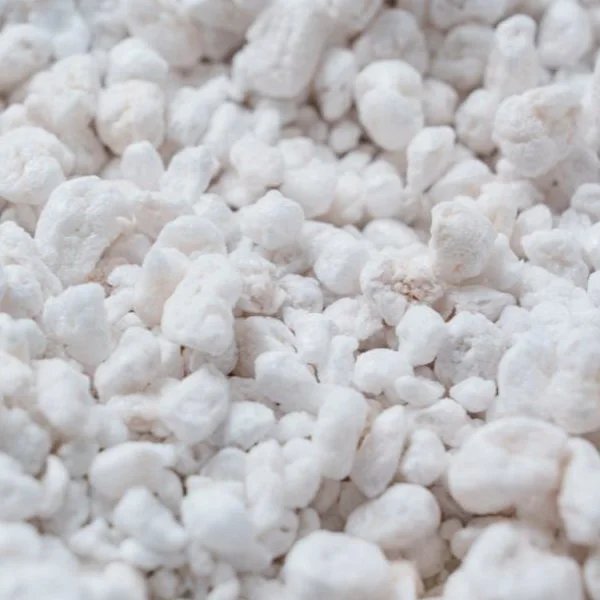
Perlite
This popcorn-like, light, fluffy material is heat-expanded volcanic glass. It adds air pockets to the potting soil.
Vermiculite
Vermiculite is heat-expanded mica. It's like a sponge, able to hold water and nutrients. Because it’s so good at holding moisture, the soil is less likely to shrink when dry.
Sand
Common in home-made soil mixes to improve drainage and to add weight. Not so common in commercial mixes because it adds weight...and that makes shipping more expensive.
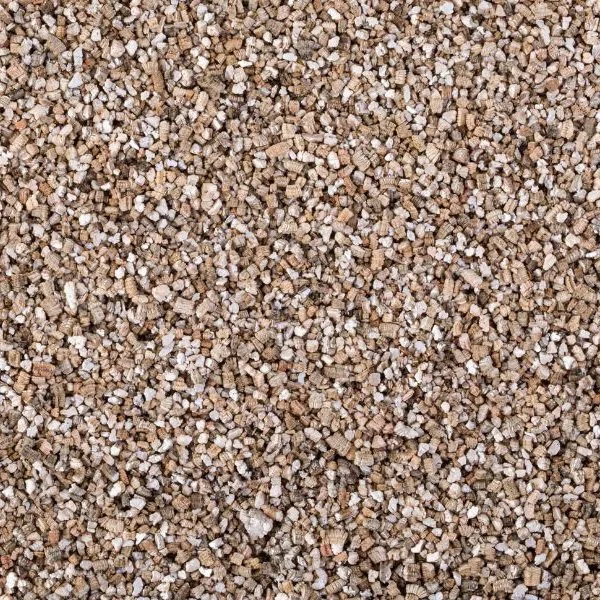
Vermiculite helps to retain moisture.
Perlite adds lots of air pockets to a mix.
Types of Potting Soils
Potting soil can be blended for specific types of plants (e.g. cactus), for certain plant needs (e.g. acid-loving plants, or "high porosity" for plants that don't like wet roots), and for specific uses, such as seed-starting.
Here are common types of ready-to-go potting soils:
All-Purpose Potting Mix

This high-porosity potting mix is made from peat and perlite.
As the name suggests, this sort of mix is intended for a wide range of uses and plants. Many commercial all-purpose blends (I've seen the name "general-purpose" used too) contain peat moss or coir, compost, vermiculite, and perlite.
High-Porosity Mixes
High porosity is just another way of saying it drains well.
This sort of mix is for plants that don't do well when the roots remain wet for too long. For example, if you're growing a potted lemon tree, good drainage is very important because the roots can quickly rot if the soil stays wet for too long.
(An interesting aside: I asked at my local garden centre why they're now stocking this sort of mix, which I only used to see in commercial horticulture. I was amused to learn that home cannabis growers favour it!)
"Organic" Potting Mix
It's worth mentioning that some companies market "organic" soils. These will contain the organic portion we talk about above (peat, coir, compost, etc.) meaning something that was once living.
But in this case, the word "organic" has an additional meaning: It means that the mix meets the standards of an organic certification organization. And that usually means that there's no wetting agents (something that makes the peat moss easier to wet) and that if there are fertilizers in the potting mix, they're approved by the certifying agency.
Seed-Starting Mix
The main difference with seed-starting mixes is that the texture is finer. Smaller vermiculite. No coarse bits in the peat moss. Perhaps no perlite. The idea is that a small, germinating seed isn't blocked by a hunk of something in your soil mix.
For what it's worth, I don't buy seedling mixes. They make sense for a commercial grower striving for a very high rate of success and uniformity. In my case, I always have ample seed for my smallish garden, so if the odd seed conks out because I'm using a general purpose mix and it's blocked by a big piece of perlite, it doesn't matter a bit.
Some people use an all-purpose mix, and simply screen out large bits, or break up the large bits while planting.
Homemade Potting Soil
What's the best potting soil? As I mention above, you're likely to find many different recipes for homemade potting mixes. The best mix depends on what you're growing, the growing conditions—and how you water! (I've met gardeners who know they're heavy handed with watering, so they blend especially well draining soilless potting mixes for their plants that don't tolerate wet roots.
If you don't need a lot of soil, you might find it easier just to use an off-the-shelf soil. But if you use quite a bit of soil, or if you have certain requirements, then making your own potting soil allows you to customize the ingredients and match them to the needs of your plants.
General-Purpose Soilless Mix Recipe
When it comes to general-purpose mixes, I keep my life simple, and just use an off-the-shelf product.
If you prefer to mix your own, here's a simple recipe you can start with:
2 parts peat moss (or peat moss substitute such as coir)
1 part vermiculite
1 part perlite
If you're using peat moss, add ground limestone so that the mix is less acidic. Add 30 ml of limestone for a 10 litre pail of soil.
One other tip: If the peat or coir is very dry, wet it first, before mixing with the other ingredients.
And one more tip: Using peat? Get "horticultural" or "blond" peat. Peat at the bottom of a peat bog has decomposed more, so it has shorter fibres. Because of the shorter fibres, it packs down more quickly. The peat that’s higher up in the bog has a lighter colour and longer fibres. It’s called “blond” peat. The blond peat is what you want because it gives a soil with more air pores, but at the same time, it holds water well.
It’s usually the dark peat that I see for sale at garden centres around here—because it’s less expensive and many people don't know the difference.
Container Veg Gardening Course

Soil-based Potting Mix
I use a soil-based potting mix for larger outdoor potted plants. Here's my mix for growing potted fig trees. It's good for all sorts of other potted plants too. With the garden-soil component, this mix holds more moisture. And the garden soil and sand both make it heavier, so that large plants are less likely to topple in the wind.
1 part garden loam
2 parts soilless potting mix (I prefer a commercial-grade of soilless potting mix, see my tips on soil-shopping, below)
1 part sand
Add 30 ml of limestone for a 10 litre pail of the mix
If you want to read more about potting soil for fig trees, here are my recommendations for potting soil for fig trees in pots.
Shopping for Potting Soil
It’s buyer beware when it comes to small, domestic-sized bags of potting mix. Some is great…some is terrible.
A simple approach that I recommend to all my students is to buy potting soil mixed for commercial producers. The quality is consistently good. Which makes sense, because commercial growers know good soil and won't settle for less.
Commercial potting mix is sold in "bales" that are 107 litres (3.8 cubic feet). And the soil within is dry and compressed. So it's a fair bit of soil, but I think it's worth it.
Summary
Good potting mix is a key to success with container gardening. There are many special-purpose mixes available. In many cases, a general purpose mix works quite well. If it's an option, buy a large, commercial-sized bag; the quality is more consistent. When mixing your own potting soil, remember that there are many recipes--and that what's the best for you depends on how you water and what you're growing.
If you’re interested in potting soil because you’re growing vegetables in containers, grab this container veggie guide.
Frequently Asked Questions
Pin this post!
What are the key ingredients in a good potting soil?
A potting soil has an organic component such as peat moss, coir, or compost. This is bulked out with an aggregate such as perlite, vermiculite, or sand.
Can I reuse old potting soil?
Absolutely. The structure of the soil breaks down over time as the organic part (sphagnum peat moss, coir, compost) breaks down. And when it does, the soil will pack down. But you can usually use soil for more than one year. Some gardeners reuse potting soil by refreshing old soil with new soil. (Don't reuse soil that had diseased plants in it, though.)
Does old soil go bad?
Old soil does not go bad. But when peat moss gets very dry, it can be difficult to rewet—it repels moisture. So when using old, very dry soil, allow time for moisture to spread around...and be prepared to get your hands dirty by mixing it.
What is the difference between potting soil and garden soil?
Potting soil is made for plants growing in containers. It drains well. Garden soil is more likely to pack down.
What is a good potting mix for lemon trees?
Root rot is a common problem with potted lemon trees because they don't tolerate wet soil. Look for a “high porosity” type mix. If you're mixing your own potting soil, make it well draining.
Here's a post that helps you know when to water your lemon tree.
What is the best potting soil for fig trees?
It depends on how you water, the size of your fig tree, and the type of container you're using.
Here's a whole article that explains potting soil for fig trees.
Do I need a special soil for wicking beds and sub-irrigated planters (SIPS)?
Use a soil that wicks moisture well. That's because with this type of container there's a reservoir at the base, and water wicks upwards.
If you're buying soil, you won't find "wicking" on the label. If in doubt, remember that the large, commercial bales of potting soil are usually a good bet.
Here's an article that explains sub-irrigated planters and talks about suitable soil.
What about sterile soil?
A heat treatment kills most organisms in the soil: Insects, weed seeds, and diseases.
In most cases, this is not necessary. Healthy soil is living, with microbial processes going on. But when it comes to starting seeds indoors, sterile soil can be beneficial because seedlings are more susceptible to damping off diseases than large plants.
I've heard of people wrapping moist potting soil in foil, and putting it in the oven at 200°F for 20 minutes. Never tried it myself...I know my family wouldn't approve of the smell. However, I have had students tell me they sterilize soil in the BBQ!
Peat-based soilless potting mix is acidic. While not sterile, it's less likely to have disease organisms than something like your home-made compost.
Find This Helpful?
Enjoy not being bombarded by annoying ads?
Appreciate the absence of junky affiliate links for products you don’t need?
It’s because we’re reader supported.
If we’ve helped in your food-gardening journey, we’re glad of support. You can high-five us below. Any amount welcome!
Interested in Adding Worm Castings to Your Soil?
Tune in to this interview to learn about how to use worm castings.
Articles
Growing veg in containers? Find out about vegetable container gardening.
Course on Container Gardening
Here is a self-paced masterclass to help you grow a great container vegetable garden.
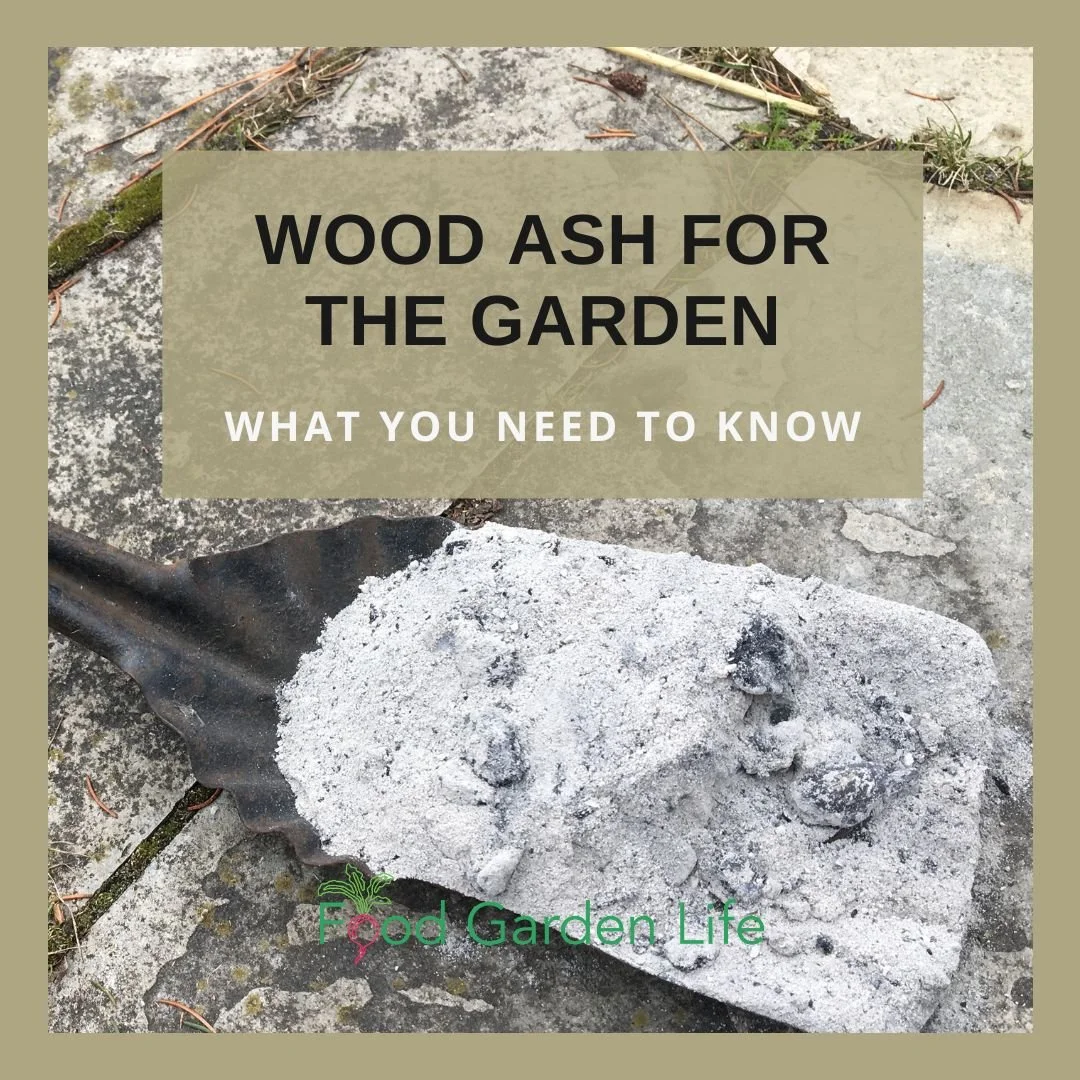
Wood Ash for the Garden: What You Need to Know
Find out whether wood ash is good for your garden. It can be used as a fertilizer and to make the soil less acidic.
By Steven Biggs
Fireplace Ashes for the Garden?
I have happy memories of cooking holiday roasts over charcoal with my dad. He taught me how to cook over charcoal—and he drilled in the importance of NEVER leaving a barbecue full of ash out in the rain.
Wet ash in a barbecue is like road salt on a car…corrosion just waiting to happen.
Yet many people spread wood ash on the garden.
Actually, sprinkling ash around the yard isn’t anything new. And in an era when people pay attention to how much waste they generate, it seems to make sense not to send wood ash to landfill.
My neighbour Al always sprinkled wood ash around his garden. I’d see the ash as the wind blew it over the fresh snow, and ash specks peppered the sidewalk.
Whether wood ash is good for your vegetable garden depends on your soil and how you’re using the ash.
Thinking further back, I remember as a child, playing on my grandmother’s gravel driveway and eagerly collecting the nuggets of coal clinker from decades before, when ash from the coal furnace was sprinkled around the yard.
But is ash good for the garden? The answer depends on what type of ash it is, how you’re using it, and your soil.
If you’re wondering about using ash in your yard, this post tells you more about wood ash, ways to use it—or when not to use it.
What’s in Wood Ash
Wood ash contains a lot of plant nutrients, including potassium, phosphorus, calcium and magnesium. There are other minor nutrients too.
The amount of the various nutrients in your wood ash depend on the type of wood you’re burning.
The other thing to know is that wood ash is alkaline. So in the same way that lime is used to make soil less acidic, so can wood ash. (More wood ash is needed than lime, though wood ash is faster acting.)
Using Wood Ash in the Garden
Ash has two uses in the garden:
Fertilizing
Reducing the acidity of some types of soil
Whether wood ash is beneficial in your garden depends on soil nutrient levels and soil pH (which is the measure of acidity or alkalinity.)
When soil is too acidic or alkaline, some nutrients get “locked up.” The nutrients might be in the soil—but unavailable to plants. That means:
Ash applied to acidic soils can make more nutrients available by making the soil less acidic (more alkaline)
Ash applied to a soil that’s already alkaline can sometimes make the soil more alkaline to the point that nutrients become unavailable
That’s why you might come across the advice not to use wood ashes on soils with a pH over 6.5.
Don’t Know Your Soil pH?
Pin this post!
Some sources say not to use wood ash in the garden without testing your soil first.
What’s a gardener to do if you don’t want to have the soil tested…but don’t want to unnecessarily send ash to landfill?
I’m not a proponent of soil-testing hypochondria, so I understand. Garden soil is often highly disturbed and highly variable, so one garden bed can be quite different from an adjacent one. (If you guessed that I don’t test my soil, you’re correct.)
Keep reading and get a few ideas.
What to Know About Wood Ash if You Don’t Plan to Test the Soil
Like many things in life, moderation is key.
Soils with high levels of organic matter and clay can resist pH change—so the occasional sprinkle of ash isn’t a problem. I sprinkle some wood ash the slightly alkaline clay soil in my vegetable garden; it’s got lots of organic matter, and I don’t put on a lot of wood ash.
You can also sprinkle in ash as you add new layers to the compost heap. The organic matter in the compost absorbs the nutrients so they’re not washed away. Organic matter also lessens the change to pH.
Using Wood Ash in the Garden
If you’re using wood ash in the garden, remember that it’s not a complete fertilizer. It doesn’t have any nitrogen, for example.
Here are tips for using wood ash in the garden:
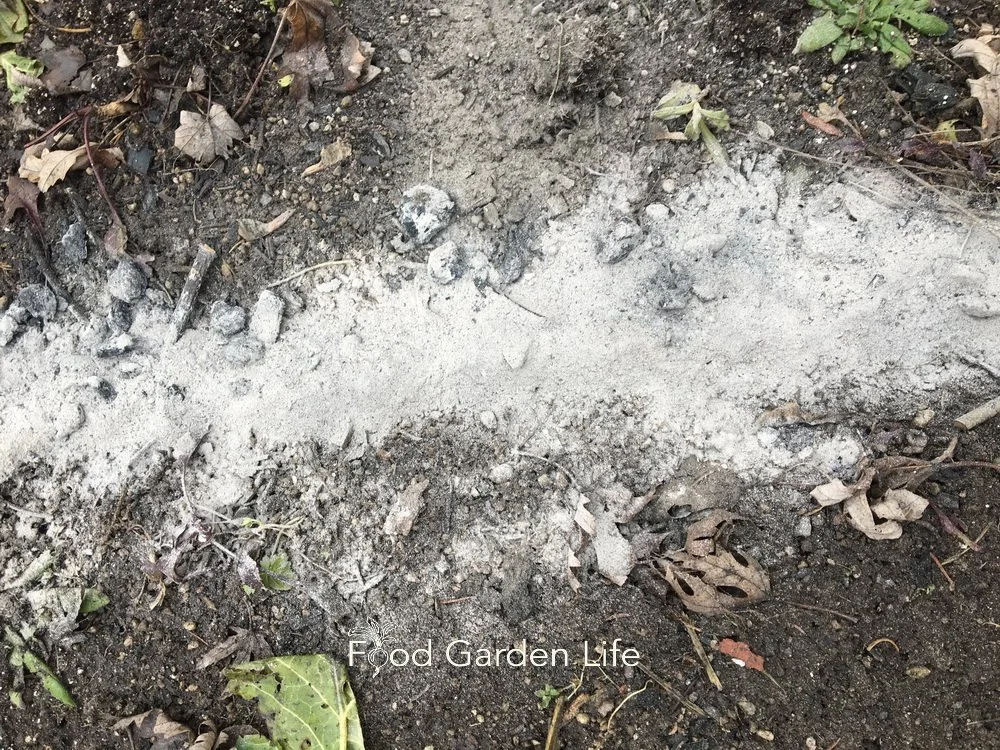
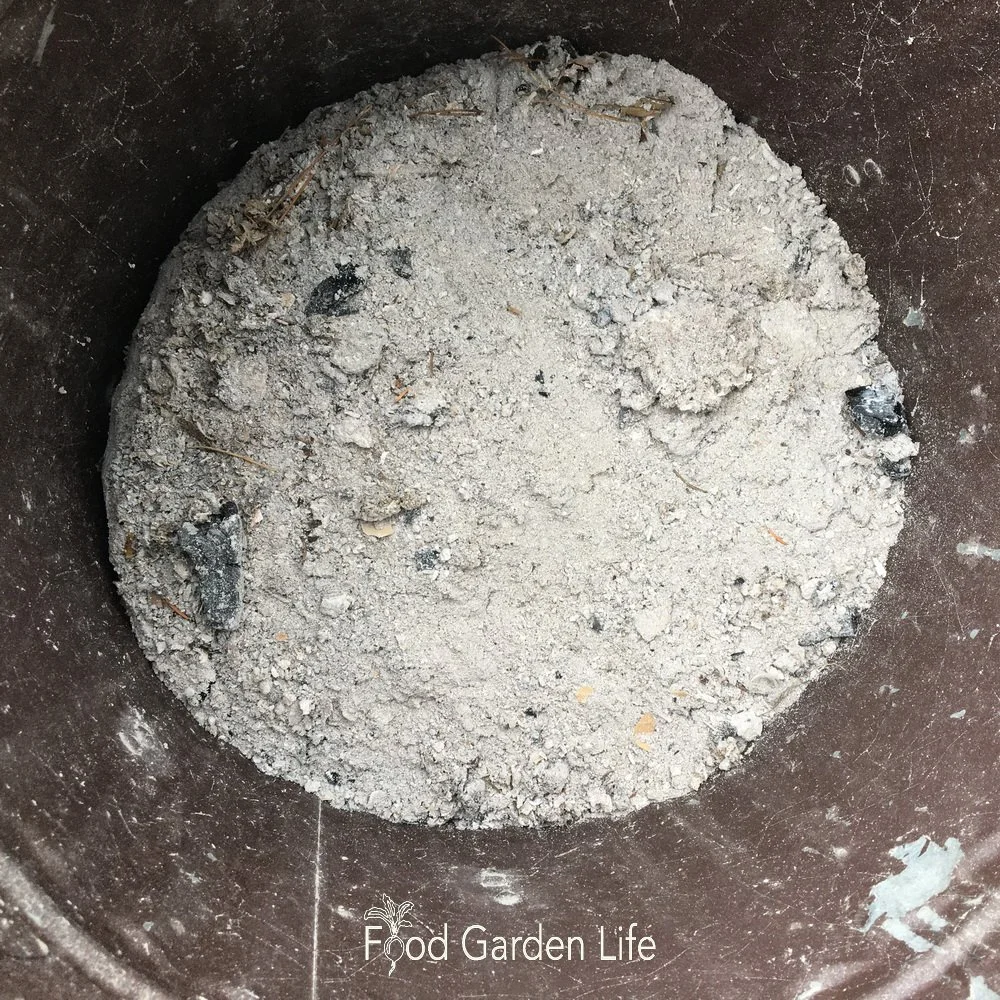
On bare soil, sprinkle on wood ash at least a couple of weeks before planting, and then rake or dig it into the soil.
If applying wood ash to the soil and you don’t want coarse bits, sift out big unburnt chunks (hardwire cloth works well, though you can skip this step if you’re putting your wood ash in the compost)
On bare soil, sprinkle on wood ash at least a couple of weeks before planting—but not too far ahead because it’s soluble and nutrients will wash away
Rake or dig in the wood ash—you don’t want to seed into ash, and mixing with soil at least a couple of weeks beforehand gives it time to start breaking down
Don’t apply wood ash near germinating seeds, because they can be easily damaged by the high salt levels.
Don’t overdo it…keep it to once per year because too much wood ash (or too much of many fertilizers) can make some nutrients unavailable to plants
Use only wood ash. Don’t use ash from cardboard, briquettes, pressure-treated timber, or painted woods.
If you heat with only wood, you might find you have more ash than you have garden to spread it around. Don’t make heavy, repeated applications in the same part of the garden. Consider spreading some over the lawn, or sprinkling in some with new additions to the compost pile.
Your acid-loving plants such as blueberries, raspberries, azaleas, and rhododendrons won’t appreciate ash treatments. Skip these plants, even if you have an acidic soil. (And potatoes too, because alkaline conditions encourage the disease potato scab.)
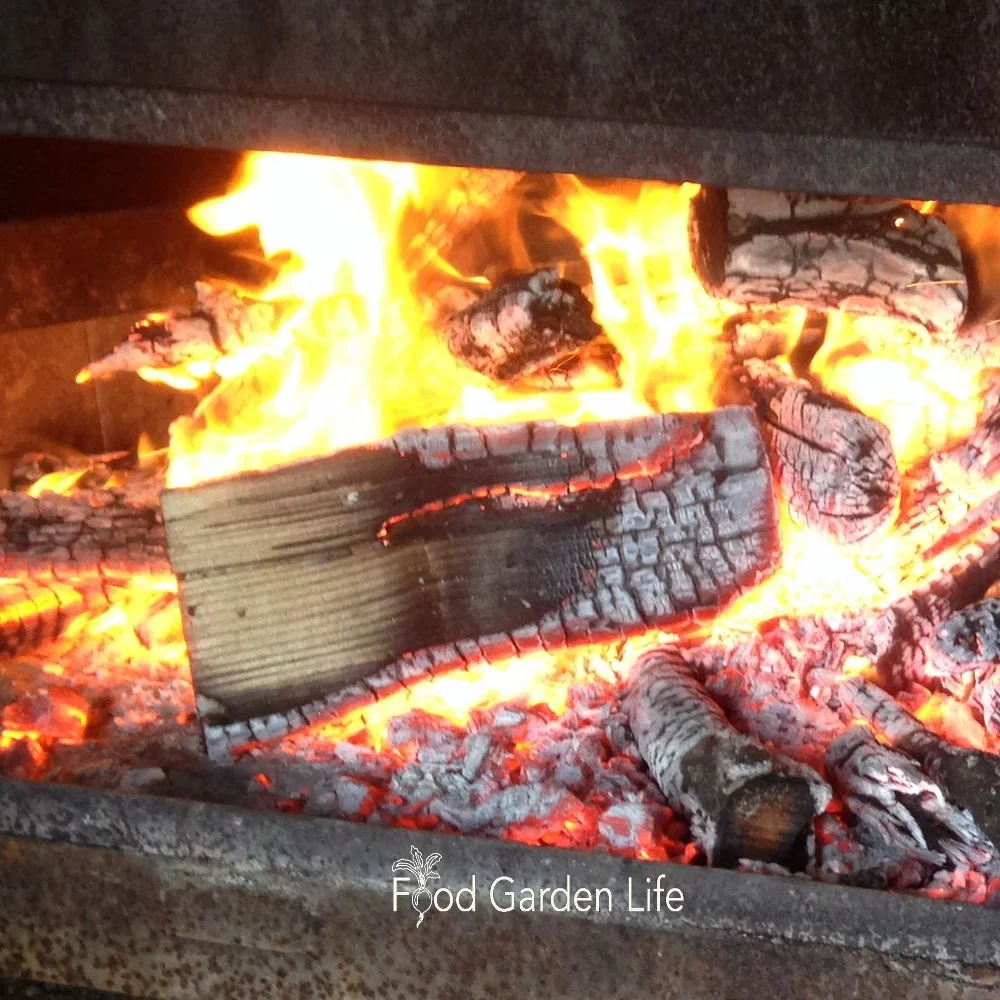
Types of Wood Ash
Ash from wood burned in stoves, fireplaces, and outdoor fire pits is suitable. So is ash from hardwood lump charcoal.
Stick to wood ash: Ash produced from cardboard, coal, briquettes, pressure-treated wood, and painted woods can contain stuff we don’t want in the garden, including heavy metals.
Storing Wood Ash
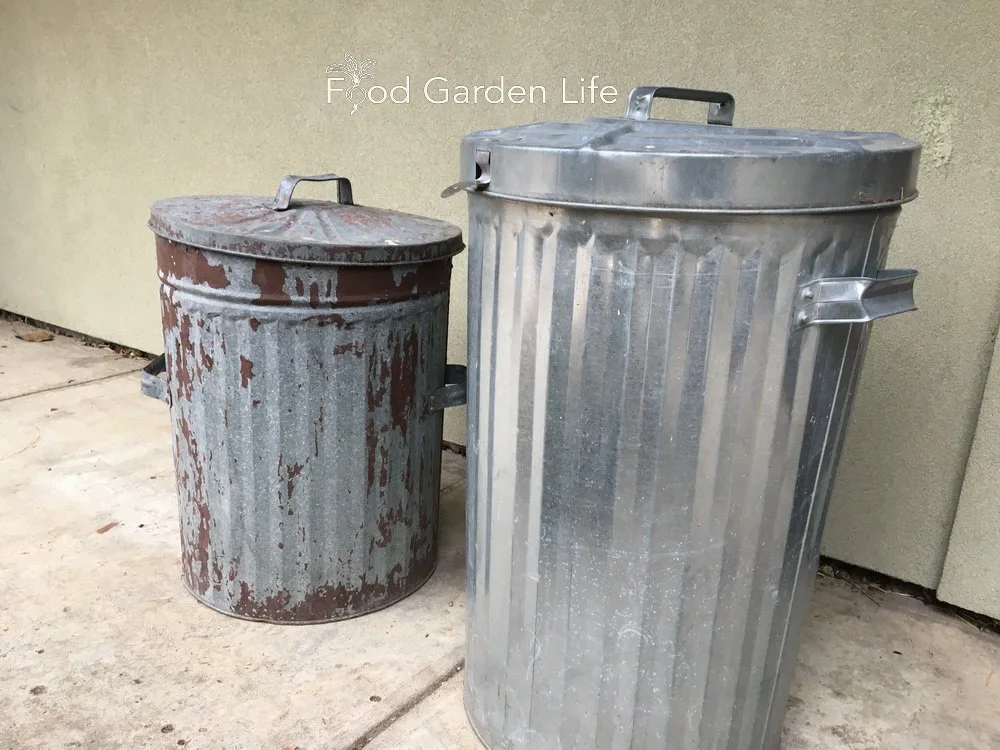
Keep wood ash dry until you use it.
The potassium in wood ash is soluble, meaning it leaches out with rain. So keep the wood ash dry until you’re ready to use it in the garden.
Other Wood Ash Uses
Wood ash has long been used to make lye for soap. I don’t make my own soap, but I do use wood ash to clean the windows of my wood stove. I dip scrunched up newspaper in water, and then into wood ash before rubbing it on the glass. It’s an excellent glass cleaner.
Wood ash is caustic, meaning don’t breathe it in, and mind your skin and eyes.
Find This Helpful?
Enjoy not being bombarded by annoying ads?
Appreciate the absence of junky affiliate links for products you don’t need?
It’s because we’re reader supported.
If we’ve helped in your food-gardening journey, we’re glad of support. You can high-five us below. Any amount welcome!
More on Soils
Soil and composting Articles and Interviews
For more posts about how to grow vegetables and kitchen garden design, head over to the soil and compost home page.
Edible Gardening Courses
Want more ideas to make a great kitchen garden? We have great online classes that you can work through at your own pace.
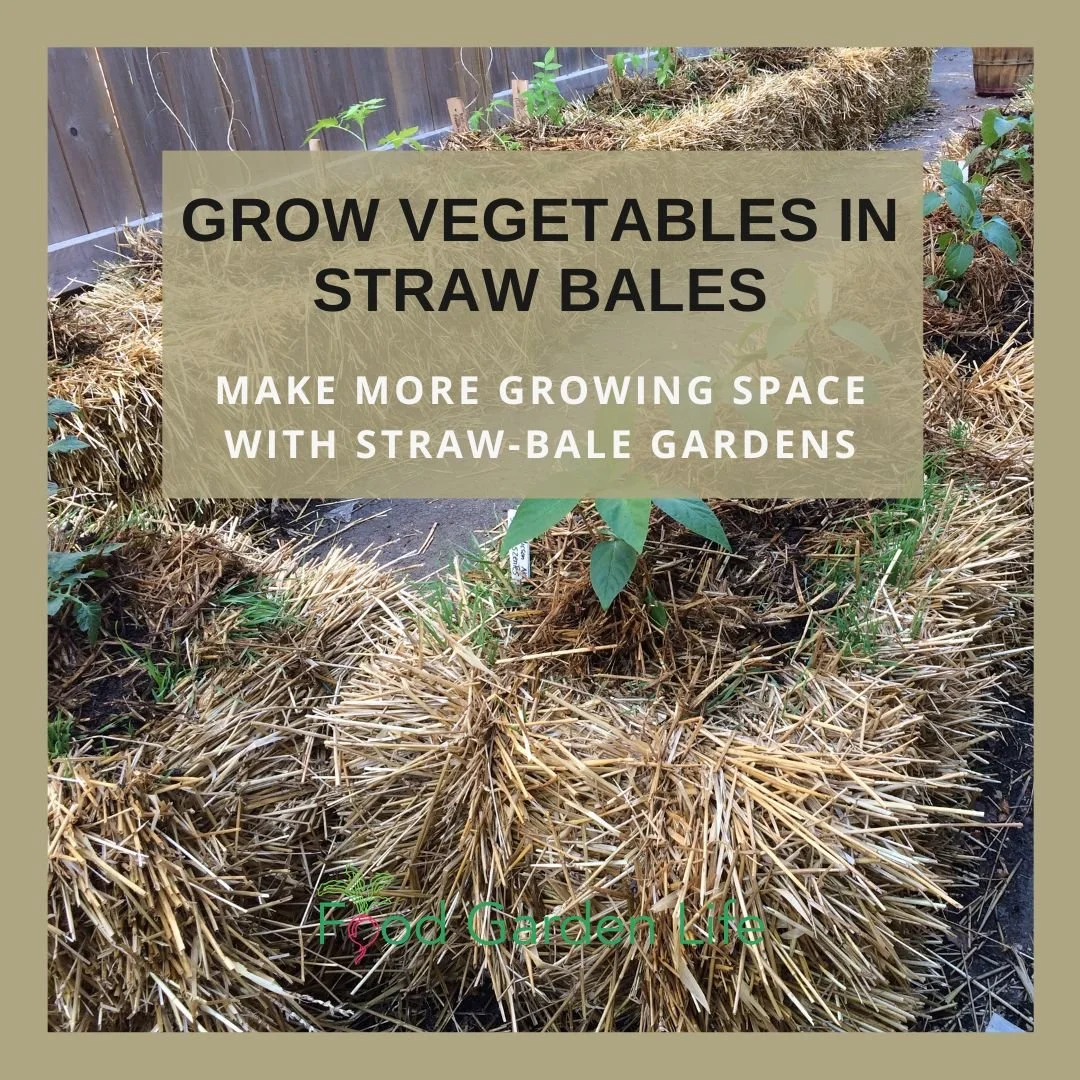
Grow Vegetables in Straw Bales
Straw bale vegetable gardening is an easy way to create more growing space.
By Steven Biggs
Make More Growing Space with Straw Bale Gardens
I started straw bale gardening to solve a problem.
The problem? We needed more growing space for my daughter Emma’s 100-plus tomato varieties.
We have a big yard for the city. But there’s a black walnut tree that makes much of the yard unsuited to growing tomatoes.
(That’s because black walnuts give off a compound that kills the tomato plants…and a number of other plants too.)
With a long and ugly driveway that could fit a couple of school buses, Emma and I began to imagine a tomato plantation on the driveway.
In this post I’ll talk about how to use straw bales to make gardens on paved areas or over soil that’s not great for gardening.
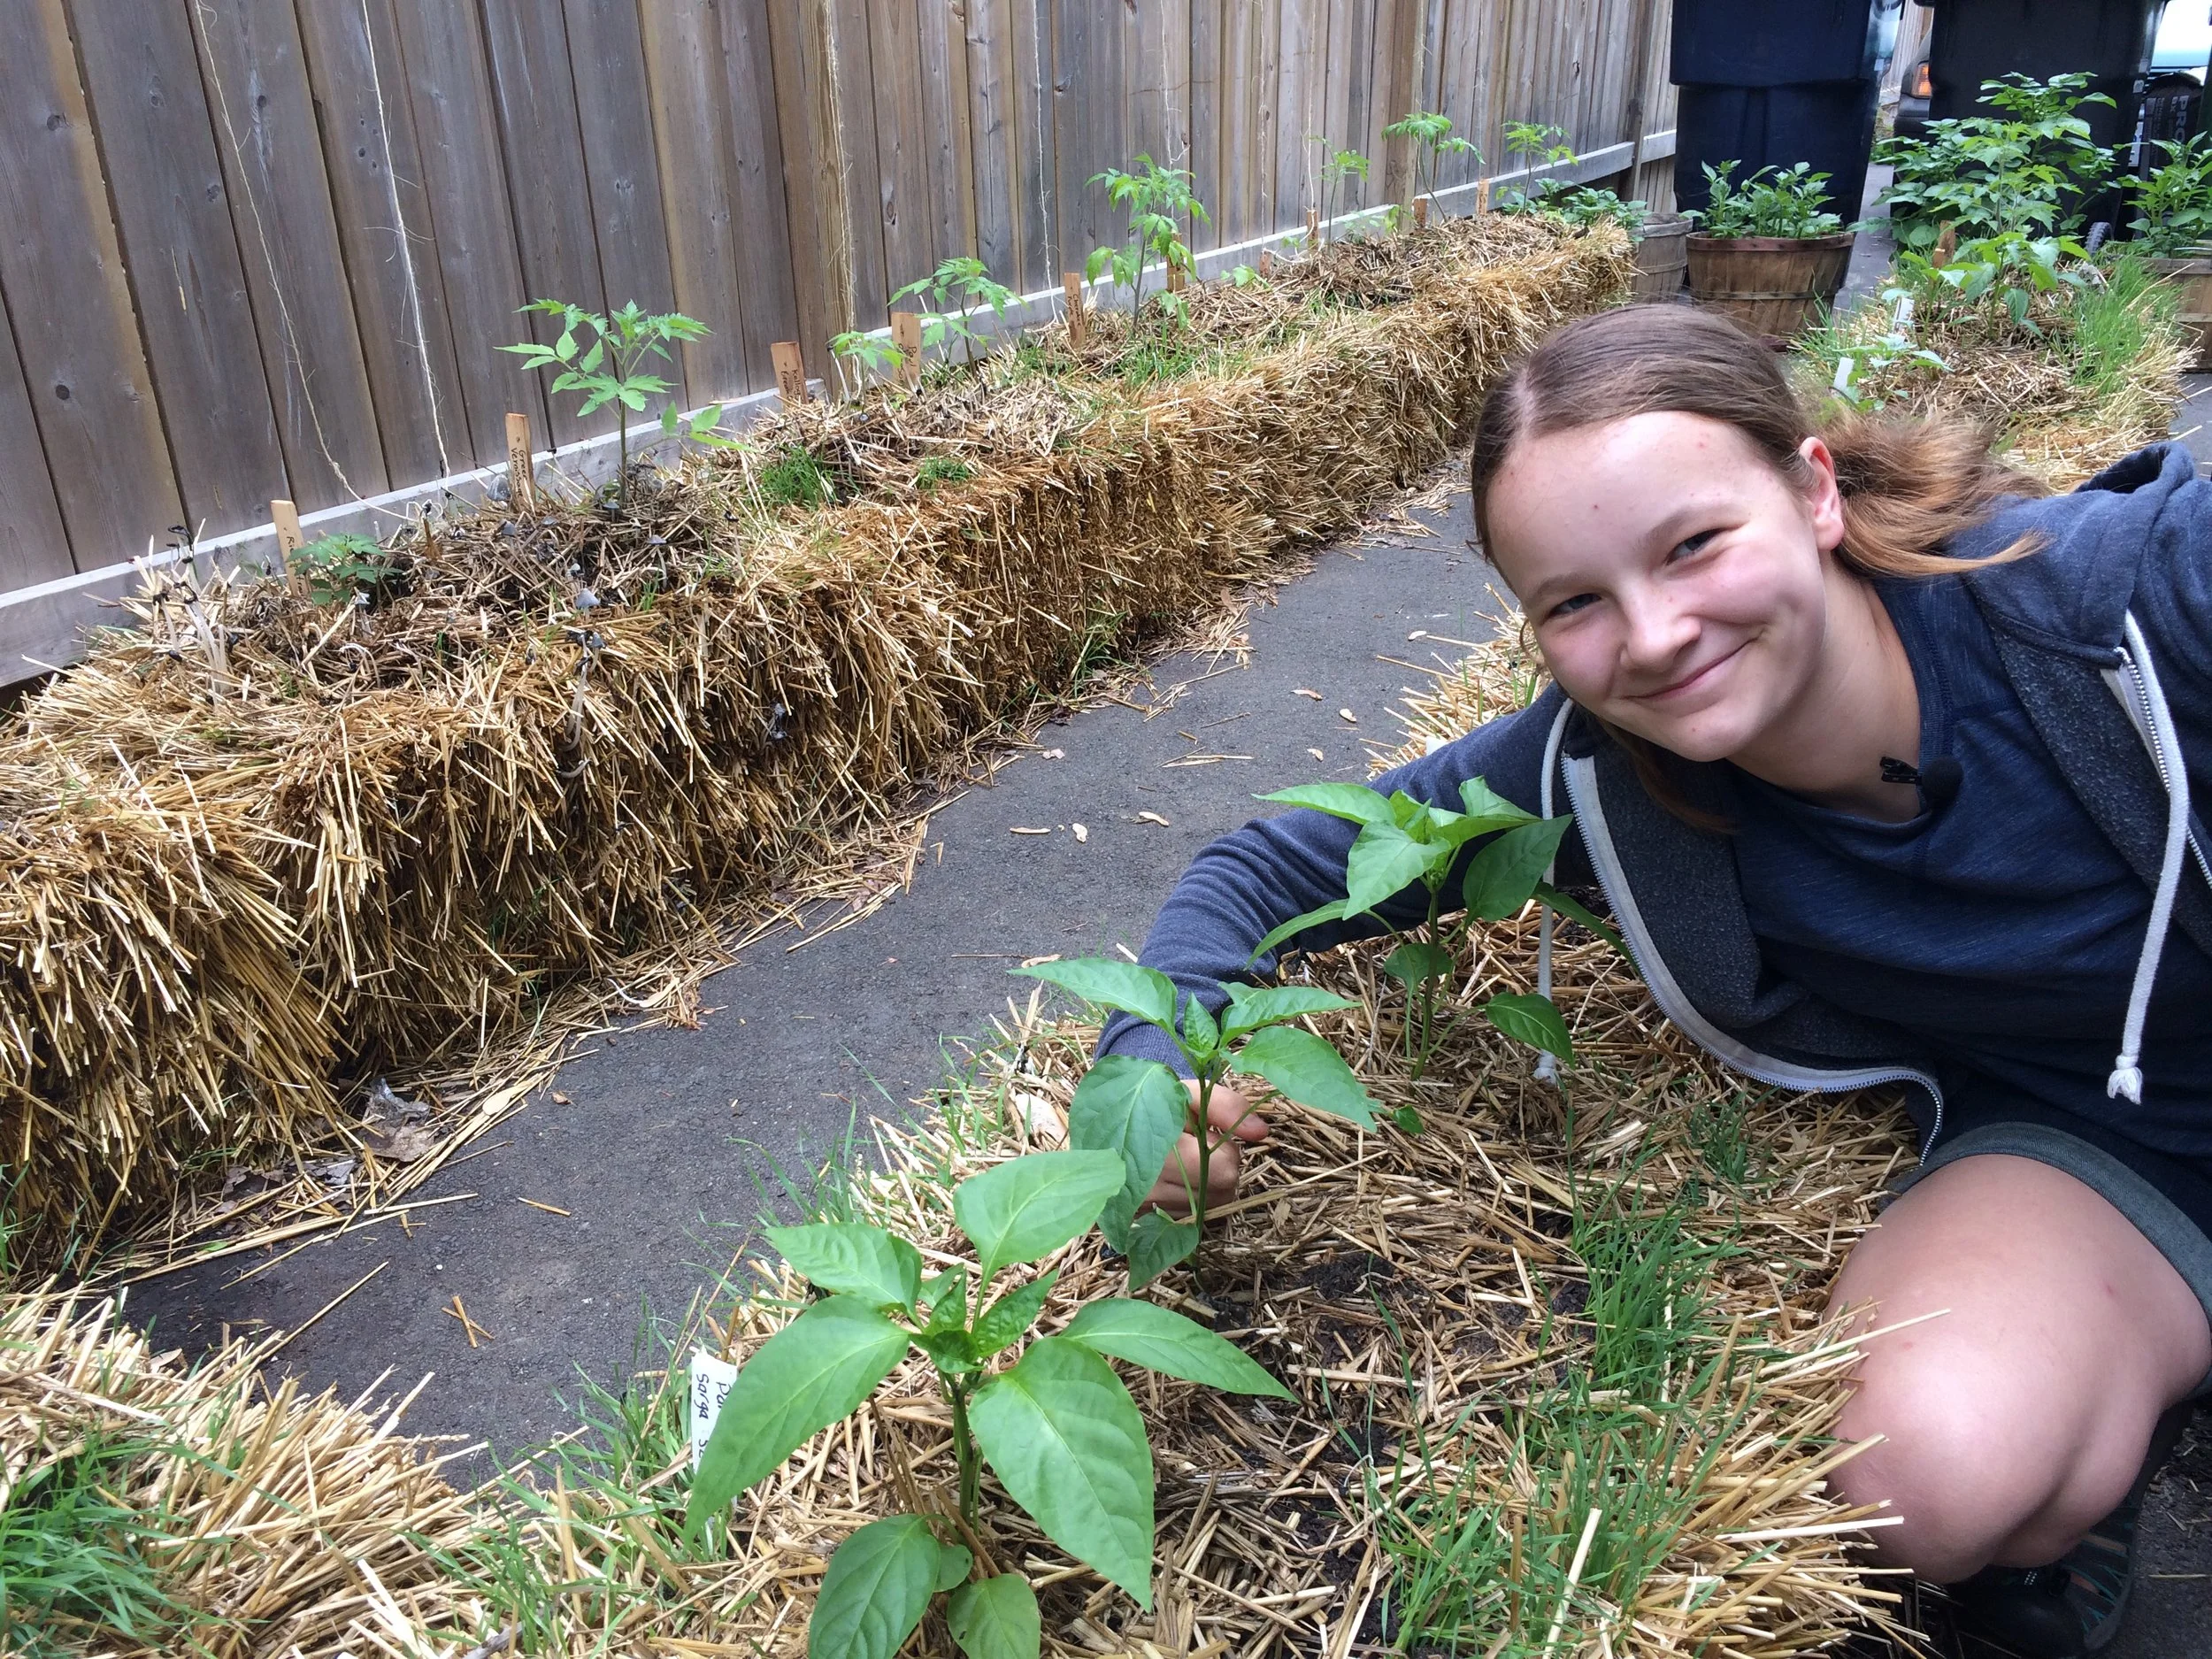
Straw Bale Driveway Garden
Straw bales are an easy way to create a near-instant garden on paved surfaces and areas with poor soil. That’s because the straw bale is both the growing medium and the container.
Here’s how it works: As the straw bale decomposes, it creates an ideal growing medium that is well aerated and holds lots of moisture. It’s like a big sponge. It’s perfect for plant roots – better than many garden and container soils.
In short, you’re composting a bale of straw, and growing your vegetable plants in it at the same time.
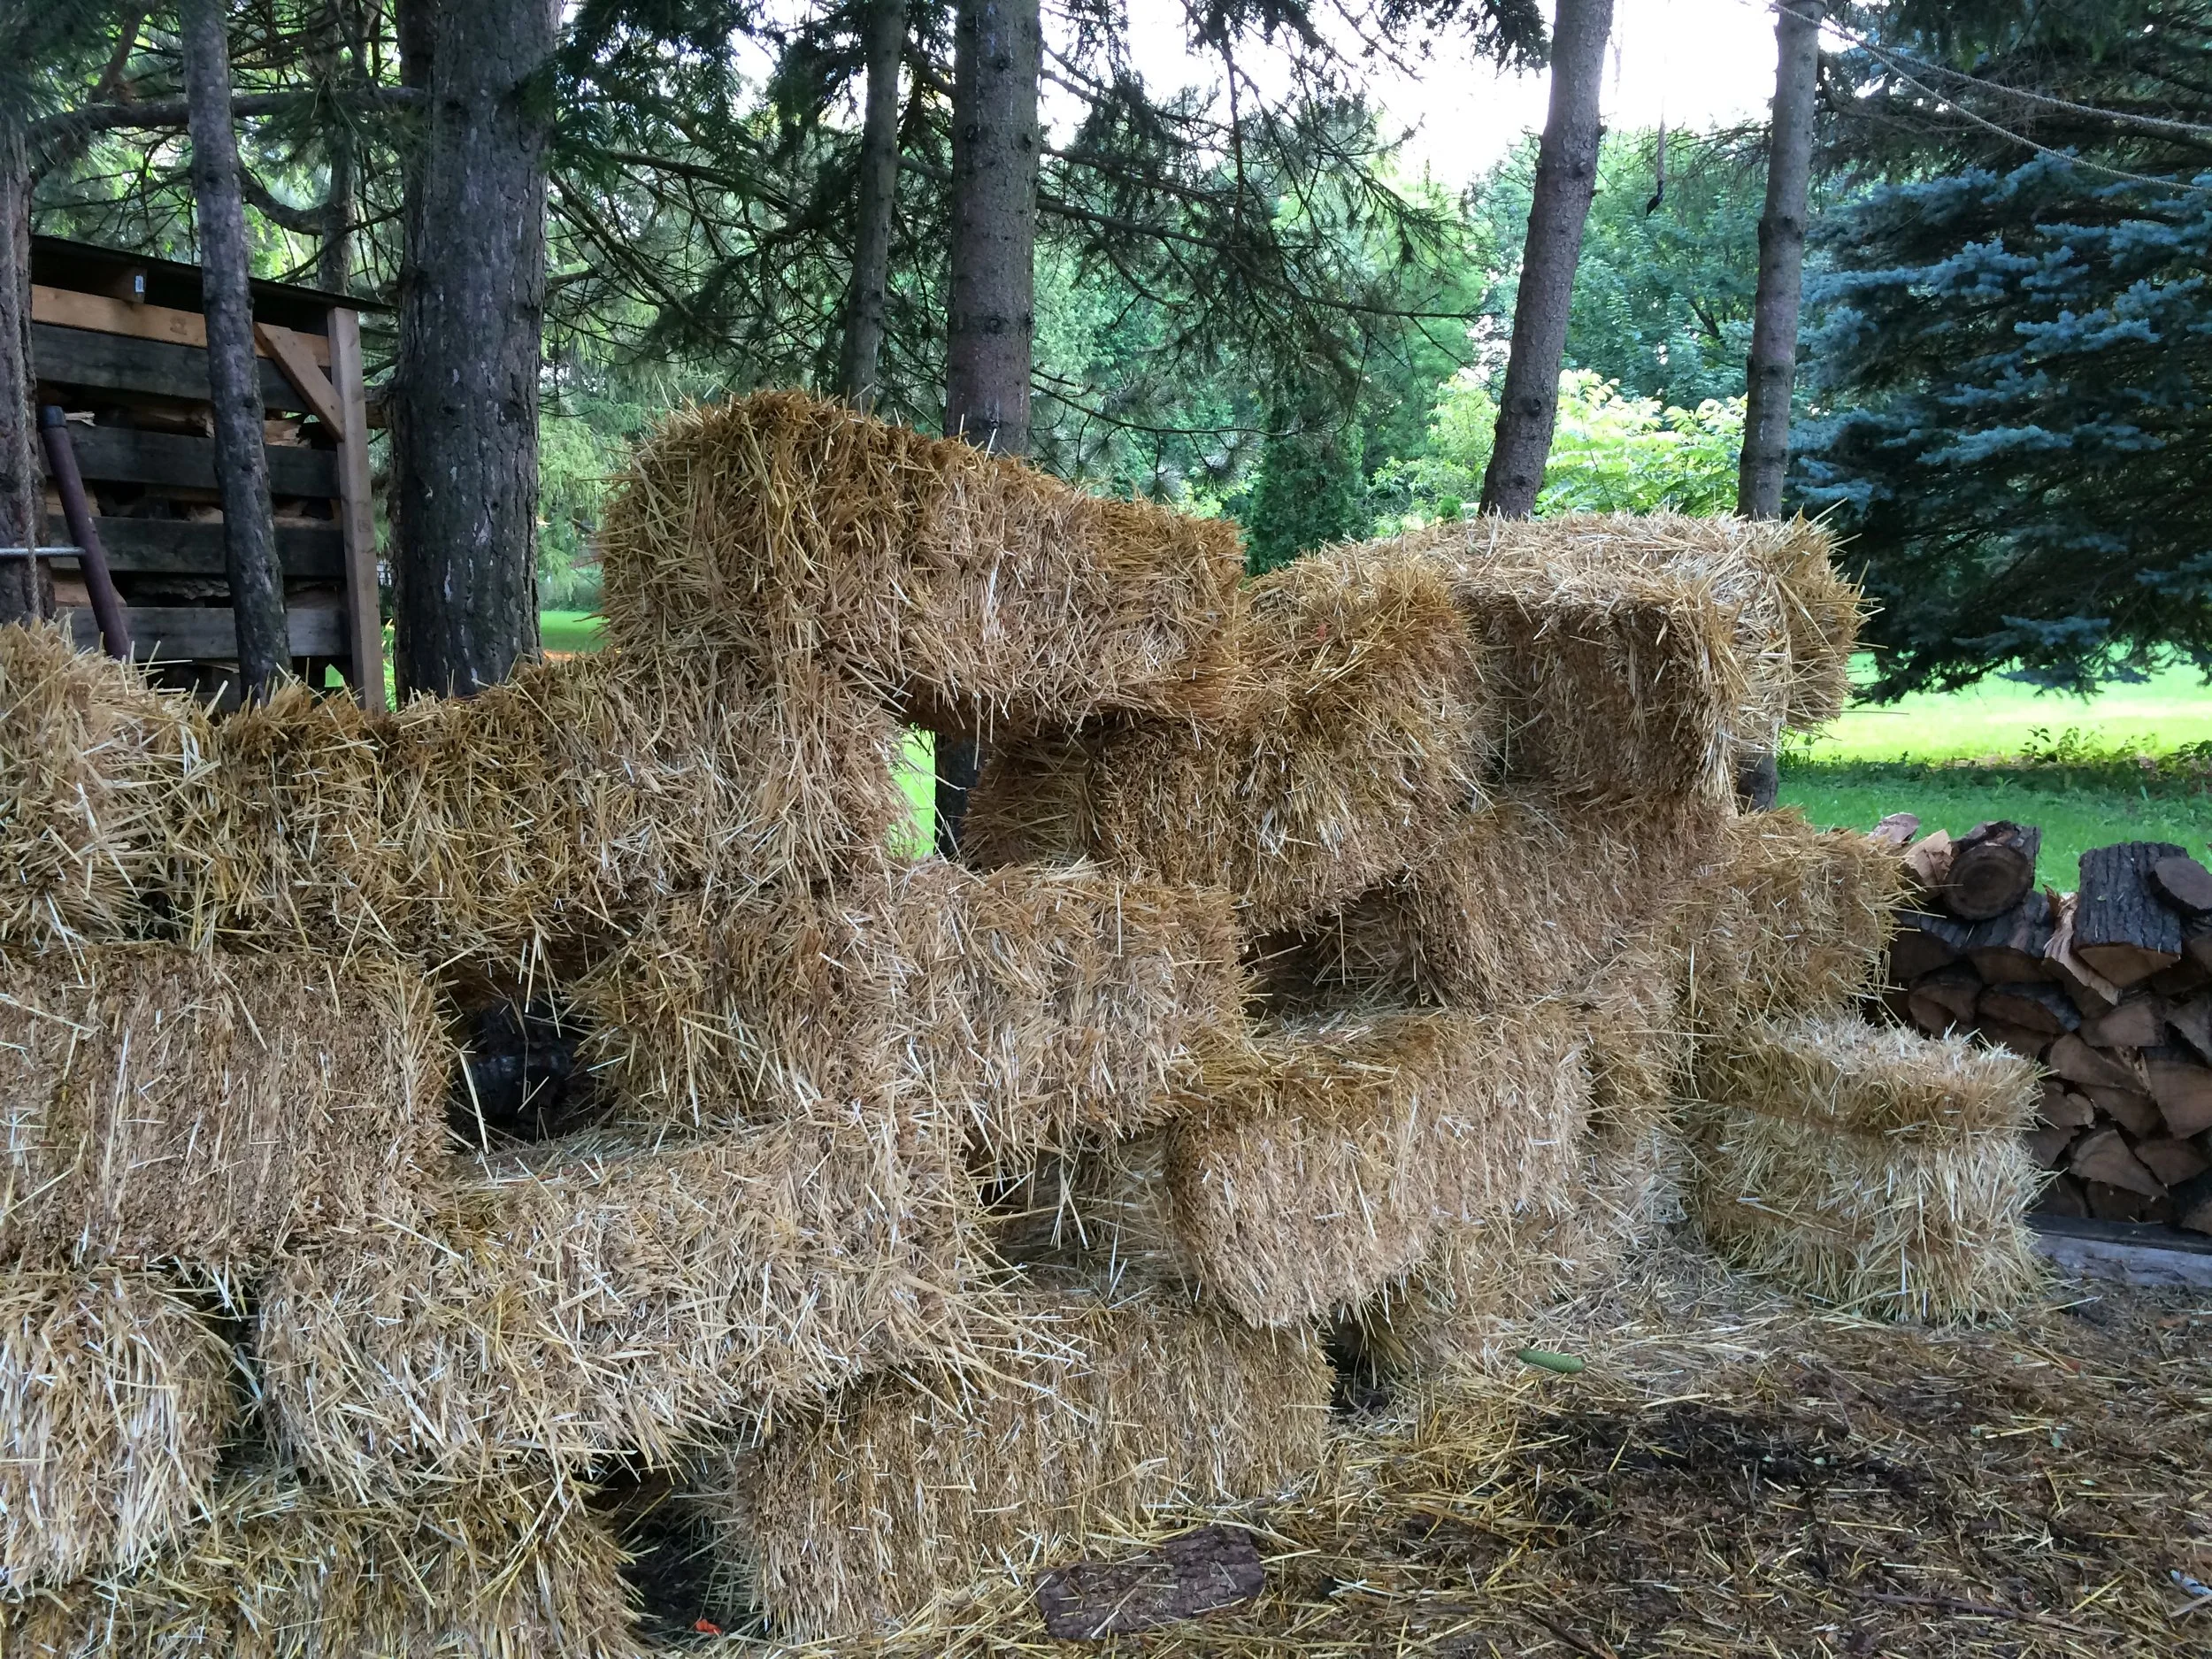
Straw Bale Gardening: Top Tip

Our straw bale driveway garden
The most important thing to remember is that bales should be “conditioned” before you grow in them.
Conditioning means kick starting the microbial action. And you know when it’s working because as the microbes start to break down the straw, the temperature inside the bale goes up. We don’t plant in it yet…it might be too warm for our plants.
As the temperature comes down, your bale is ready to plant. Some people use a thermometer. I stick in my finger. It’s not an exact thing.
I allow 3-4 weeks for this conditioning process. It might be less if you’re somewhere warmer than me.
Since the bales in our driveway garden are for heat-loving tomato plants that we put out in late May, we start conditioning the bales late-April to make sure they’re ready for the planting date. I just work back four weeks from my planting date.
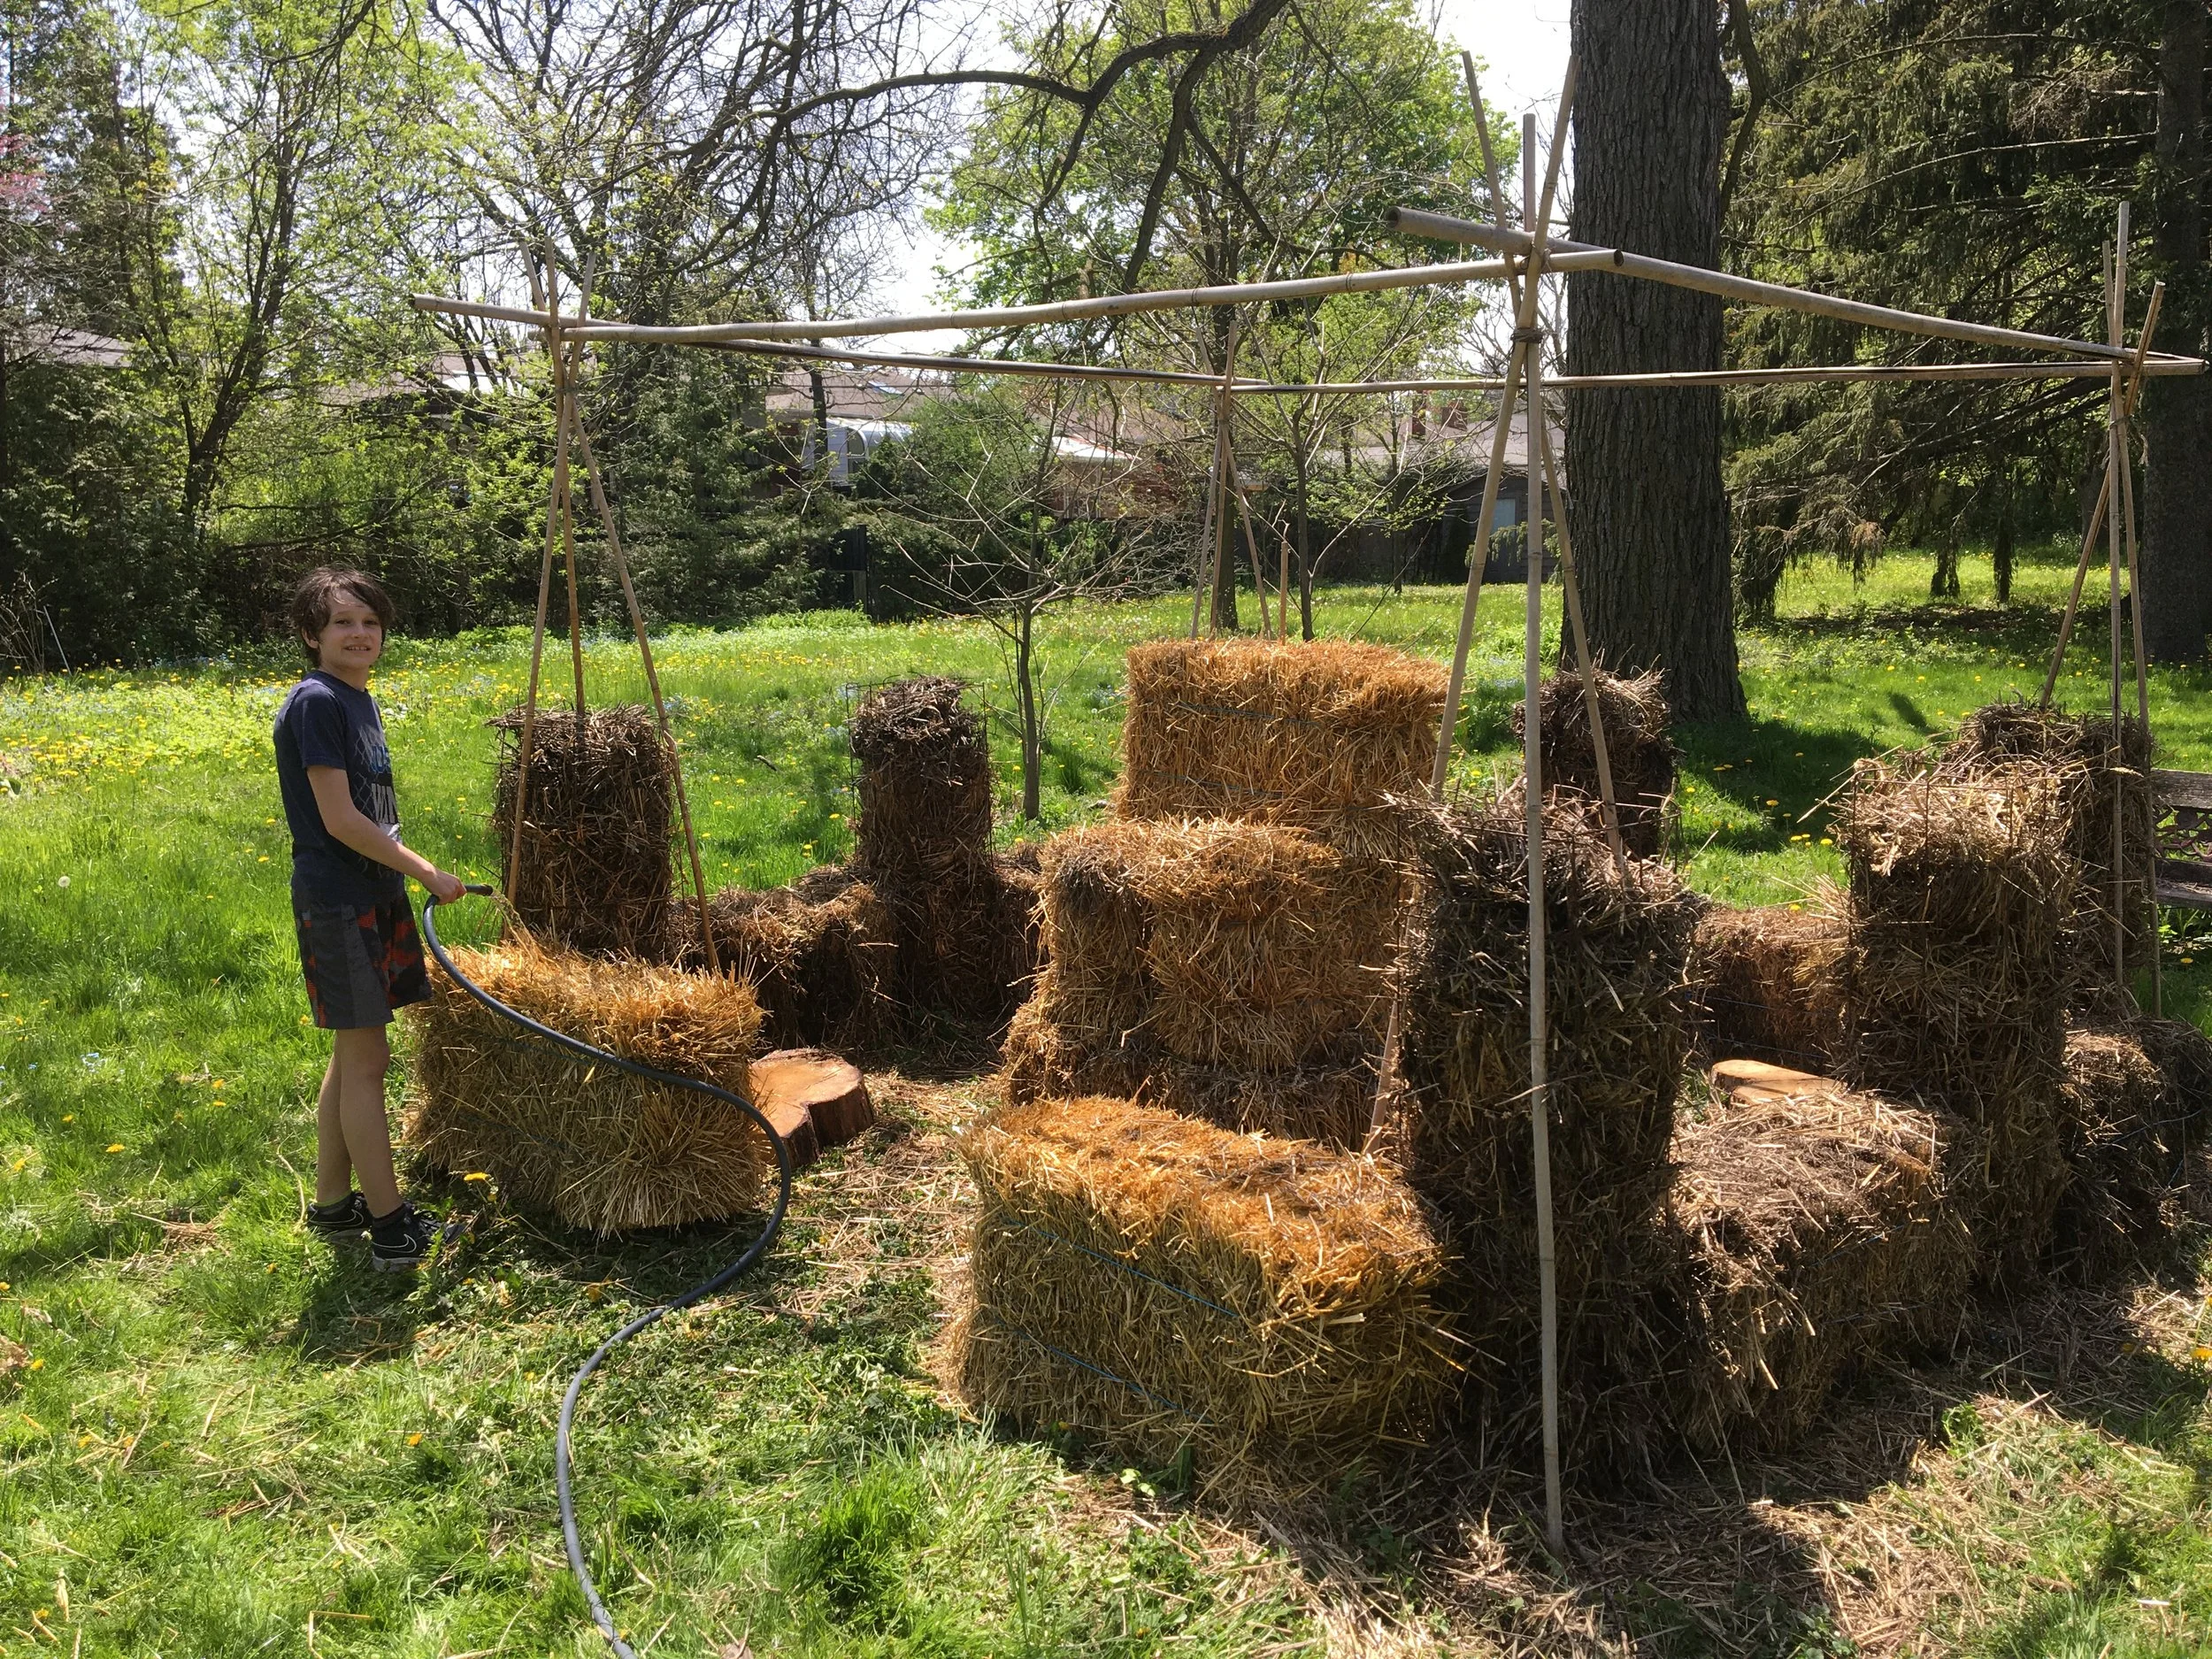
Straw Bale Garden Setup

Emma conditioning the newly arrived straw bales.
Before your bales become heavy from watering them, it’s a good time to think about how you want to arrange them. There’s no right or wrong, it depends on your situation:
If you’re planning to use a long soaker hose, you might want them in a long line.
If you’re gardening with kids, arranging them in a square makes for a nice hidoute once the plants get bigger
If you’re watering with a hose, arrange the bales so you can easily move amongst the bales with the hose
How to Orient Straw Bales
Once you know how you want to arrange the bales, think about how you’re orienting them. You can place them so that the loops of twine are on the top and bottom – or the twine is at the sides. Both ways of orienting the bales are fine.
But here’s how I do it: When positioned so that the twine is at the sides, the straw within is mainly oriented vertically. Bales positioned this way absorb more water, so it’s less likely to run off of the side of the bale.
How to Condition Straw Bales
To condition the bales – which just means getting the microbes working – we need 2 things:
Water
Nitrogen
In this picture the bales are oriented with the twine at the top and bottom of the bales. We now prefer to have the twine at the side for easier water penetration.
Place a nitrogen source on top of the bales and water well. The goal is for the water to soak into the bale and move some of the nitrogen into the bale. Use a low pressure and volume so that water doesn’t flow over the sides of the bale (and take the nitrogen with it).
More on the nitrogen source: When you’re looking at the numbers in the fertilizer formulation, you want the first number, the nitrogen, to be higher than the others. For example, blood meal is 12-0-0. That’s what I usually use.
Other years I’ve also used a high-nitrogen organic fertilizer derived from guano, and a lawn fertilizer.
Here’s how I condition straw bales with blood meal:
I water well every day for the first week.
Starting on the first day, and again every other day, I put a 2 cups of blood meal on the bale BEFORE watering (so the water moves some of the blood meal into the bale).
I give 3 applications of blood meal.
As we get into week 2, the bale should be warming up nicely inside!
After 2 weeks, fertilize the bales with a balanced, all-purpose fertilizer.
During this conditioning process, the temperature can go up to about 50°C (120°F), and then it drops. You can plant in the straw bales once the temperature has dropped below about 26°C (80°F).
Grow a Container Vegetable Garden
And get an early harvest of crops that usually take too long!
Straw-bale Garden Plant Layout

Plant densely to make the best use of space in your straw bale garden.
Wondering about plant spacing in a straw-bale garden? Because a well-managed straw bale garden provides plants lots of moisture and an excellent growing medium, you can plant densely.
We aim for two or three tomato plants per bale. Around those tomatoes we sow bush beans and leafy greens.
Something else to think about with straw bales is that you can plant into the side of the bale too. We’ve grown dwarf tomato plants out the side of bales, while at the top are normal determinate and indeterminate varieties.
How to Support Plants in Straw Bale Gardens
Because there is a paved surface below, and because the bales decompose and start to collapse over the summer, regular staking is not an option.
Here’s what I do instead of staking:
Use 3-4 stakes positioned over the bale to create a self-supporting tee-pee.
Put the bales next to a fence and grow vining crops up the fence.
Looking for tomato-staking ideas? Find out how to stake and support tomato plants.
Straw Bale Garden Planting and Care
How to Plant in Straw Bales
When I show pictures of straw bale gardens to groups, I’m asked where the soil is. There doesn’t have to be soil, because the straw is the growing medium.
When transplanting, use a trowel to pry an opening into the bale. Then place the transplant into the opening, and close up the opening. Be sure to cover the transplant roots with straw so they remain moist.
With large seeds like beans, we just insert them right into the bale. Again, no soil necessary.
When direct seeding smaller seeds onto a straw bale, a thin layer of soil is helpful. We add about an inch of soil over the top of the bale if we’re seeding leafy greens. Use a potting soil or good garden soil that won’t cake with frequent watering.
Straw Bale Garden Fertilizer and Water
Once your bales are conditioned and planted, feed with a balanced, all-purpose feed and keep them well watered. Because the inside of the bale remains well aerated, excess water is not likely to harm the plants. But excess water will wash away nutrients.
If there are not many bales in your garden, hand watering might be fine.
For larger gardens, drip irrigation or a soaker hose works well. Position the soaker hose to sprays downwards, into the bale.
Grasses and Mushrooms on Straw Bales
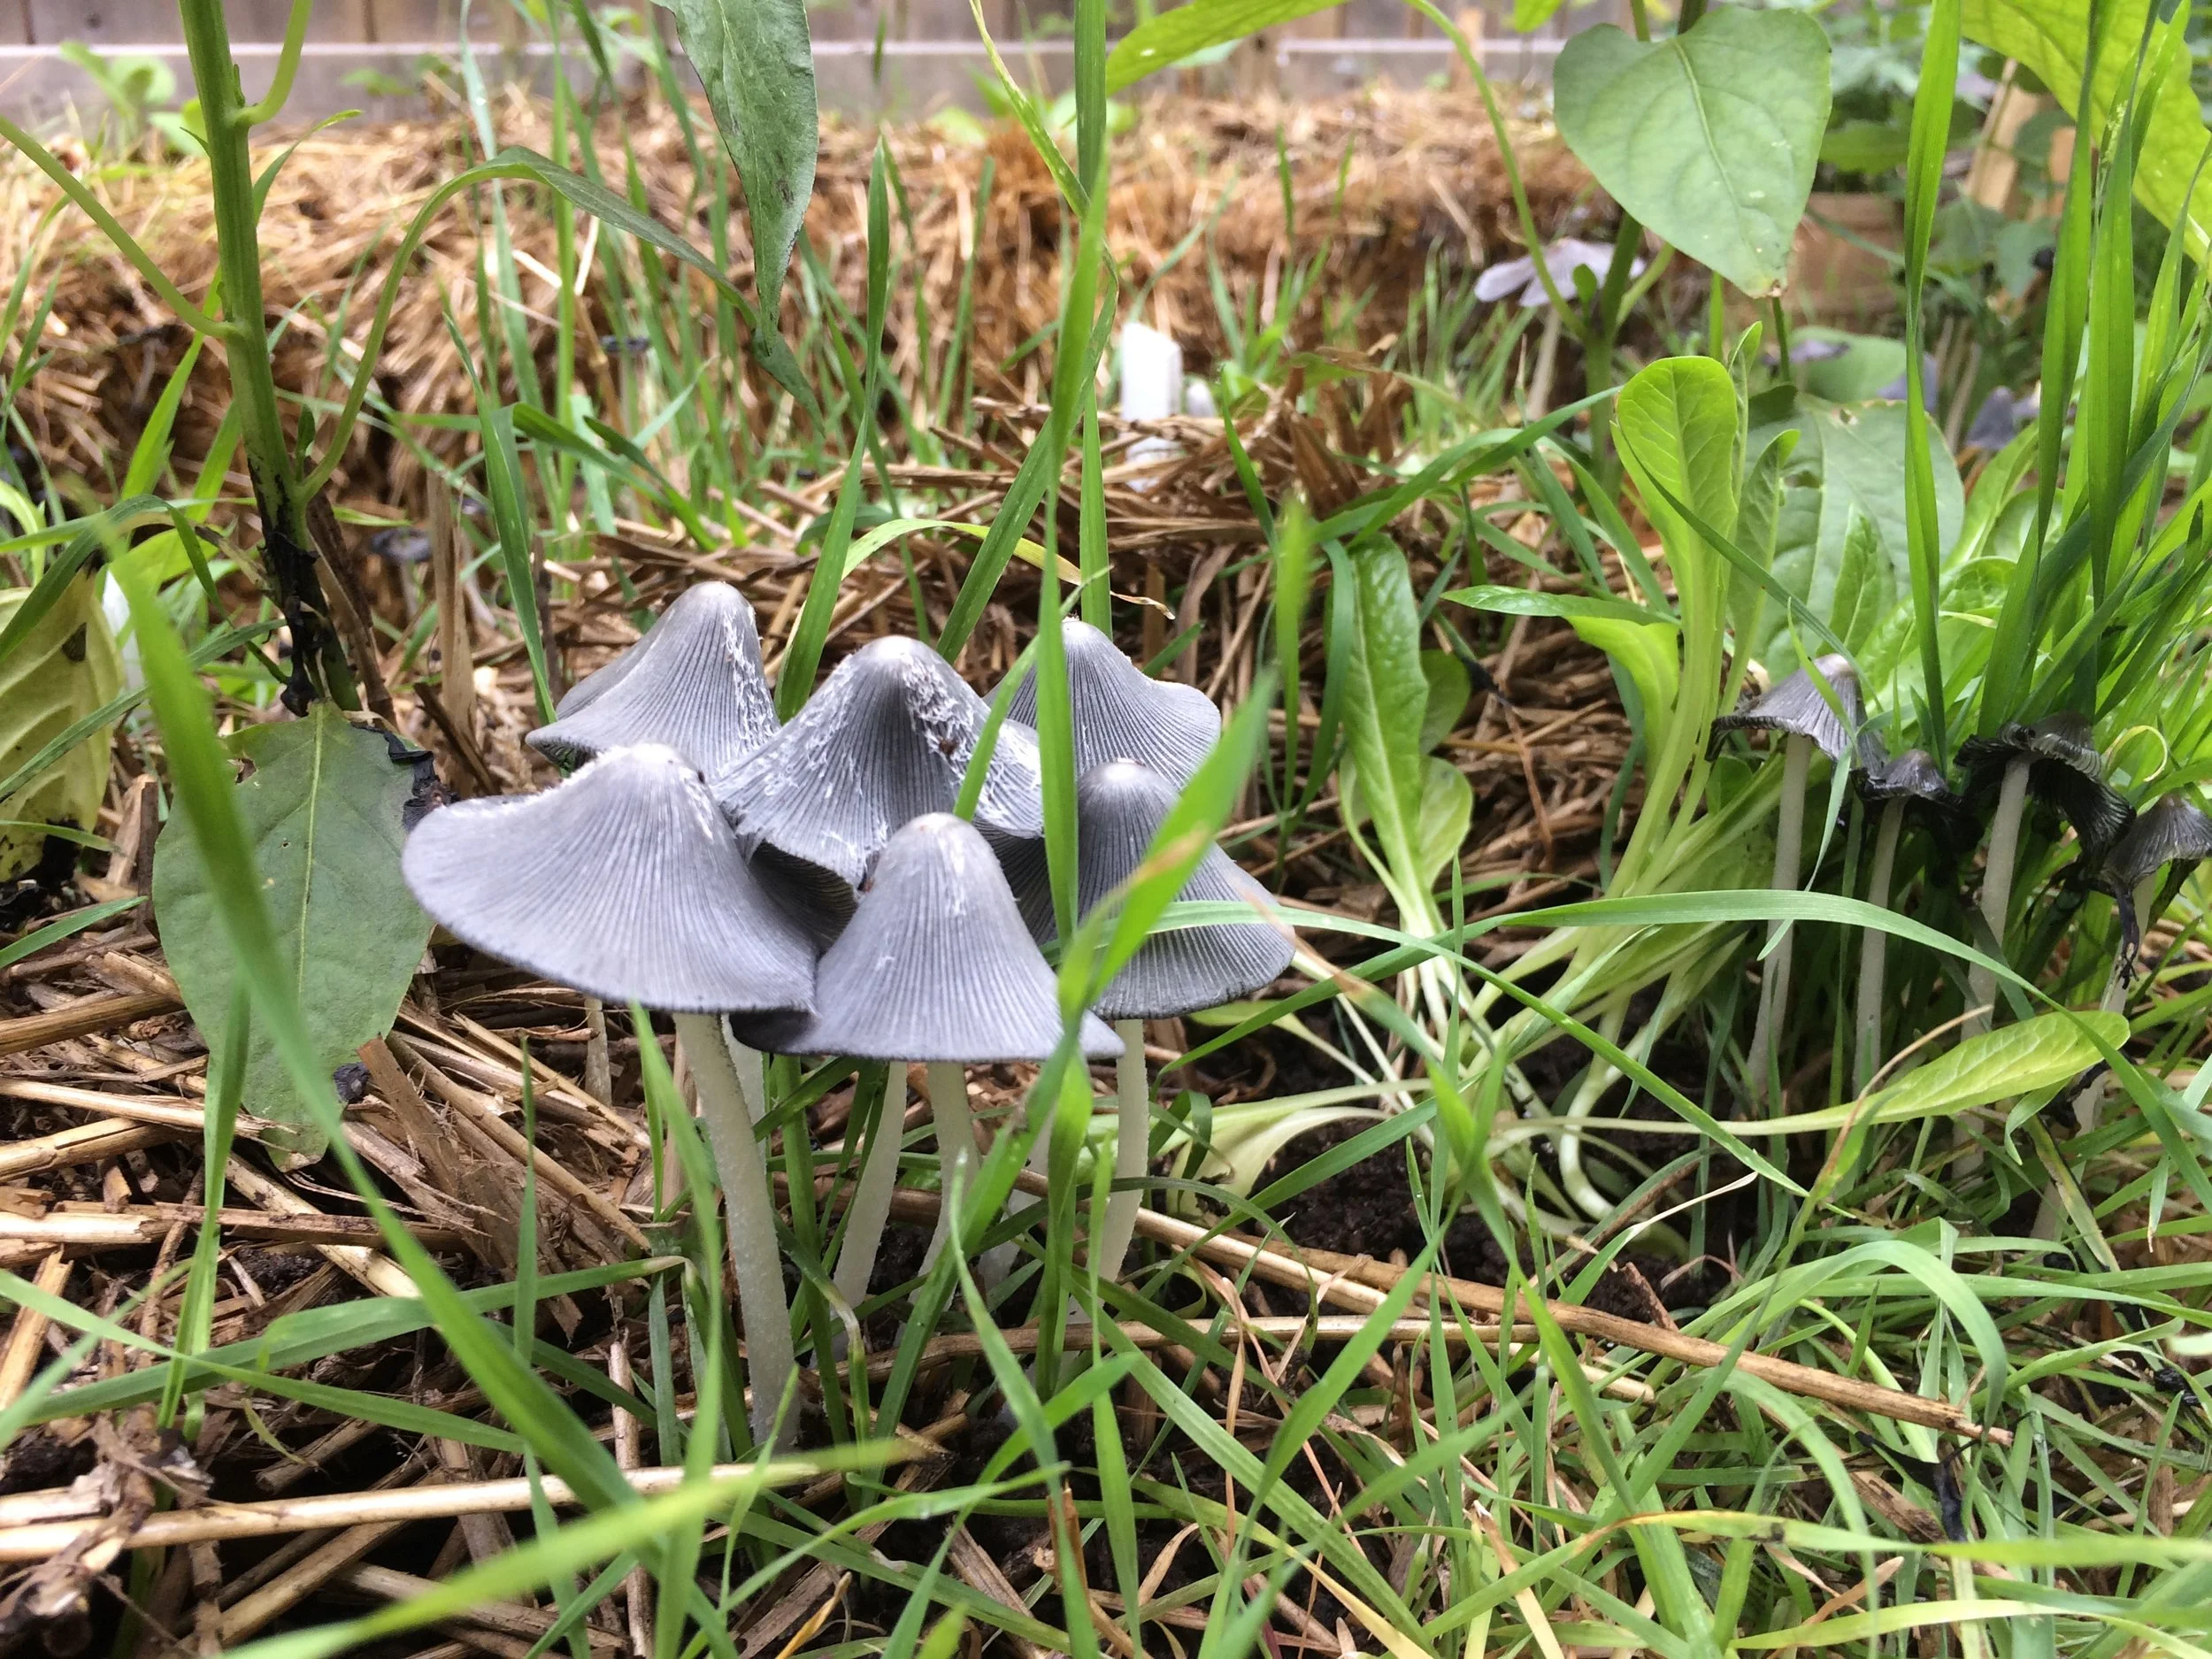
It’s normal to get mushrooms growing on straw bales. It means you’ve created good growing condtions.
Don’t be surprised to see little grass-like plants and mushrooms growing on the bales. These are good – it means you’ve created good growing conditions.
The grasses are any residual grain within the bale that germinates and grows. They won’t out-compete your crops. Just pull them off.
Straw Bale FAQ
What do you do with Straw Bales After Harvest?
After a year of growing I use the straw to mulch gardens, on pathways, and in my compost pile.
How Many Years do Straw Bales Last?
I’ve sometimes used bales a second year. How fast a bale decomposes varies with your weather conditions. Friends in warmer areas report that one year is the maximum for them.
What if the Twine Breaks?
Broken bales? No problem. In this straw bale garden the tall sections are tomato cages filled with loose straw from broken bales.
If possible, tie it back together; or use a new, longer piece of twine to tie together the bale. If that doesn’t work, you can pack straw into a cage or pot instead.
As you carry the straw bales, try to do it in such a way that the twine does not slide off the side of the bale.
Do Straw Bales Leave Marks?
Yes. Straw bales can darken paved surfaces.
I don’t recommend using them on wood because it creates conditions that could speed up the decay of the wood.
One year I had them against a board fence, and it resulted in dark marks on the fence – so I now position the bales a couple of inches away from the fence.
What About Hay Bales?
Hay bales can also make an excellent growing medium, but there are a couple of reasons they’re not used as frequently as straw bales:
Hay often includes lots of grass seed – not something you want to introduce to your garden
Hay is often more expensive than straw
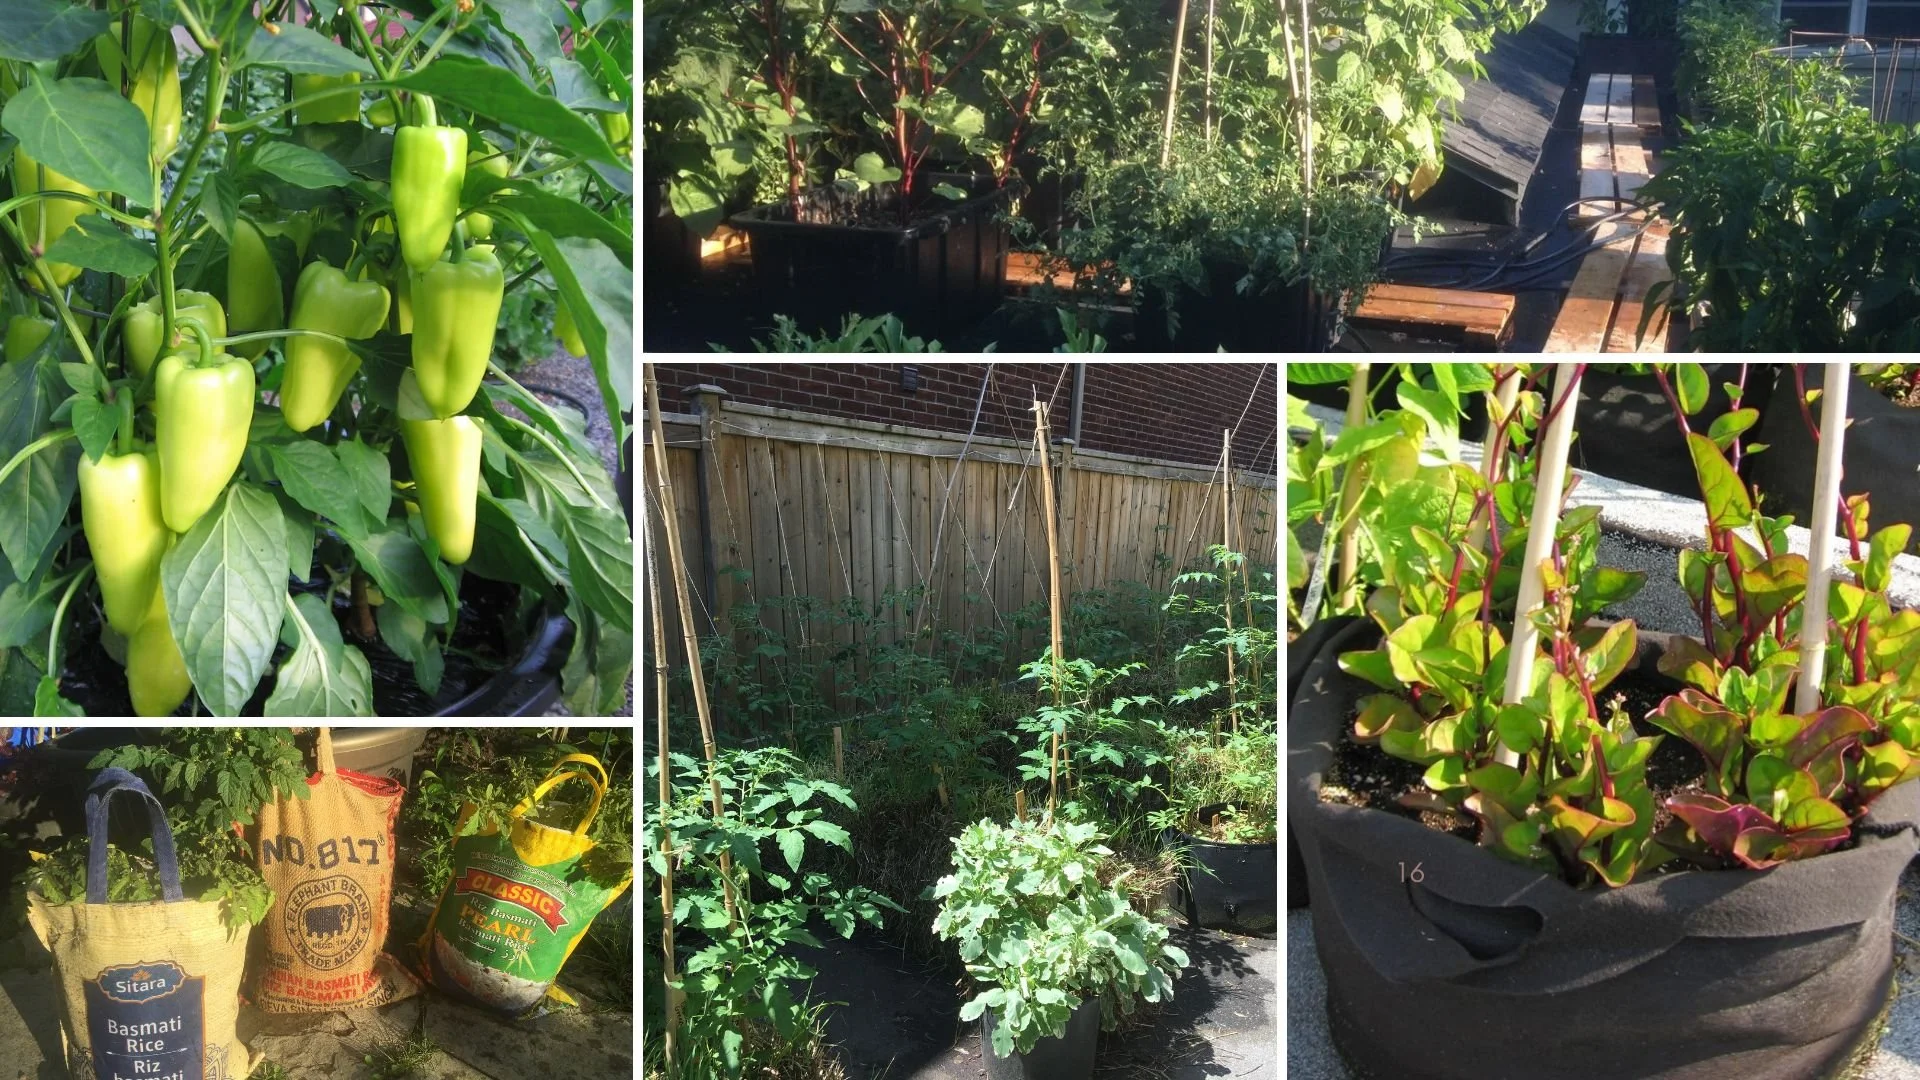
What are the Best Plants for the Straw-Bale Gardening method?
You can grow a wide range of vegetable crops in straw bales.
Heat-loving crops benefit from the warm root zone in the bales
Root crops develop very well in the well-aerated growing medium
Leafy greens grow well and can be planted underneath other crops such as tomatoes
Cascading plants such as nasturtiums (for edible flowers!) can drape down over the side of the bales
Where can I Buy Straw Bales?
Straw bales are fun for kids.
I used to bring home loads of bales in my minivan. And my family hated all the prickly little bits of straw it left everywhere. So now I just get straw delivered.
To find a farmer, use an online classified advertising website.
And if you have kids: Get straw bales earlier than you need them – for your kids. Straw bales are like giant, biodegradable Lego blocks.
Don’t Straw Bales attract Rats?
The mention of straw has some people wondering whether straw bale gardens will be overrun with rats.
It’s a good question. Not in my experience.
The thing to remember with rats and mice is that they’re looking for food, shelter, and water.
A bale on a paved surface doesn’t give them burrowing room. Doesn’t give them water. Doesn’t give them much food.
What’s more likely to attract rats is bird baths, bird feeders, leaving out pet food, and improperly stored garbage. (On that note, gardening itself, and growing plants with seeds and fruit that are food for rodents, attracts rats.) Remember too, that they’re already abundant in many areas – just not out and about at times that we see them.
Find This Helpful?
Enjoy not being bombarded by annoying ads?
Appreciate the absence of junky affiliate links for products you don’t need?
It’s because we’re reader supported.
If we’ve helped in your food-gardening journey, we’re glad of support. You can high-five us below. Any amount welcome!
More Vegetable Garden Techniques
Home Garden Soil Contamination
By Steven Biggs

Understanding the Risk of Soil Contamination Around Your Home
AFTER MOVING INTO MY WORLD WAR I-ERA HOUSE, I decided to find out if the paint-chip-studded soil next to the house was safe for growing edible crops.
Many pre-1991 paints contained lead, and those that are pre-1960s—particularly exterior paints—are thought to be the worst culprits.
Lead was also used as a gasoline additive into the 1990s. So urban areas with older buildings, where there have been years of car exhaust—and maybe even industrial emissions—tend to have higher soil lead levels than rural, agricultural areas.
With this in mind, I wanted to understand what, if any, risk lay hidden in my soil.
If you’ve wondered what, if anything, to check with the soil in your garden, keep reading for a practical way to approach soil contamination.
Conflicting Information

With an older house, I was worried about lead contamination from paint.
The more I delved into the question of urban soil contamination, the less clear the issue became.
I found a government fact sheet saying there was minimal risk to consuming veggies grown in soil with lead levels below 200 parts per million (ppm)
But one from another jurisdiction advising 300 ppm.
Both noted increased risk for children (think soil moving hand to mouth), in which case one gave a safe upper limit of 100 ppm.
I was left wondering whether I should go with 100, 200 or 300 ppm.
So I Got on the Phone
When I called Ontario’s Ministry of the Environment, I was told that contaminant levels in typical agricultural soil are often less than urban areas, but there should be no concern as long as the readings for my soil fell below the residential standards, as set out in the provincial Environmental Protection Act.
But…I should also keep in mind that a reading above that residential level isn’t necessarily unsafe.
Understanding soil contamination was starting to seem as fun as doing my tax return.
So, after scanning the Act, I added 45 ppm lead (for typical agricultural soil), 120 ppm lead (for residential standards), and a big question mark (for “isn’t necessarily unsafe”) to my growing list of values.
This was getting to be as much fun as preparing a tax return!
And just as filling in a tax return isn’t black and white—think of deciding what’s tax deductible and what’s not—I sensed balancing soil contamination and growing edibles had shades of grey, too.
So I set out to see how urban veggie growers can best tackle the question of soil contamination without being mired in conflicting numbers.
What Other Growers Do
Travis Kennedy, an agrologist involved in community garden projects, also raises produce at his Lactuca Micro Farm in Edmonton. “Pragmaculture,” he responds with a laugh, when I ask how he deals with possible soil contamination. His pragmatic approach to urban agriculture is to always use raised beds, bringing in soil he knows is safe, because he always assumes that there may be contamination.
Ward Teulon, also an agrologist, runs City Farm Boy in Vancouver, designing and building vegetable gardens. Teulon explains that sending backyard soil samples to a laboratory doesn’t always give a clear picture of what’s in the soil because urban soils are moved around a lot and are not uniform. He agrees, however, that interpreting results from expensive tests, which can cost hundreds of dollars, can be daunting. If there is a cause for concern, he believes money is better spent bringing in soil to make a raised bed. “Find out your property’s history,” he advises, because many urban soils are perfectly fine.
Luckily for me, my property’s history seems clear-cut, from agricultural to residential.
So, aside from the paint-chip-infested soil beside the house, I’m not worried. Gardeners who don’t know the history of their site could ask neighbours about past use and nearby properties, or check municipal records or archives.
Grow a Container Vegetable Garden
And get an early harvest of crops that usually take too long!
Asssessing the Risk
In 2014, Toronto Public Health created a plain-language guide to help gardeners understand the issues surrounding possible soil contamination and growing edibles.
Josephine Archbold, who helped write the Guide for Soil Testing in Urban Gardens, says it’s wrong to think only experts can figure out when to grow and when to worry.
The guide moves away from the notion that soil is either safe or unsafe—a black-and-white approach.
“I think we need to move beyond the concept of ‘safe’ and ‘not-safe’ cut-off levels that tell gardeners to either garden (100 per cent) or not garden at all (0 per cent),” she says. Instead, the guide is intended to help gardeners think about the risk of contamination for a site, and gives options to deal with the situation. Testing is expensive, and raised beds can be expensive, too, so the guide encourages taking such actions only when the risk of contamination makes them appropriate.
Three-Step Guide
Step 1
Former orchard land is among those sites considered medium concern because of the legacy of old metal-containing sprays.
In the three-step guide, the first step is to establish a level of concern by looking at former land use. With high-concern sites (e.g., former gas stations), contamination is very likely, so the guide recommends skipping expensive tests and using risk-minimizing measures such as raised beds, container gardening, or cultivating fruit and nut trees—for which contaminant uptake isn’t a concern. Nor is soil testing recommended for low-risk sites (e.g., long-term residential areas).
There are medium-concern situations (e.g., hydro corridors and former commercial land) where testing is recommended, but even then, if gardens are smaller than 170 square feet (16 sq. m), raised beds are suggested because the cost of raised beds for such a surface area is likely less than testing. Surprisingly, former orchard land is among those sites considered medium concern because of the legacy of old metal-containing sprays.
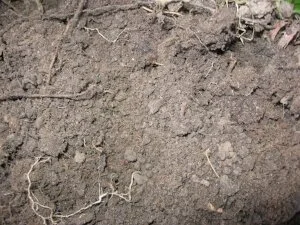
After investigating the history of the garden site, another part of establishing a level of concern is physically inspecting soil: dig in a few random spots to see if there are unusual stains or odours, and note old equipment, tanks and debris that might provide clues to dumping. Dumping, burning, smells and staining can make for a high-concern site.
Step 2
When it comes to step two, testing the soil, the guide lists common contaminants, including some metals (such as lead, arsenic and cadmium), along with PAHs (polycyclic aromatic hydrocarbons), which Archbold explains are compounds that indicate past industrial activity. “Our soil screening values are specifically for urban gardening,” she says.
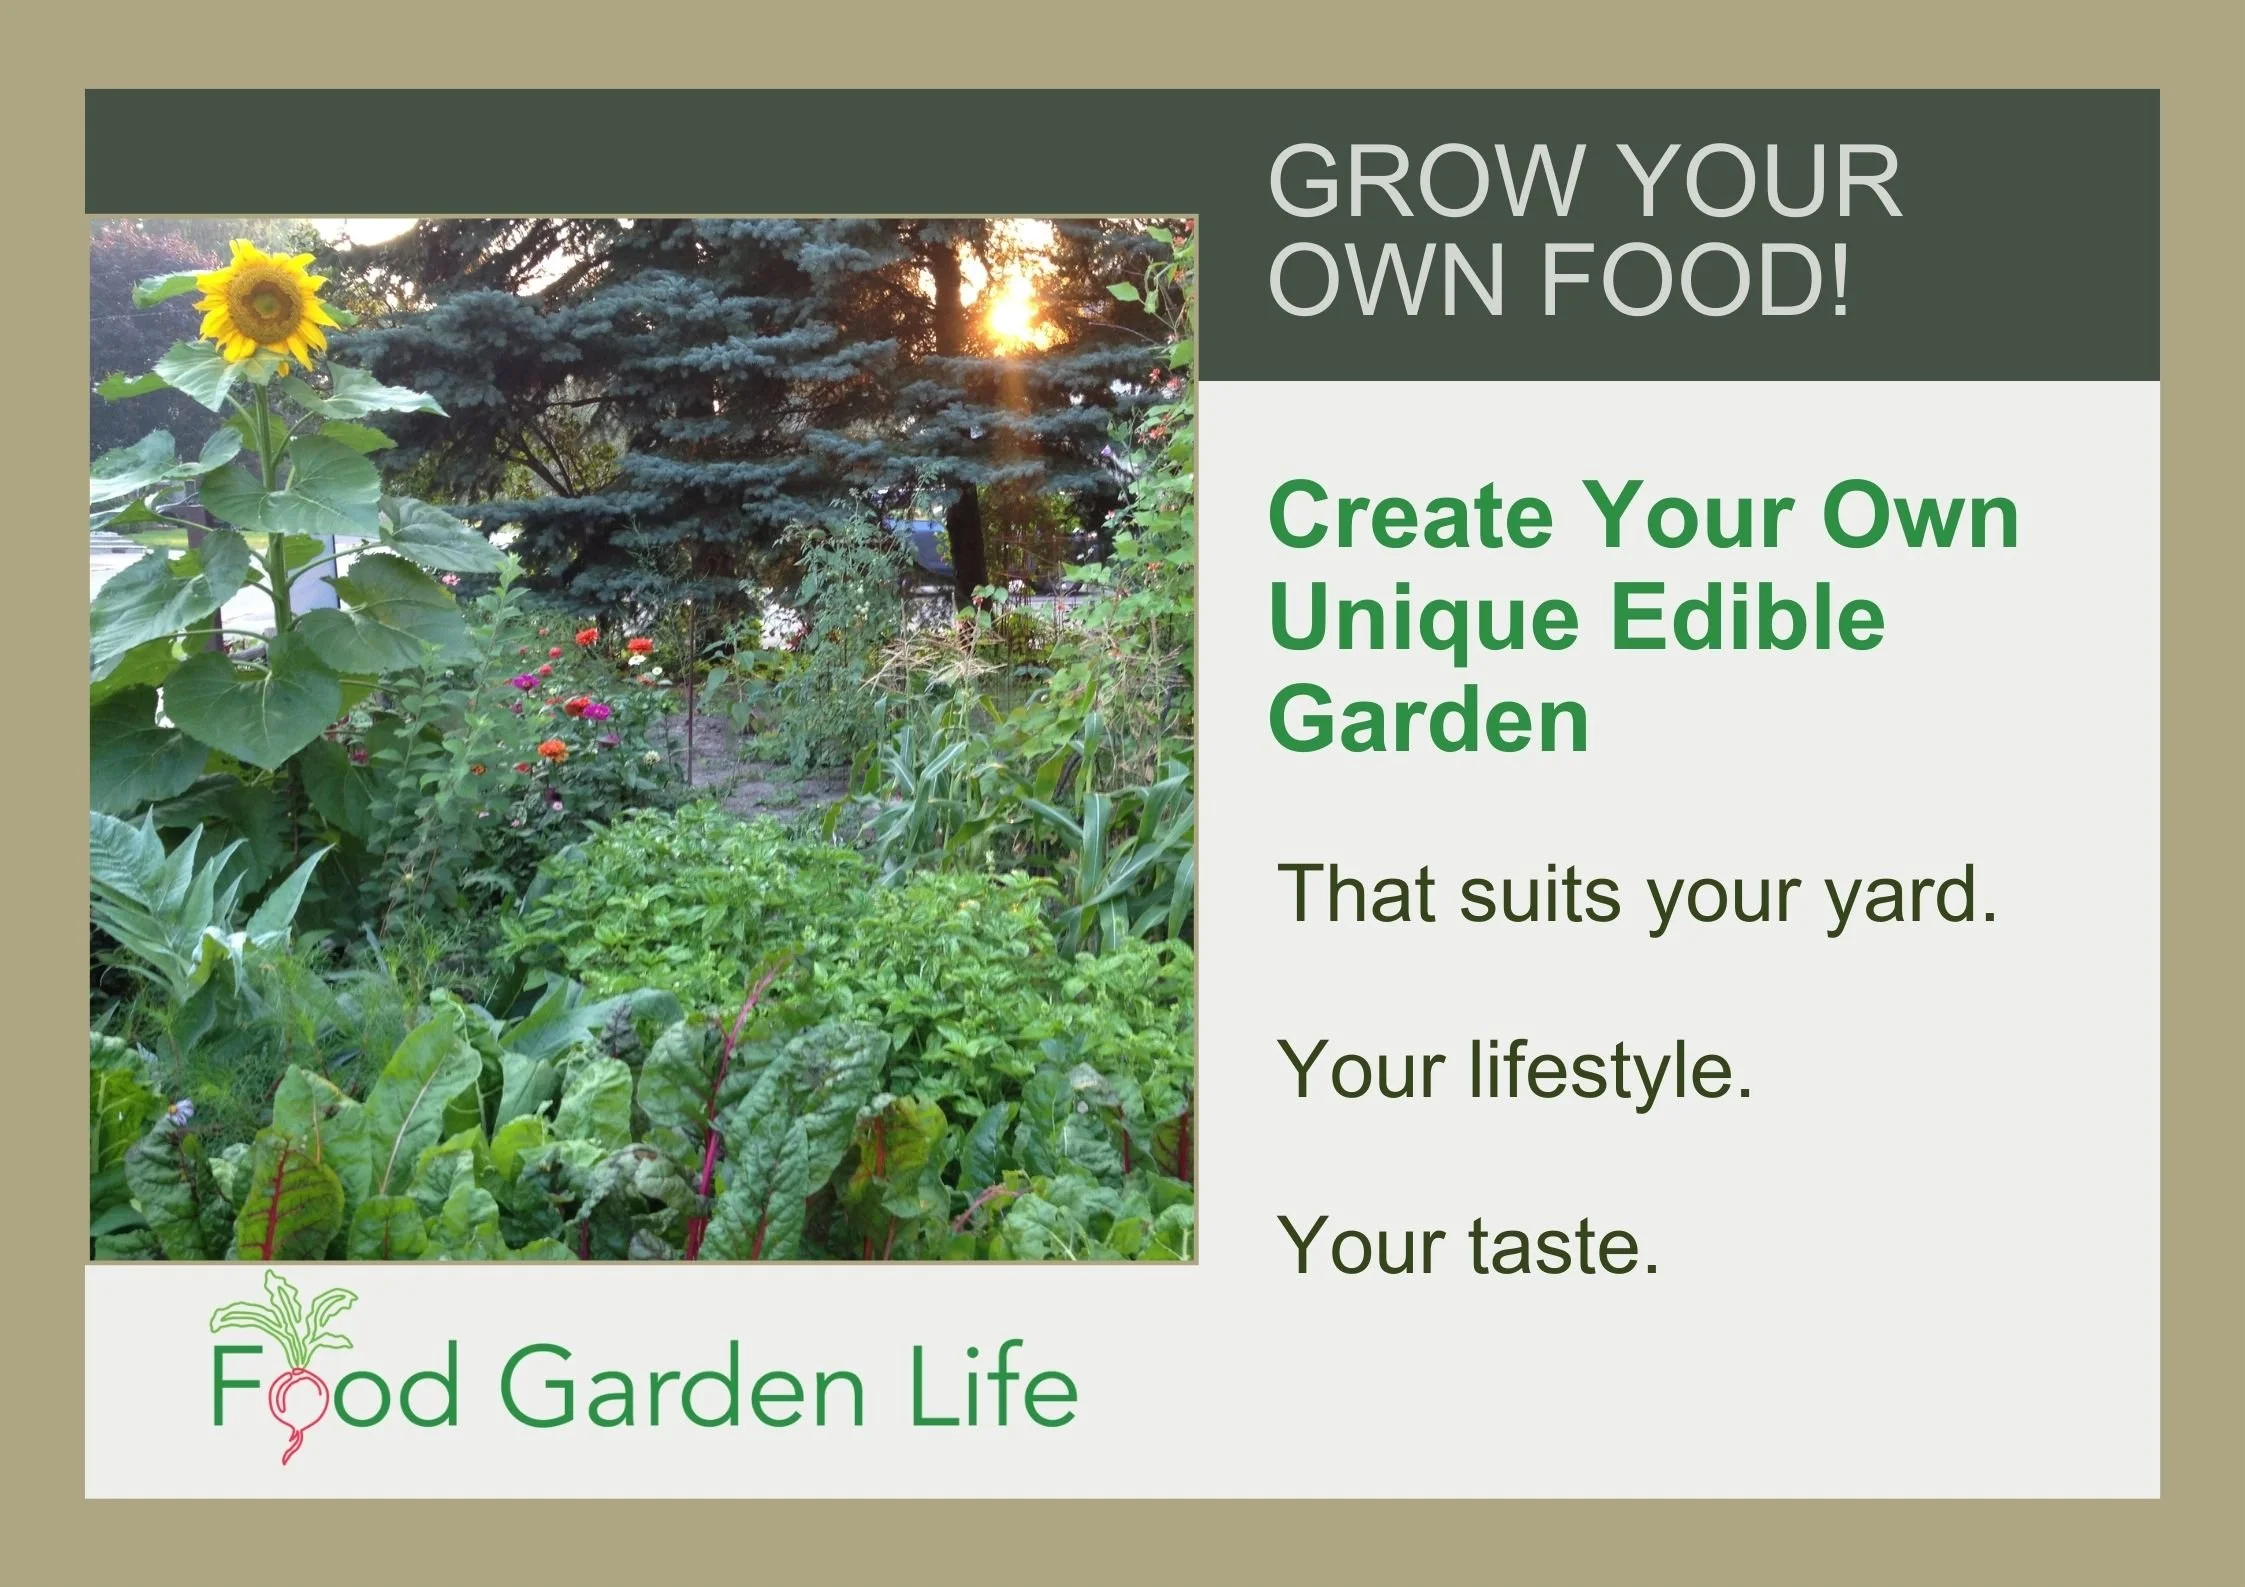
Create Your Own Unique Edible Landscape
That fits for your yard, and your style!
Step 3
The third step is to take actions to reduce risk. In keeping with the guide’s approach, the screening values don’t tell gardeners to either garden or not garden. The values help guide the actions of gardeners. For example, if test results or site history present a medium concern, suggested tactics are lowering the level of contaminants by adding clean soil and organic matter. Archbold says adding organic matter makes many contaminants less mobile.
Another example of how to reduce risk is reducing soil dust by covering soil with a mulch, peeling root vegetables before eating and avoiding crops more likely to accumulate contaminants (cabbage family, beets and spinach).
Suspect Contamination?
If you suspect contamination and opt for testing instead of raised beds, containers, or fruit and nut trees, the guide gives pointers about how to find an accredited lab in your area. When collecting soil samples, there are some important steps to follow—and the guide gives instructions for this as well.
As for the strip beside my house, I will plant a fruit tree. I still don’t know how many parts per million lead are in the soil there, but because the site inspection (namely, digging and seeing all those paint chips) points to a possibility of contamination, my guess is that lead levels could be on the high side. It’s a very small space, so I’ve ruled out expensive testing.
I’ve also ruled out a raised bed because I don’t want to redirect water into my neighbour’s yard. So, a fruit tree seems to me to be the most practical approach—and is an acceptable shade of grey for me.
Find This Helpful?
Enjoy not being bombarded by annoying ads?
Appreciate the absence of junky affiliate links for products you don’t need?
It’s because we’re reader supported.
If we’ve helped in your food-gardening journey, we’re glad of support. You can high-five us below. Any amount welcome!
More Food Gardening Ideas
Library of Articles
Courses

Hi, We’re Steve and Emma!
We help people grow food on balconies, in backyards, and beyond—whether it’s edible landscaping, a vegetable garden, container gardens, or a home orchard.
Courses


Free Food- Garden Guide
Books

Covering everything from lemon varieties, to location and watering, to pruning and shaping, to overwintering, dealing with pests, and more—and including insights from fellow citrus enthusiasts—this book will give you the confidence you need to grow and harvest fresh lemons in cold climates.

Didn’t think you can grow your own figs in a cold climate? Here’s all you need to know to grow exotic fresh figs, even if you live somewhere with cold winters. Find out about choosing the right location, watering, pruning—and how to conquer winter. You’ll also learn about varieties, dealing with pests, and get tips from cold-climate fig experts.

This book will help you apply creative “fig thinking” in your garden and harvest fresh figs even if you have a short summer or cold winters. With some fig thinking, you can harvest figs in areas where they don’t normally survive the winter! In this book, I share many of the questions I have been asked about growing figs in temperate climates, along with my responses.