Want to Water Less and Harvest More? Try Sub-Irrigated Planters
By Steven Biggs
Wilted by Noon
When I first started container gardening on my garage rooftop, I watered every morning. But in the heat of summer, my plants were parched and wilting by noon.
A sub-irrigated planter is an excellent way to solve the problem of parched plants. We want to prevent wilting, because it’s a sign of stress. Drying out is a stress for the crop.
And that stress can delay (or reduce!) your harvest.
Consistent soil moisture is best. Not sopping wet. Not dry.
And that’s where a sub-irrigated planter helps: It keeps the potting mix consistently moist, but not too wet.
This sort of planter is also known as a SIP, a self-watering container, or a self-watering planter.
Keep reading and I’ll explain how a self-watering system works and how you can make your own.
What are Sub-Irrigated Planters?
Sub-irrigation planters are simply planters with a water reservoir at the bottom. The reservoir is right under the soil.
Through capillary action, water wicks up through the potting mix, giving plant roots a consistent supply of moisture. Then, as the plants use water in the soil (creating a moisture gradient) more water wicks upwards from the reservoir.
There are many commercially produced sub-irrigated planters available. Some are fairly basic and resemble a normal container. Others have a gauge that shows the water level in the reservoir.
Self-Watering Planters vs. SIPS vs. Sub-Irrigation Planters
These are all different terms used to describe the same thing: Containers that have a water reservoir below, so that moisture can wick up into the soil.
By the way, they are not truly “self-watering.” The gardener must still fill the reservoir. (If you like do-it-yourself projects, you can automate this with irrigation, see below.)
Benefits of Sub-Irrigated Planters
Pin this post!
First, though, let’s look at the benefits of these self-watering containers.
Less waste:
There is less waste of water and fertilizer because it's a closed system, with less runoff
Higher yield because:
A continuously moist growing medium means the plant has no water stress (plant growth can slow, or flowers drop when the plant is under stress…)
When gardening in a container, the growing medium is warmer than soil in the garden, and that means that harvest begins earlier
Fewer weeds because:
The soil surface is not regularly moistened from overhead watering, giving dry surface conditions are not as good for weed seeds to germinate
The other reason that the soil surface is not as wet is that the farther you are from the reservoir, the less moist the soil (remember, it's going against gravity!)
Less disease because:
With no overhead watering, there's less splashing of disease organisms from the potting soil onto the leaves
And with tomatoes, SIPS usually solve blossom end rot (which actually is not a disease, but a physiological disorder that's caused by swings in soil moisture)
And the benefit of a SIP system that goes without saying: You spend less time spend watering!
Where to Grow in a Sub-Irrigated Planter
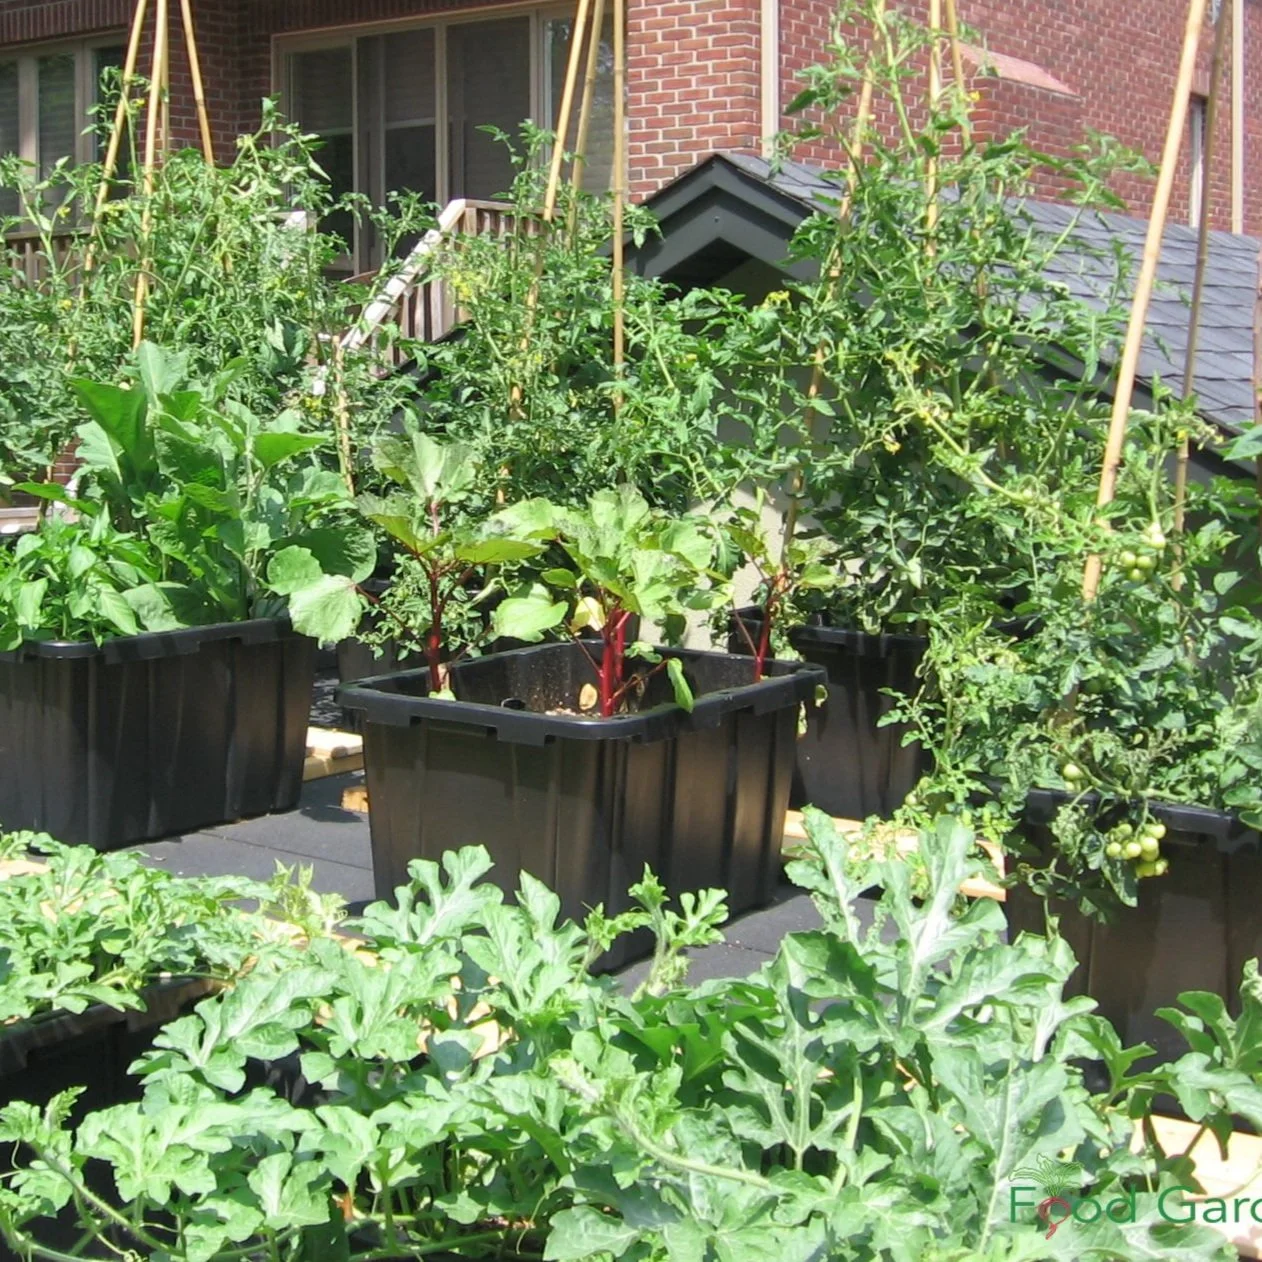
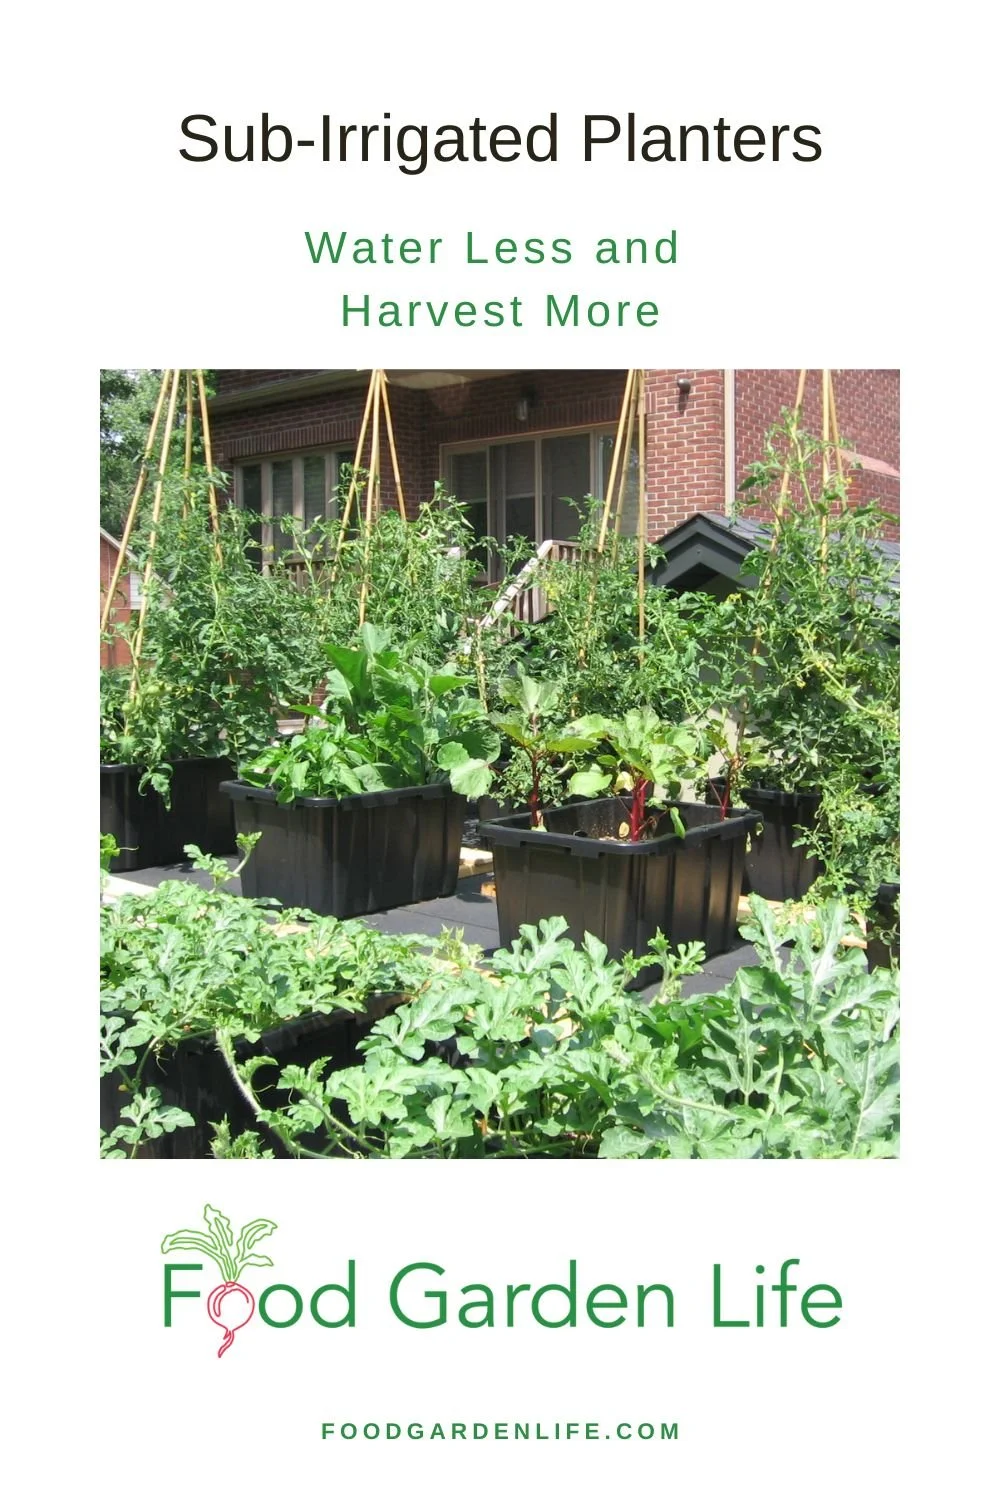
I made a garden on my garage rooftop using sub-irrigated (self-watering) planters.
As with any sort of container garden, a SIP makes it possible to grow on patios, decks, driveways.
You can also use them to grow over top of areas with tree roots or compacted soil.
If you’ve been eyeing up a space next to that water-hungry cedar hedge, this is your solution!
If you’re concerned about soil contamination, making a container garden is a simple solution.
Find out more about soil contamination.
What’s Inside a SIP
Here's what you'll usually find in a self-watering planter.
A water-tight area (the reservoir) at the base of the container (underneath the potting mix)
Something to hold the potting mix above the reservoir area: it could be a false bottom such as mesh, or hollow containers, or tubing
A way to add water to the reservoir (a fill-tube that extends above the soil surface)
A wick (the wick is usually the potting mix itself, but a fabric wick can be used too)
An overflow hole, so that if there's too much water, it can escape
How a Sub-Irrigation Planter Works
Think of how water moves up a sponge. Or put a piece of paper towel in water and watch the water move upwards.
The same thing happens in a self-watering planter.
The water that's stored in the reservoir moves up through the soil.
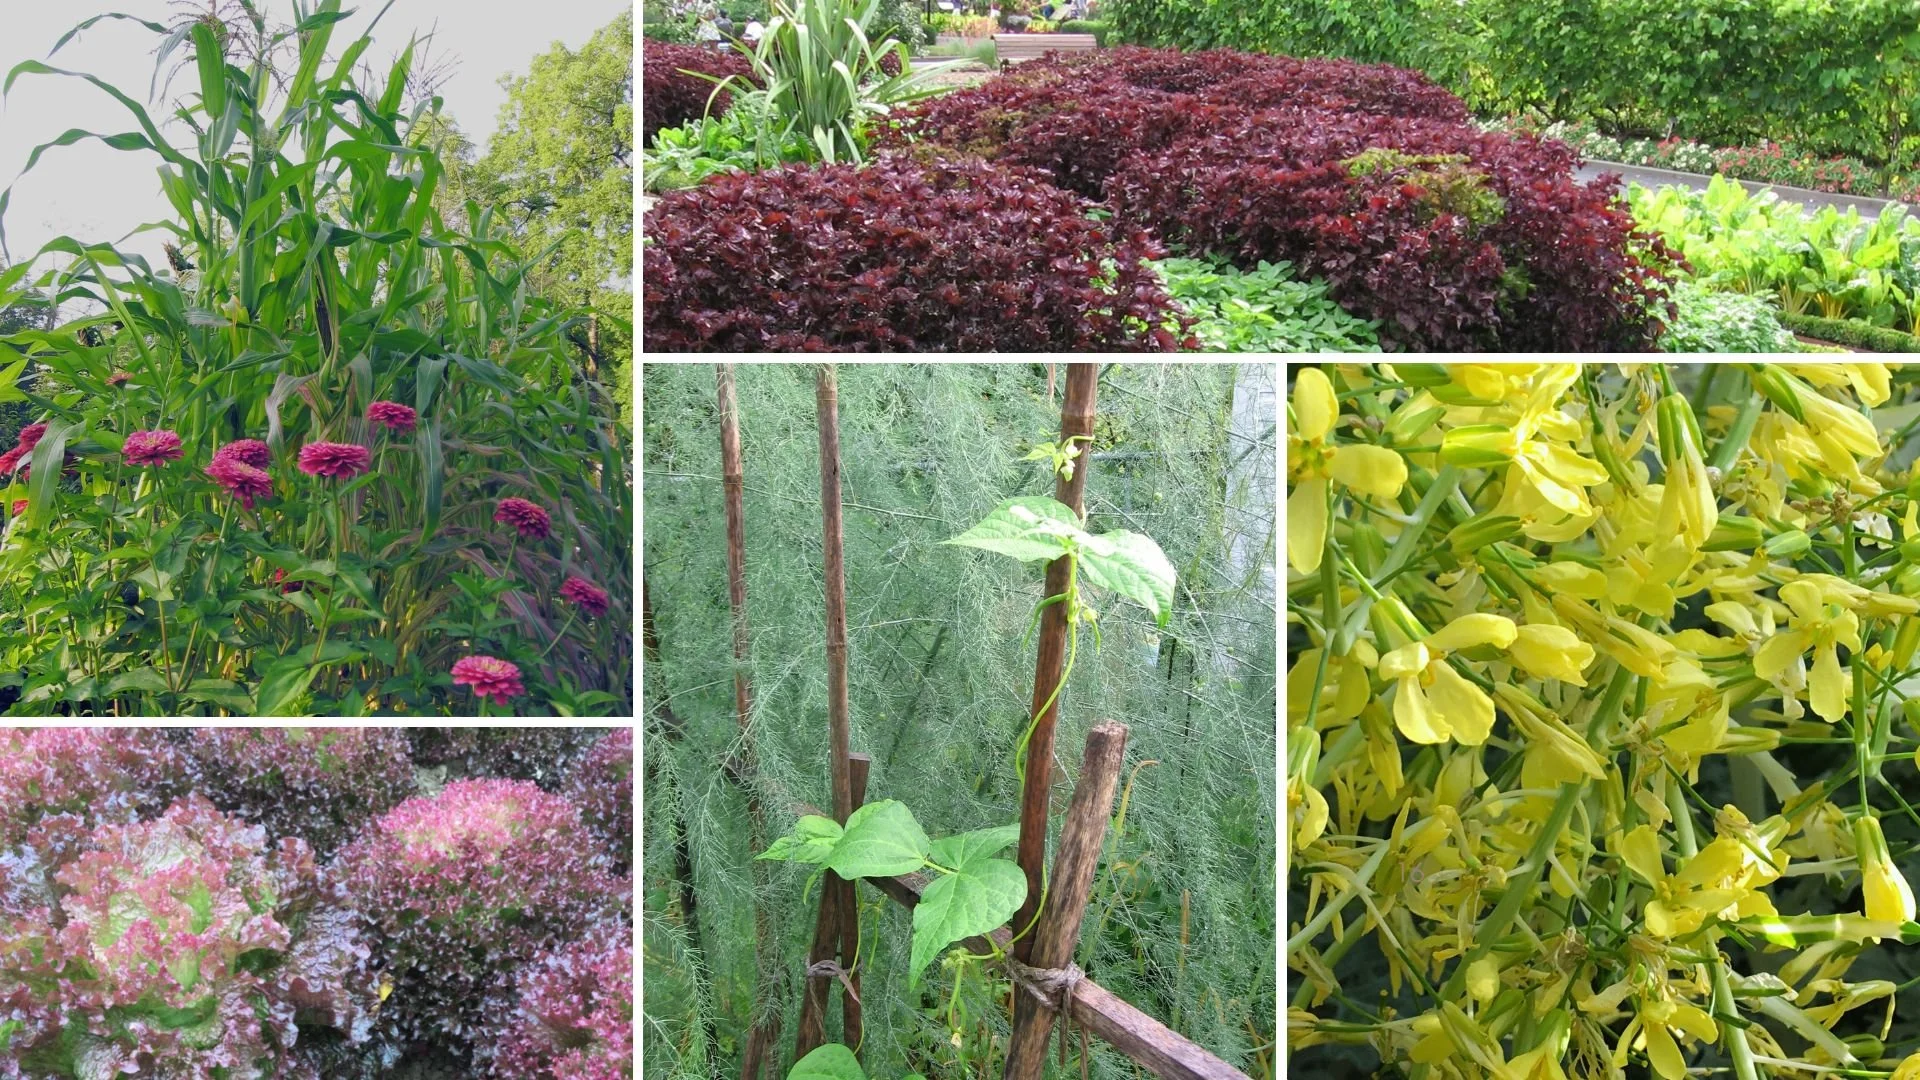
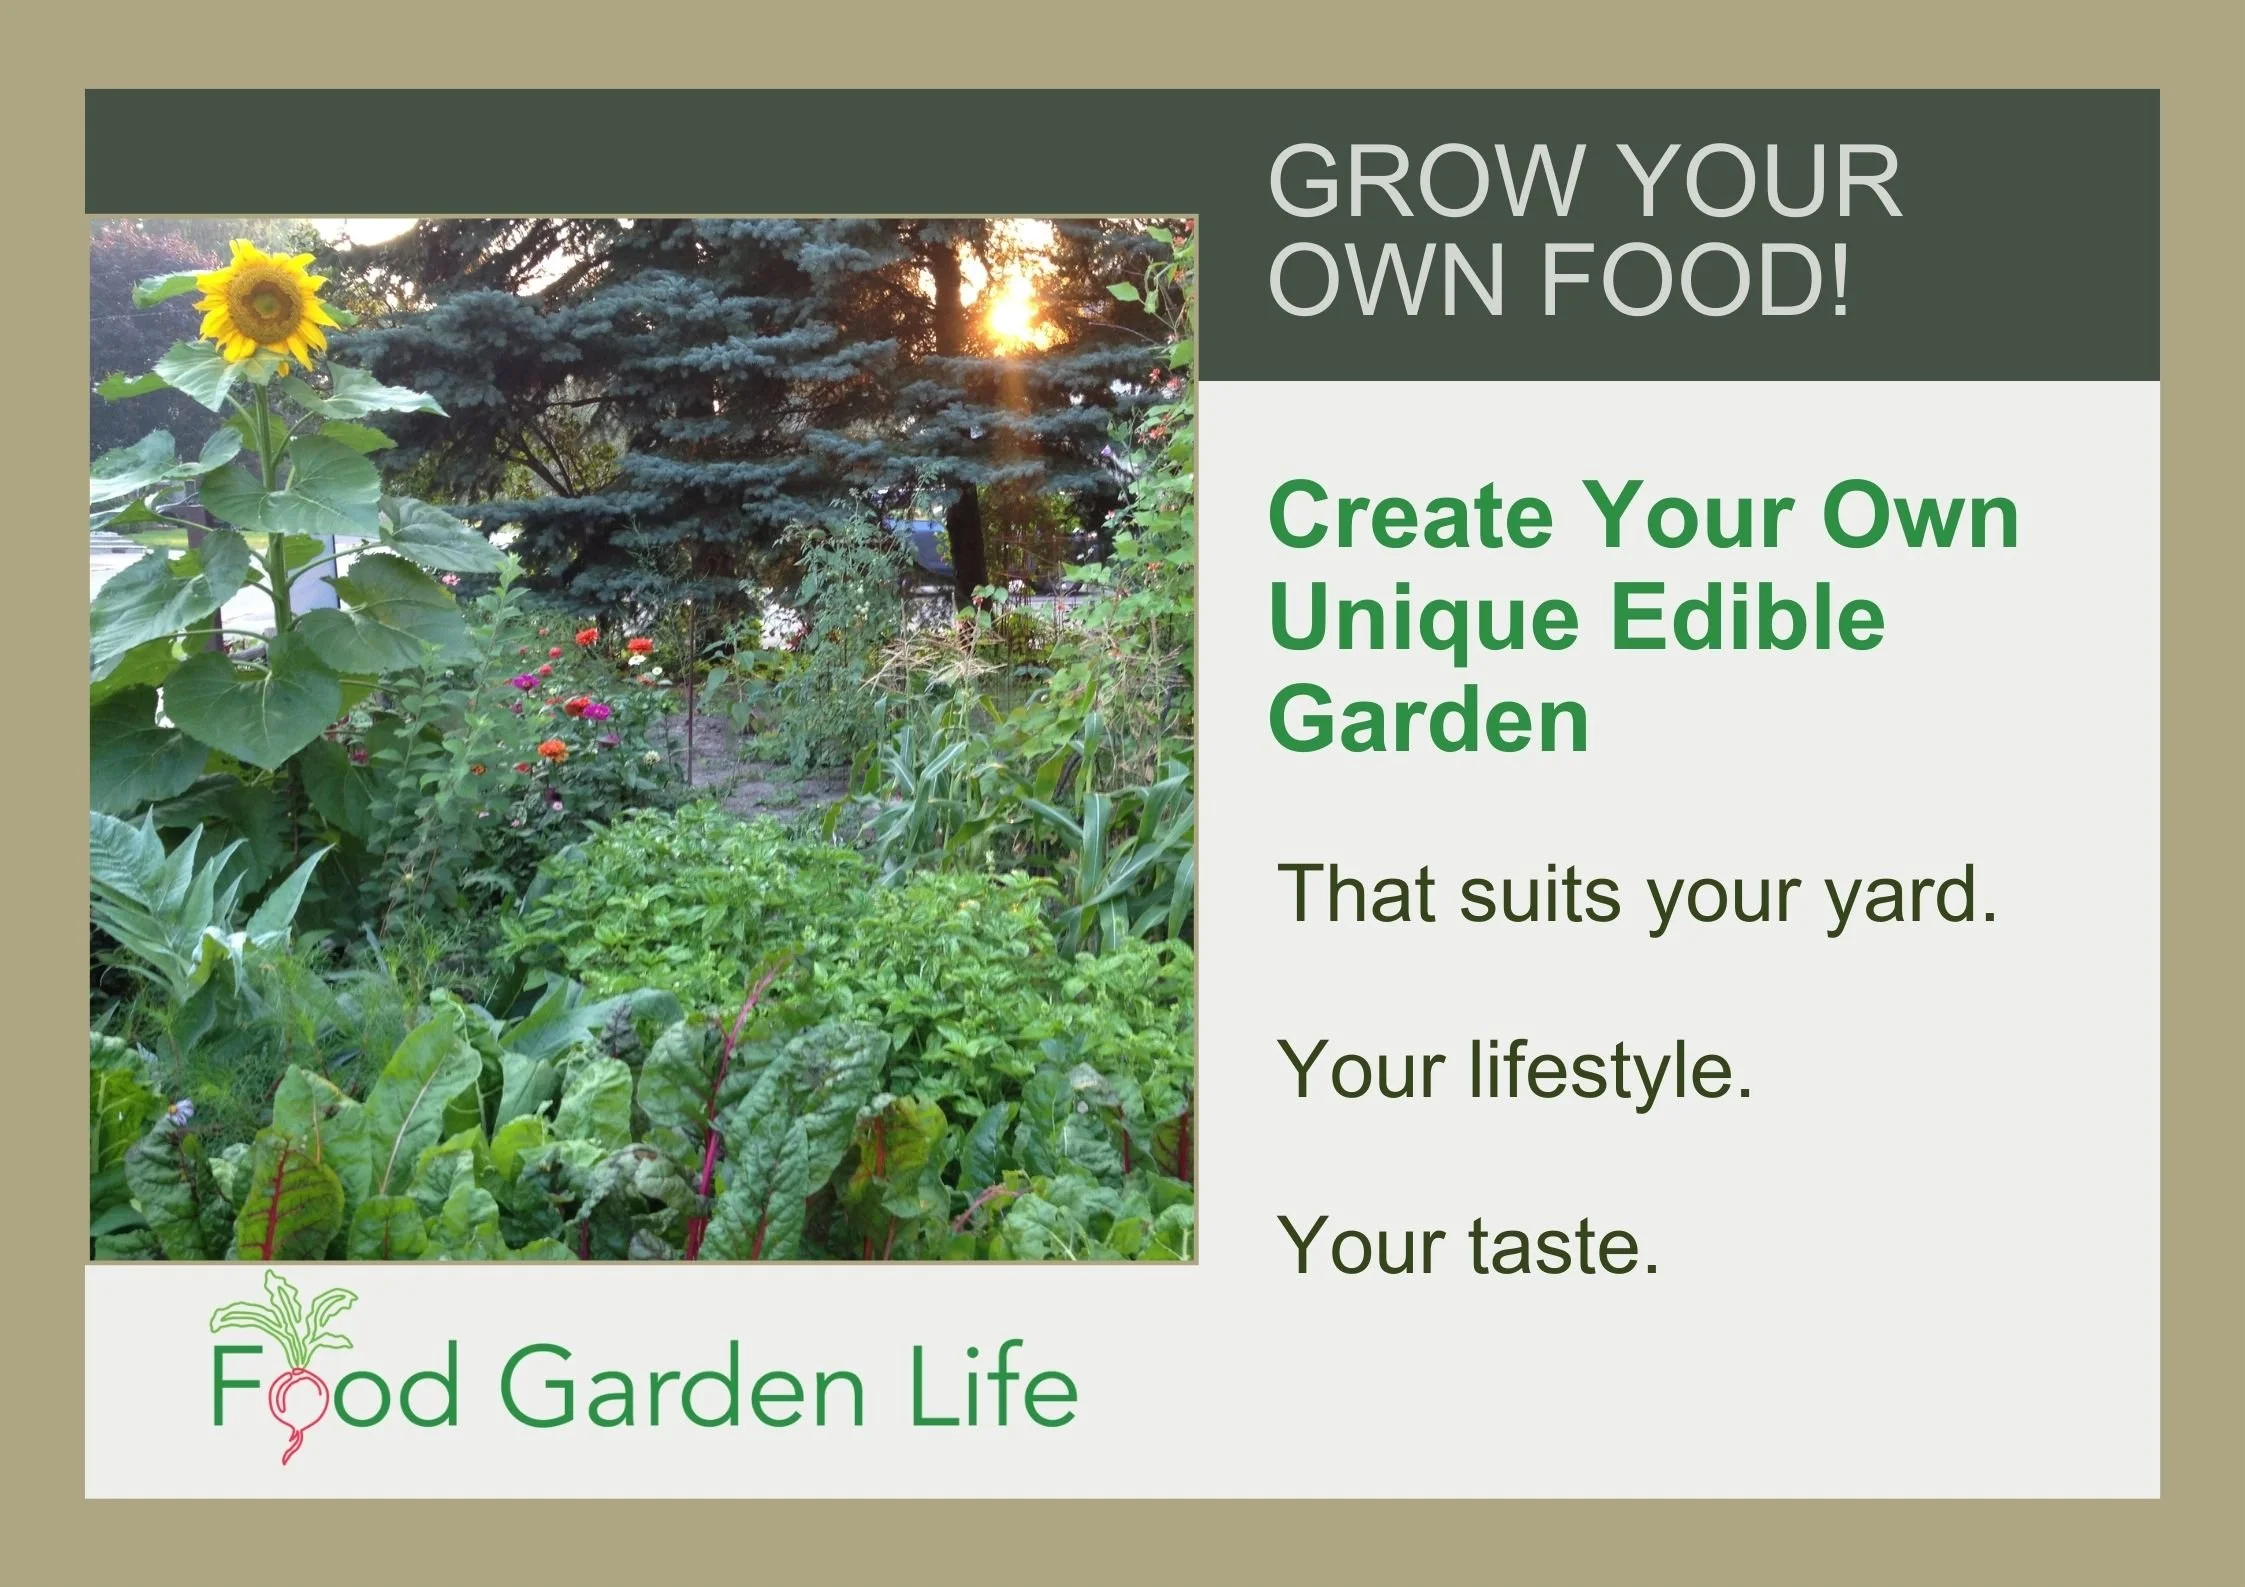
Create Your Own Unique Edible Landscape
That fits for your yard, and your style!
Plants That Thrive in Sub-Irrigated Planters
Annual vegetable and herb crops do well in sub-irrigation planters.
Avoid plants that are susceptible to root rot when overwatered. (For example, I grow potted lemon trees, and they hate “wet feet,” soil that says consistently wet. Read more about potted lemon trees.)
Potting Soil for Sub-Irrigated Planters
Choose a potting soil with good wicking properties. Do not use garden top soil or sand.
Sometimes this is easier said than done...because you won't find "wicking" on potting soil labels.
(A bargain isn't always a bargain when it comes to potting soil. If you see discounted bags at big-box retailers, be wary.)
The large compressed bales of potting mix made for commercial growers have a more consistently good quality. If in doubt, start with these.
If you're making your own peat-based potting mix, here’s an important point:
There are different qualities of peat. The darker peat from lower down in a bog is not as good at wicking as the lighter coloured, "blond" peat that comes from the top of a bog. Blond peat isn't always available at garden centres; you might need to go to an outlet that supplies commercial growers to find it.
Make Your Own Sub-Irrigated Planter
It's fairly simple to make your own self-watering planters.
Below is a series of pictures from a batch of planters I made for my garage rooftop garden.
The materials I used were inexpensive, and available at a hardware store:
Plastic storage bin
Weeping tile (4” bendable plastic drain used around the foundation of buildings…the term used for this seems to vary by region)
Dishwasher drain pipes
Landscape fabric
The tools needed to make these were:
Drill to make overflow hole
Saw or utility knife to cut the weeping tile and dishwasher drain pipe
Scissors to cut the landscape fabric
At the time I made these, I spent about $20 per planter, a fraction of what commercially available self-watering planters cost.
Making a Planter, Step by Step
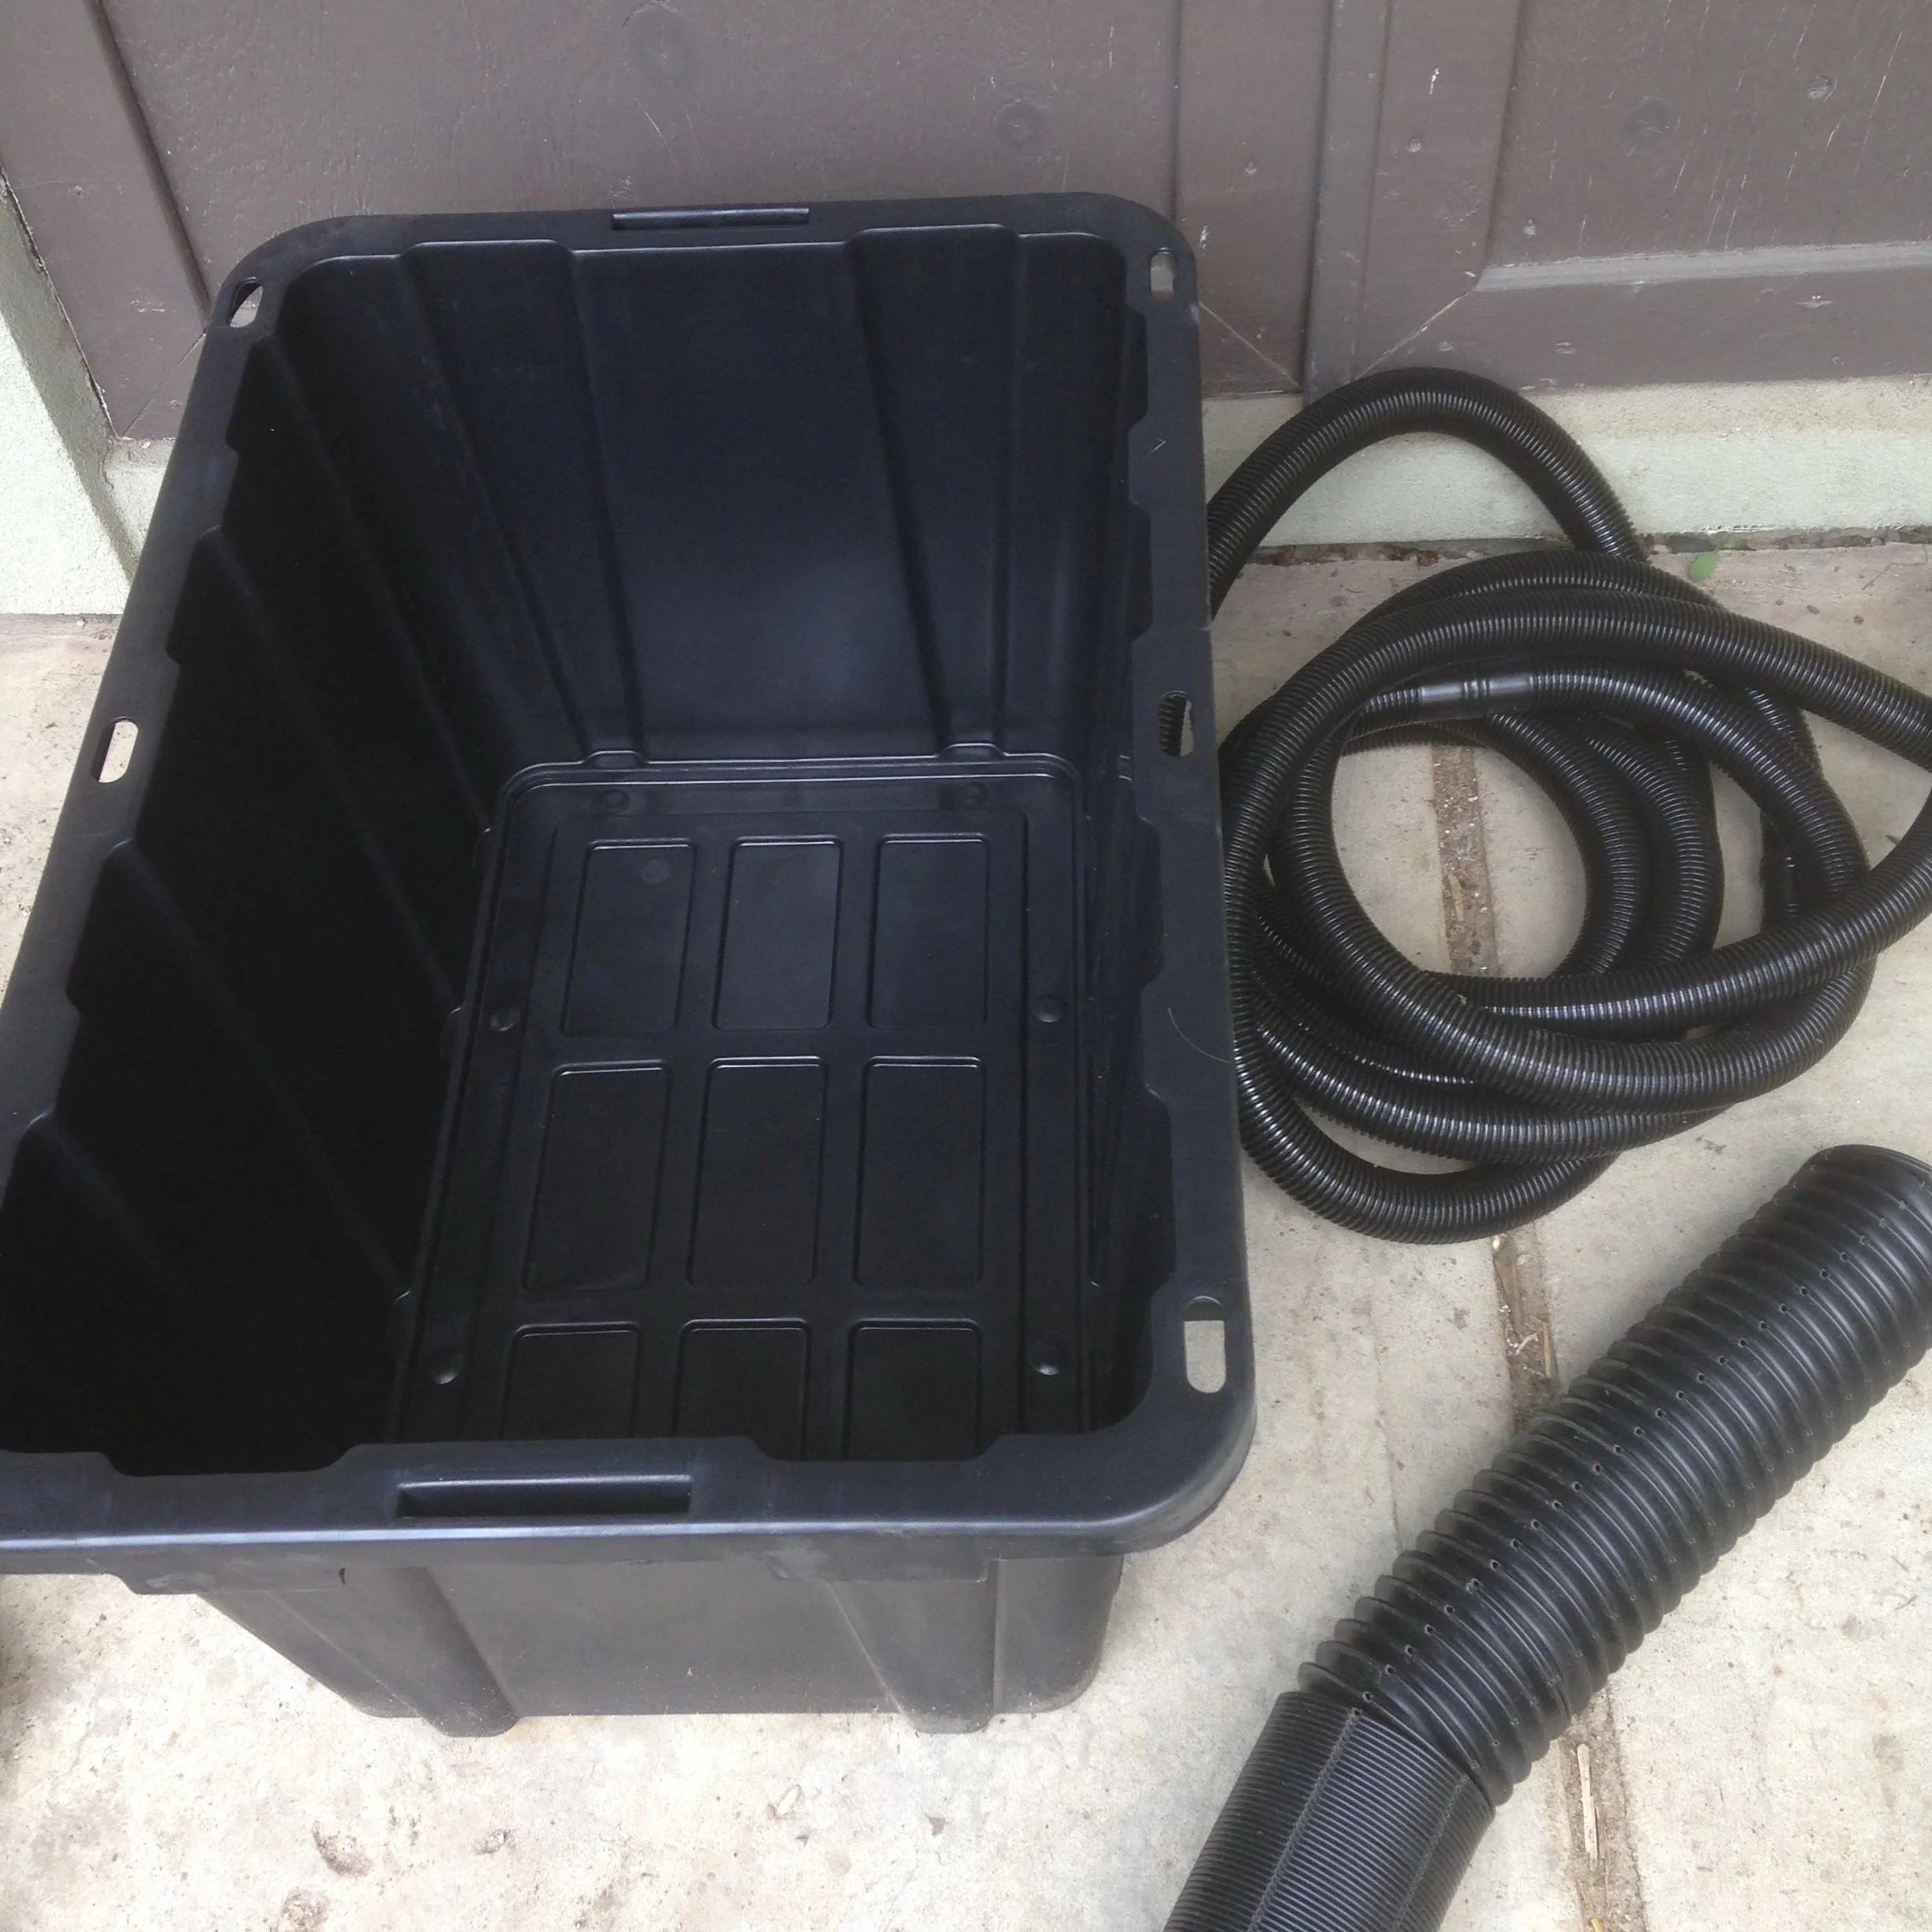
Supplies to Make a Sub-Irrigated Planter
Plastic storage bin
Weeping tile (4” bendable plastic drain used around the foundation of buildings…the term used for this seems to vary by region)
Dishwasher drain pipes
Landscape fabric (not shown)
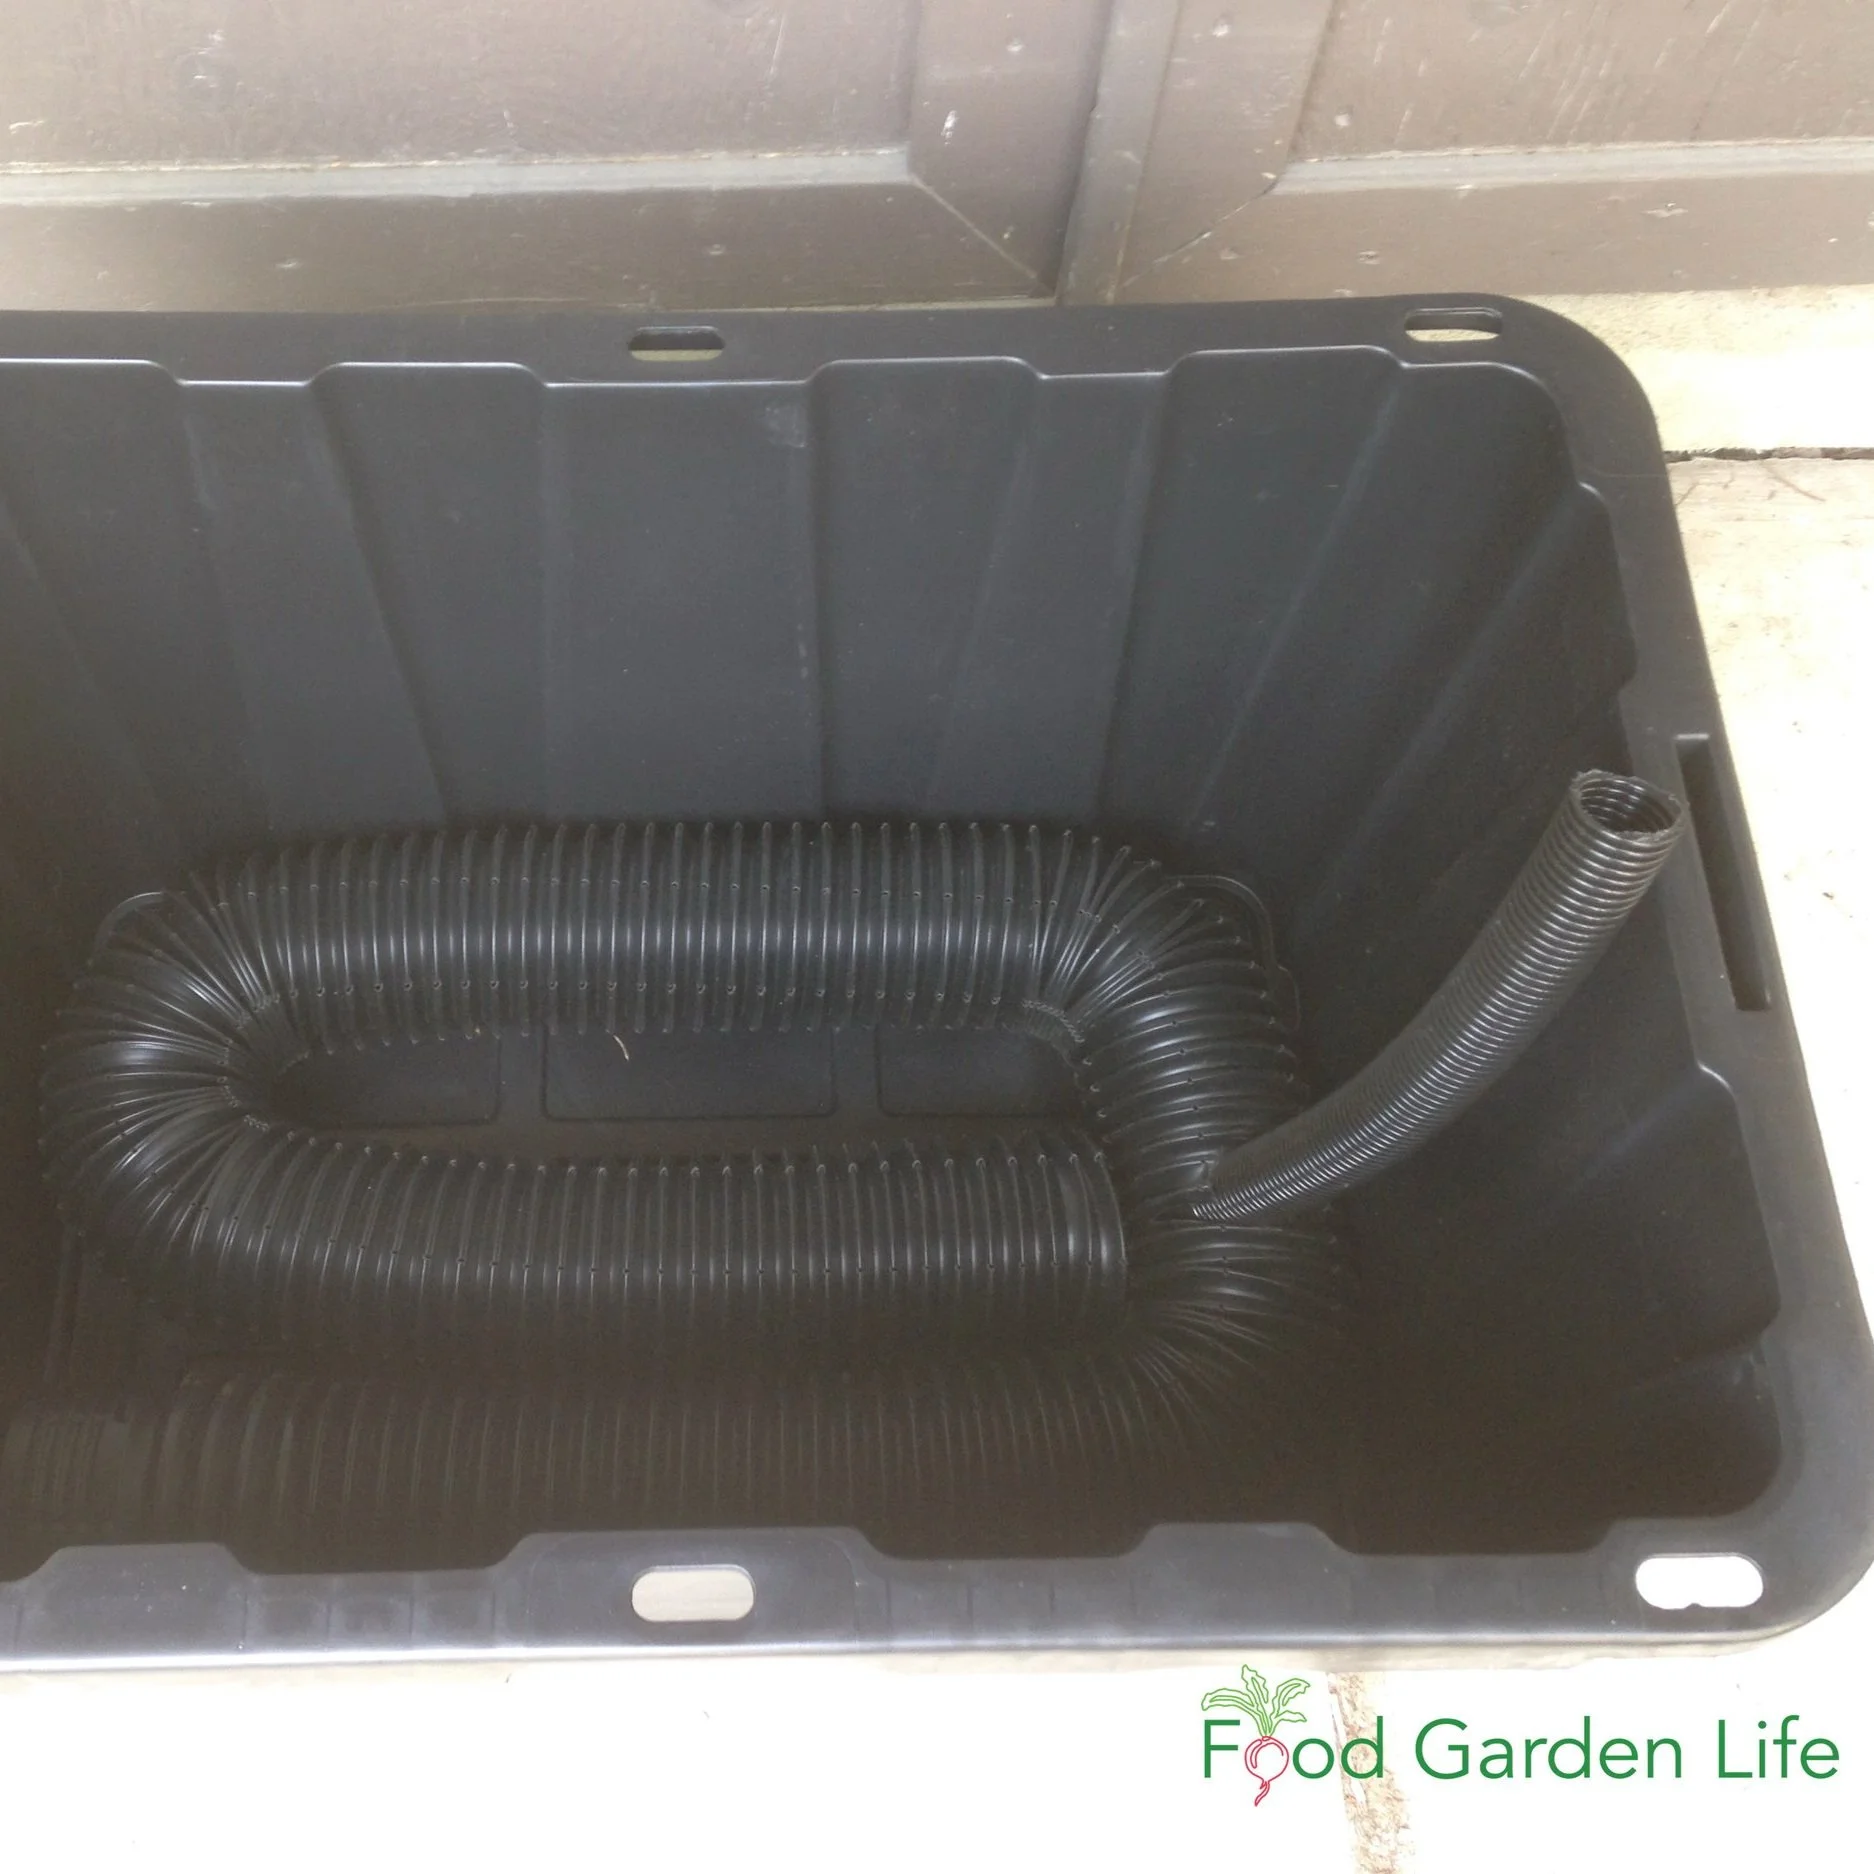
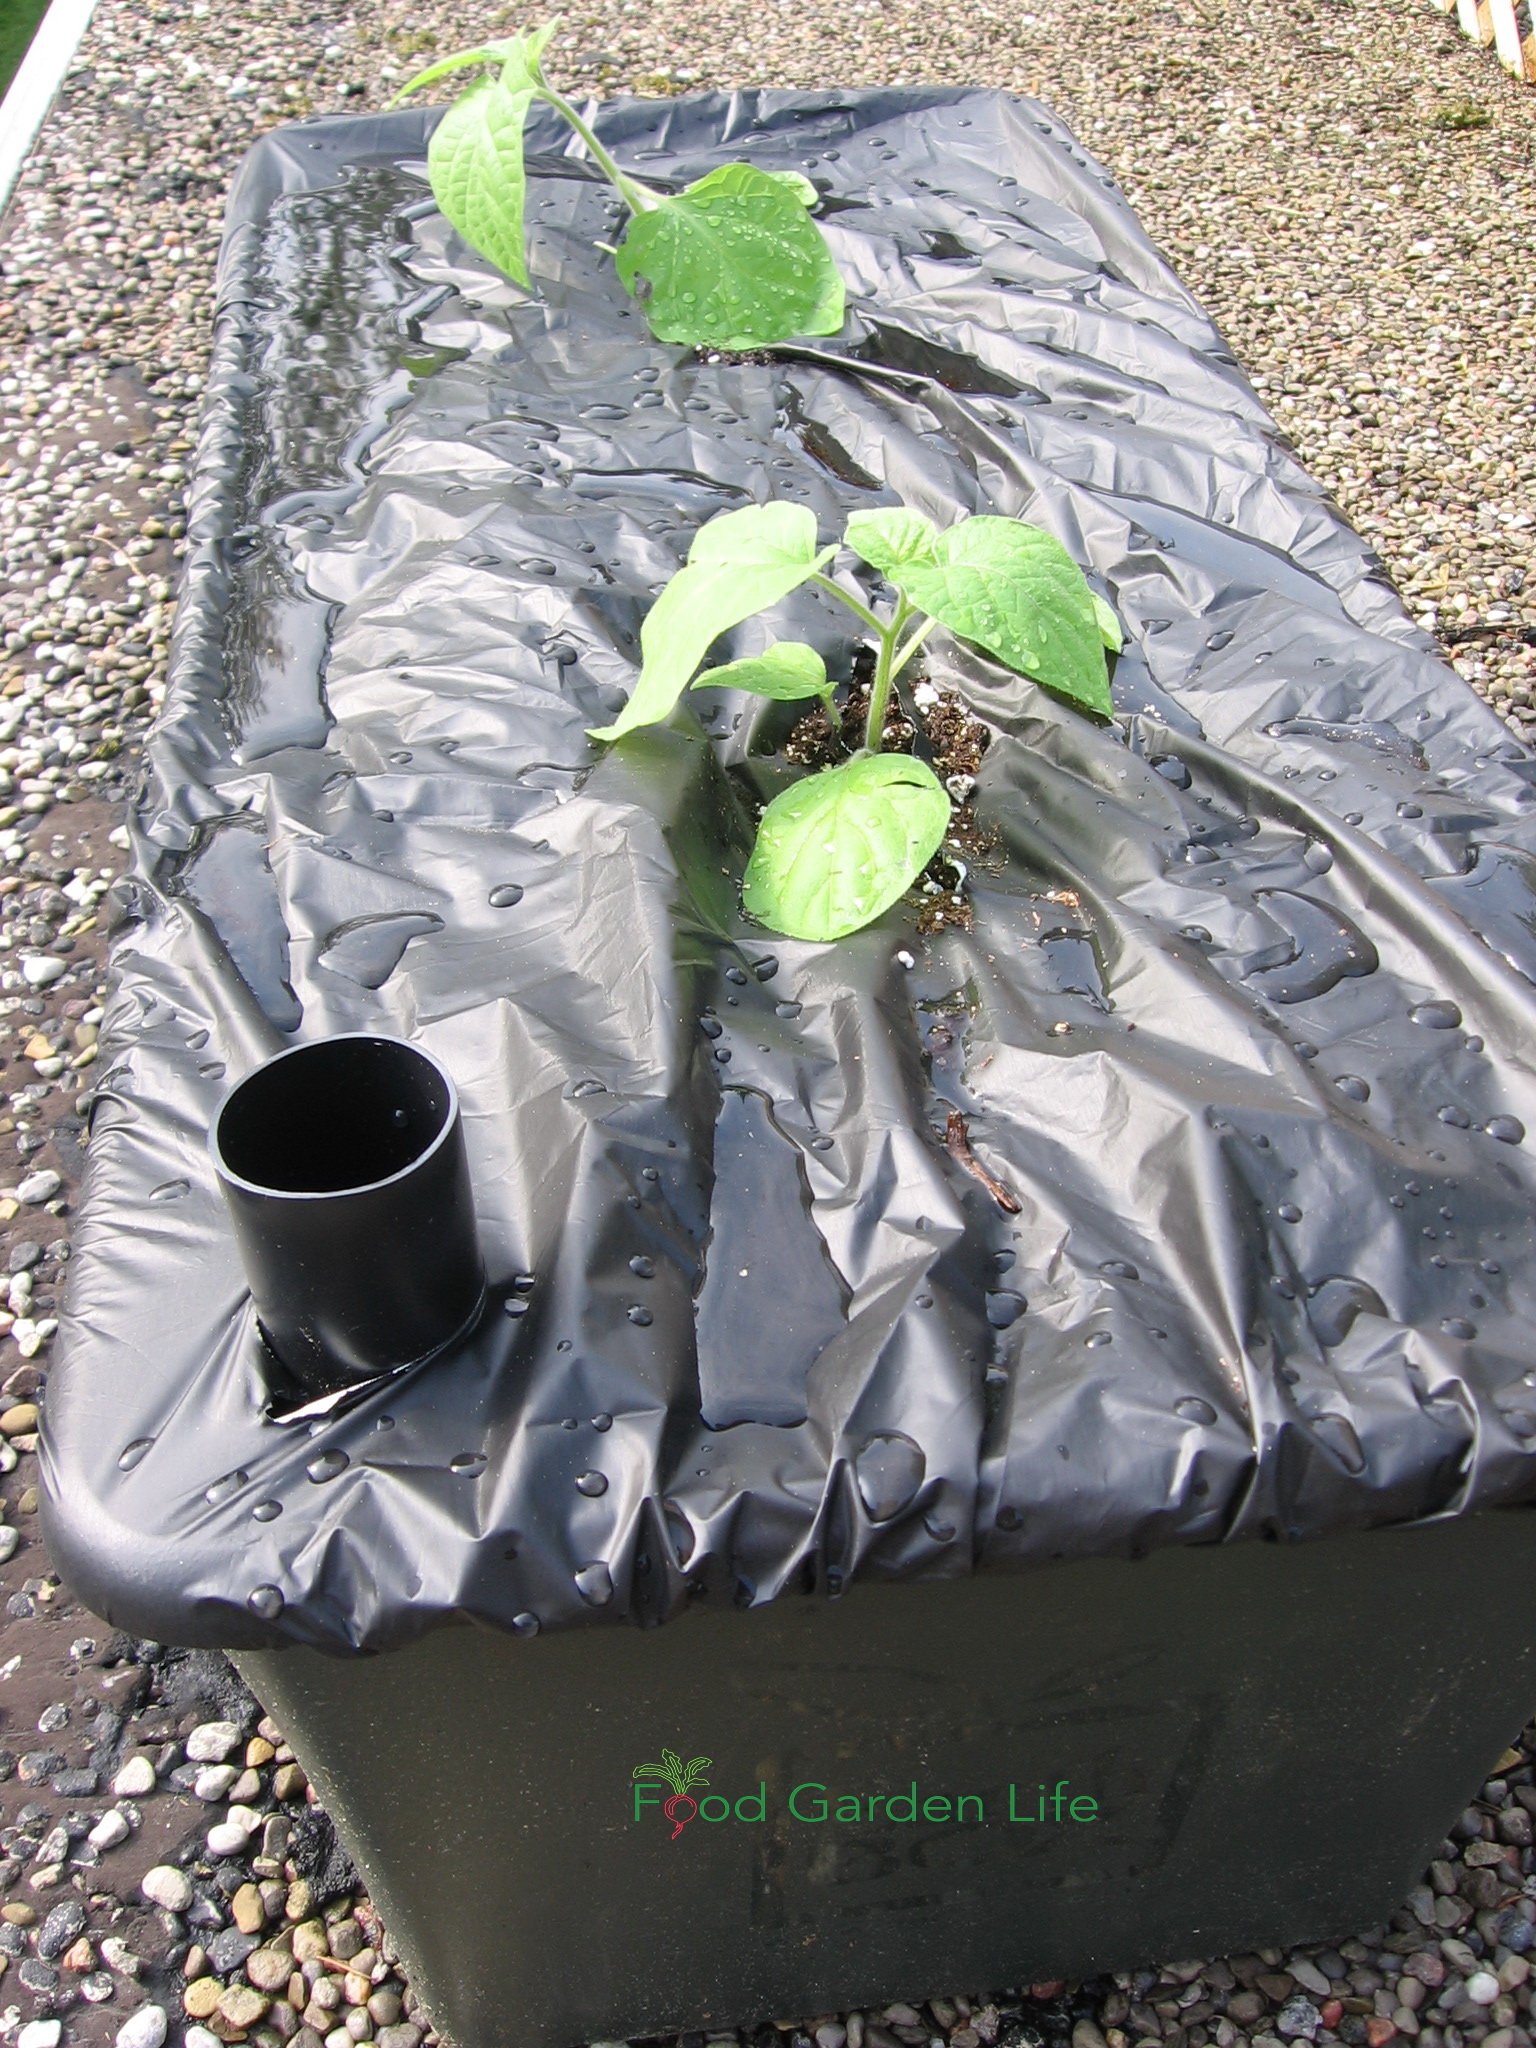
Weeping Tile with Fill Tube
Weeping tile coiled around the bottom of the bin.
A hole cut into the weeping tile with a utility knife allows a piece of dishwasher drain hose to be installed as a fill tube.
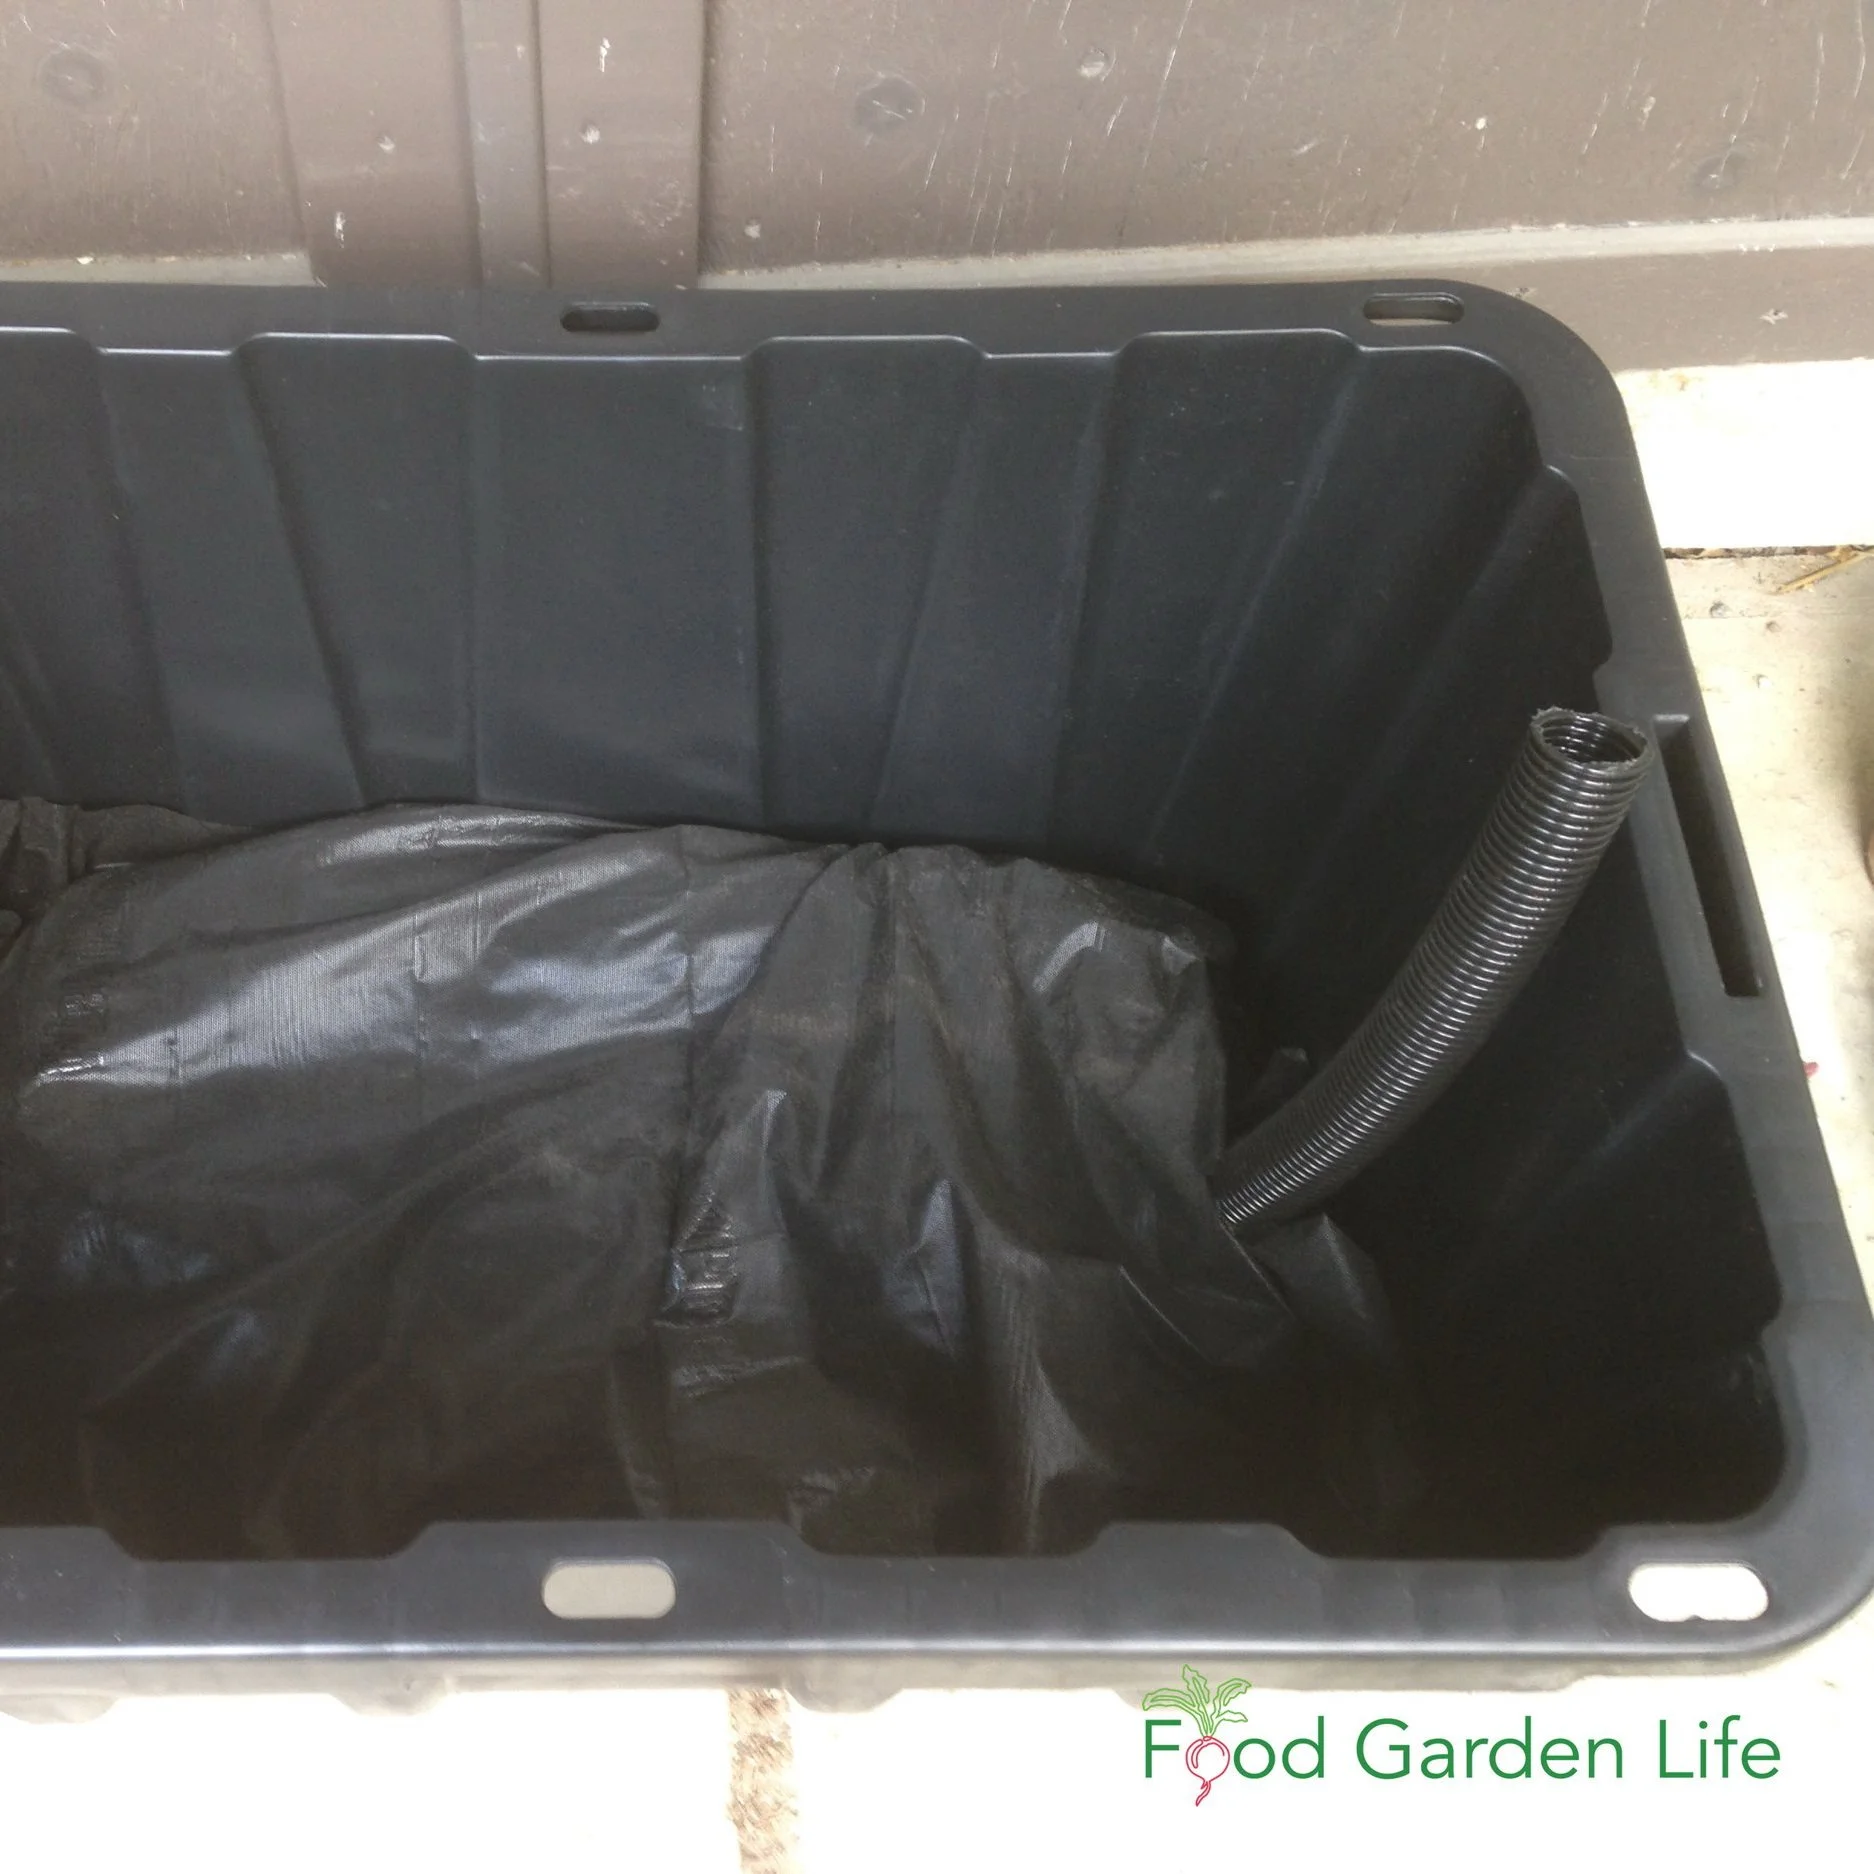
Landscape Fabric
The reservoir space created with the weeping tile is covered with landscape fabric so that potting soil doesn’t fill up the weeping tile.
Don’t Forget This!
Drill a drainage hole near the top of the weeping tile.
The hole shown here was too small…and was blocked by a piece of perlite, so i had to drill a bigger hole.
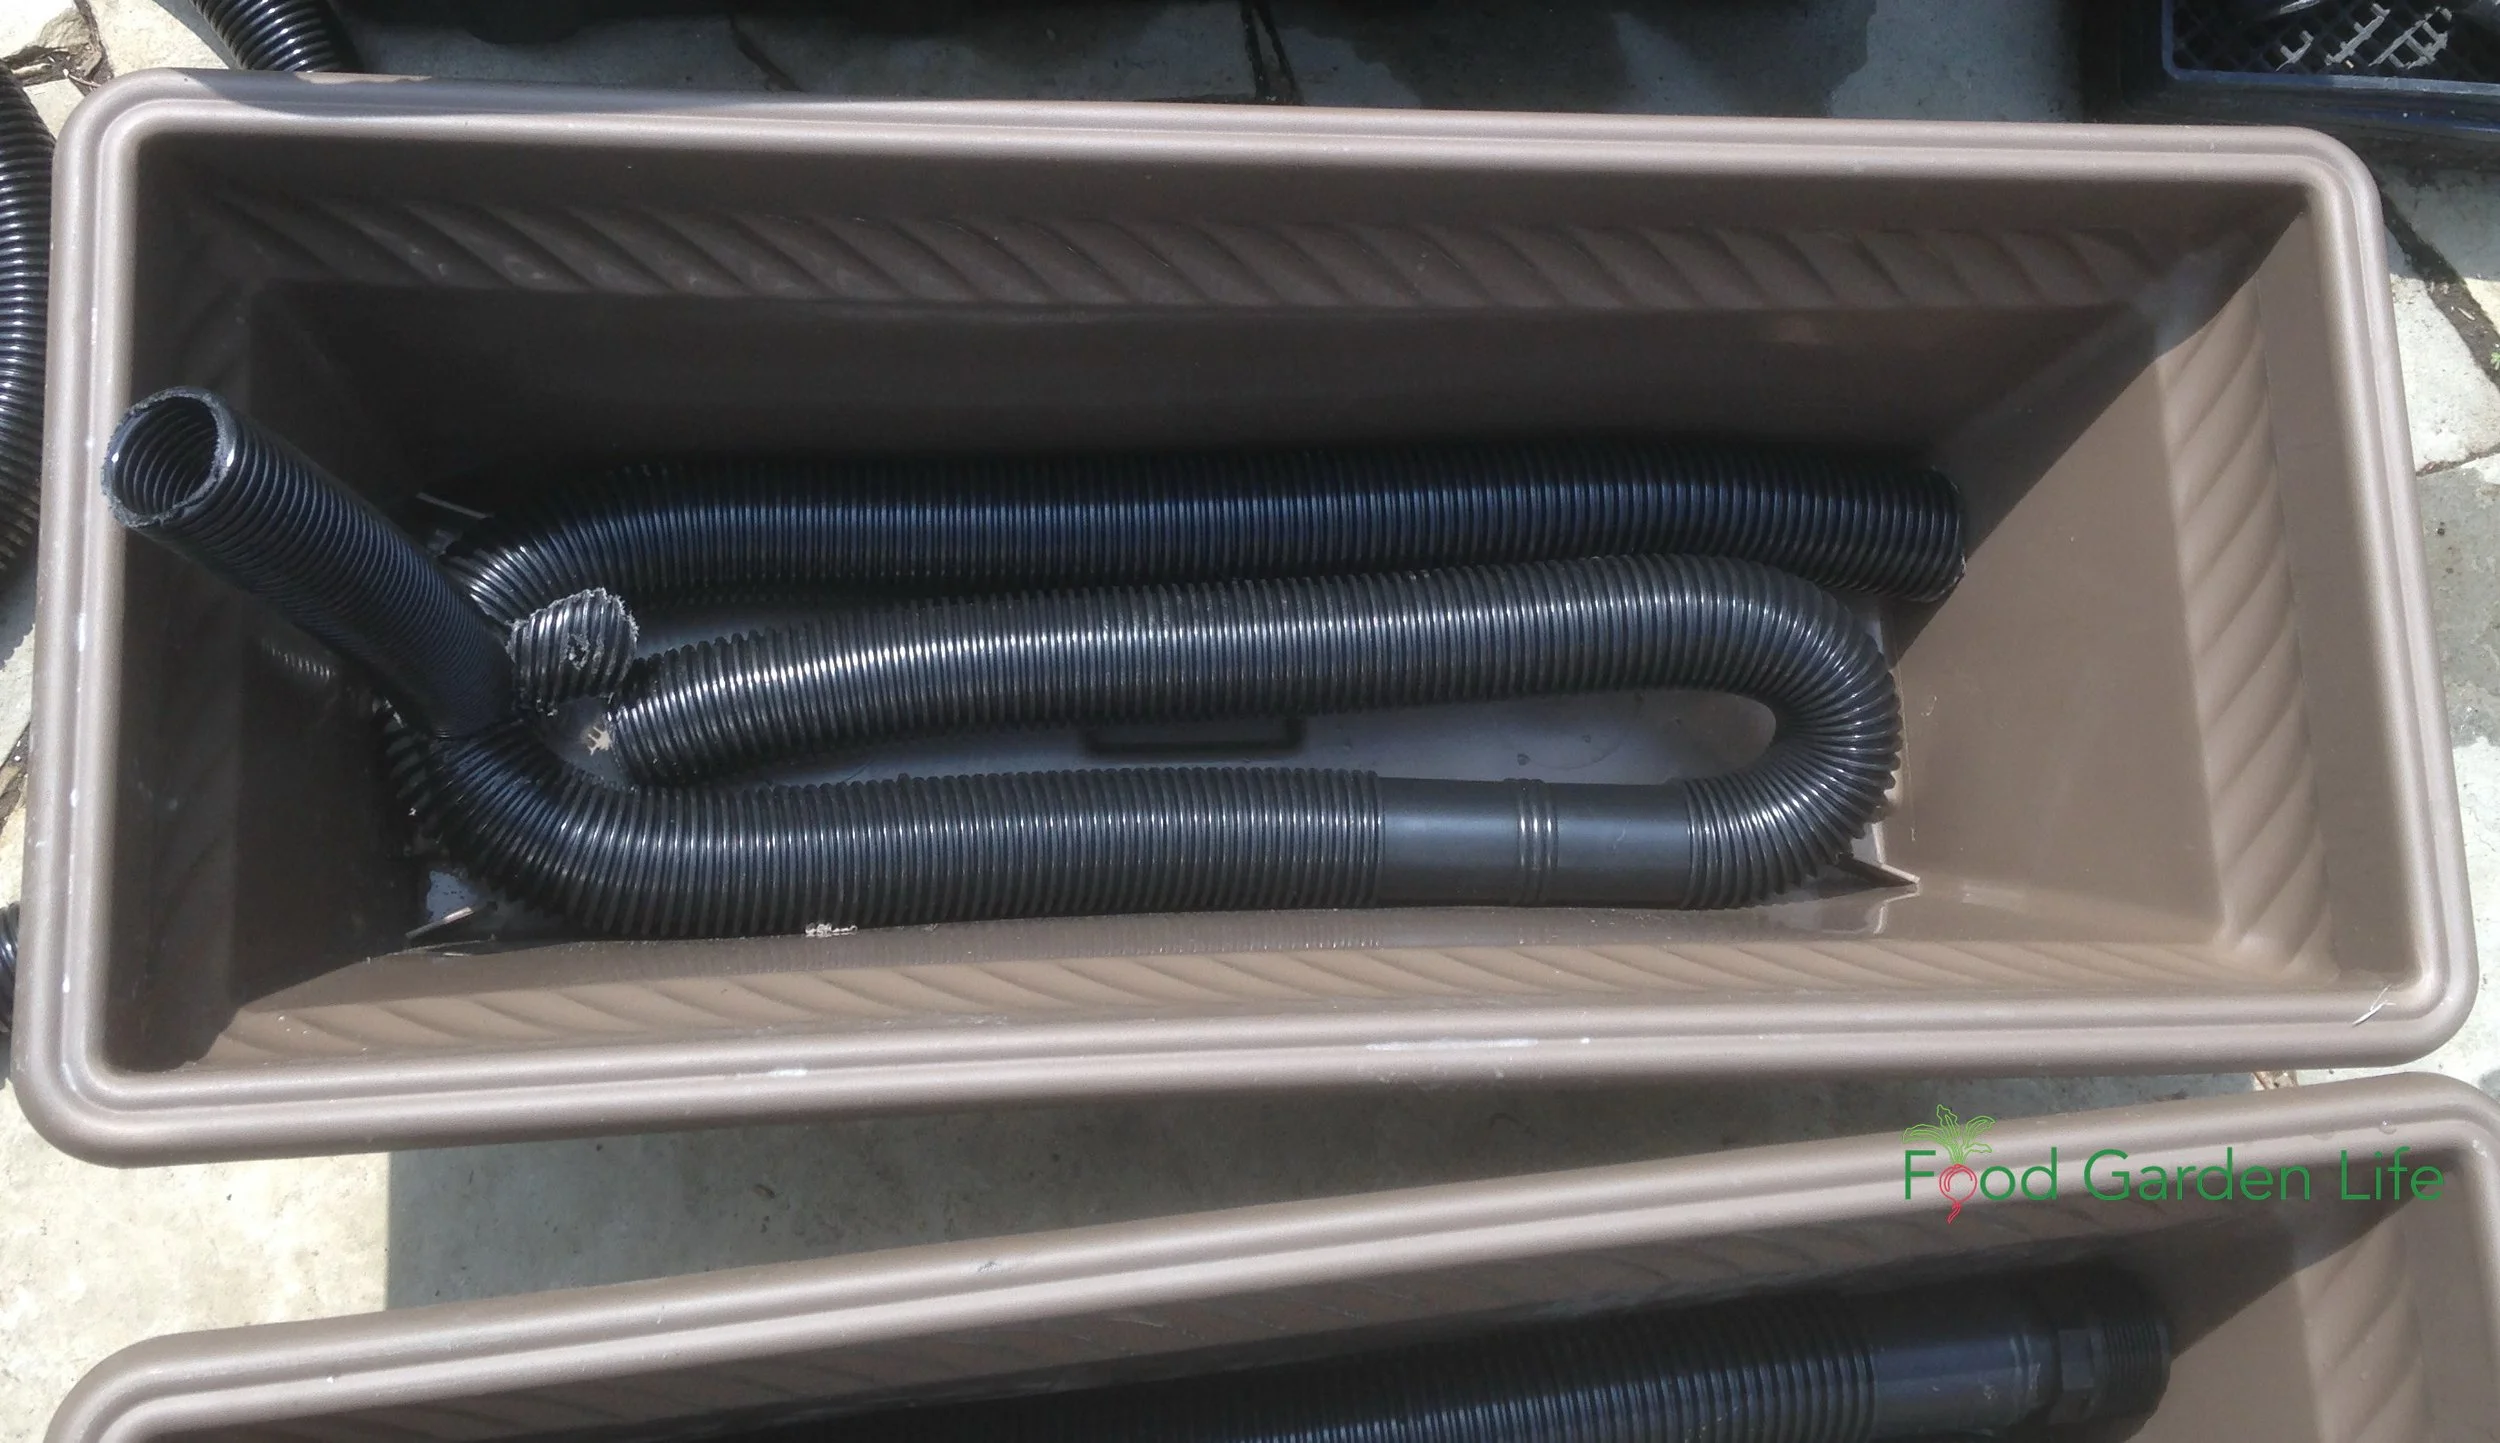
Recycled Items to Make a Self-Watering Planter
I've also made self-watering systems using materials from the recycling bin, or things we already had on hand.
Here are examples of items you can use:
For the Water-Tight Reservoir

Retrofitting a large plastic pot to make a sub-irrigated planter. The reservoir is made from old flower pots, which are covered with wire mesh. The wick (not shown) is fabric. The mesh is covered with landscape fabric so that the potting soil does not fill up the reservoir.
A water-tight container such as a pail
Or, a liner to make a water-tight area in a container with holes (for example, pond liner or construction plastic)
To Hold the Soil Above the Reservoir Area
Drainage pipe
Downspout extenders
Downspouts
Weeping tile
Upside-down flower pots
Landscape fabric, or old t-shirts
For a Fill Tube
Water bottles
Dishwasher drain hose
Pop bottles (“soda” bottles if you’re in the US)
PVC pipe
Retrofit Containers into a Sub-Irrigated Planter

A hypertufa planter with sub-irrigation.
You can retrofit any traditional pot into a sub-irrigation system…even if they have holes in them.
Use a liner to make a water-tight reservoir area at the bottom, and then create an overflow hole.
Planter Maintenance
Potting mixes lose structure over time as the organic matter decomposes. Plan to refresh the potting mix periodically. How often you need to do this depends on the mix, and the conditions. Pay especial attention to the soil in the lower area that acts as a wick.
If you're using a fabric wick, check it annually to see its condition. Fabrics made from natural fibres break down fairly quickly.
Sub-Irrigated Planter FAQ
How deep should a sub-irrigated planter be?
Making a sub-irrigated planter from a smaller, shallower planter. This is perfect for shallow-rooted crops such as leafy greens.
A soil depth of about 30cm (12") is usually lots. Remember, gravity is working against the wicking action...and when the soil is very deep the water doesn't wick all the way to the top.
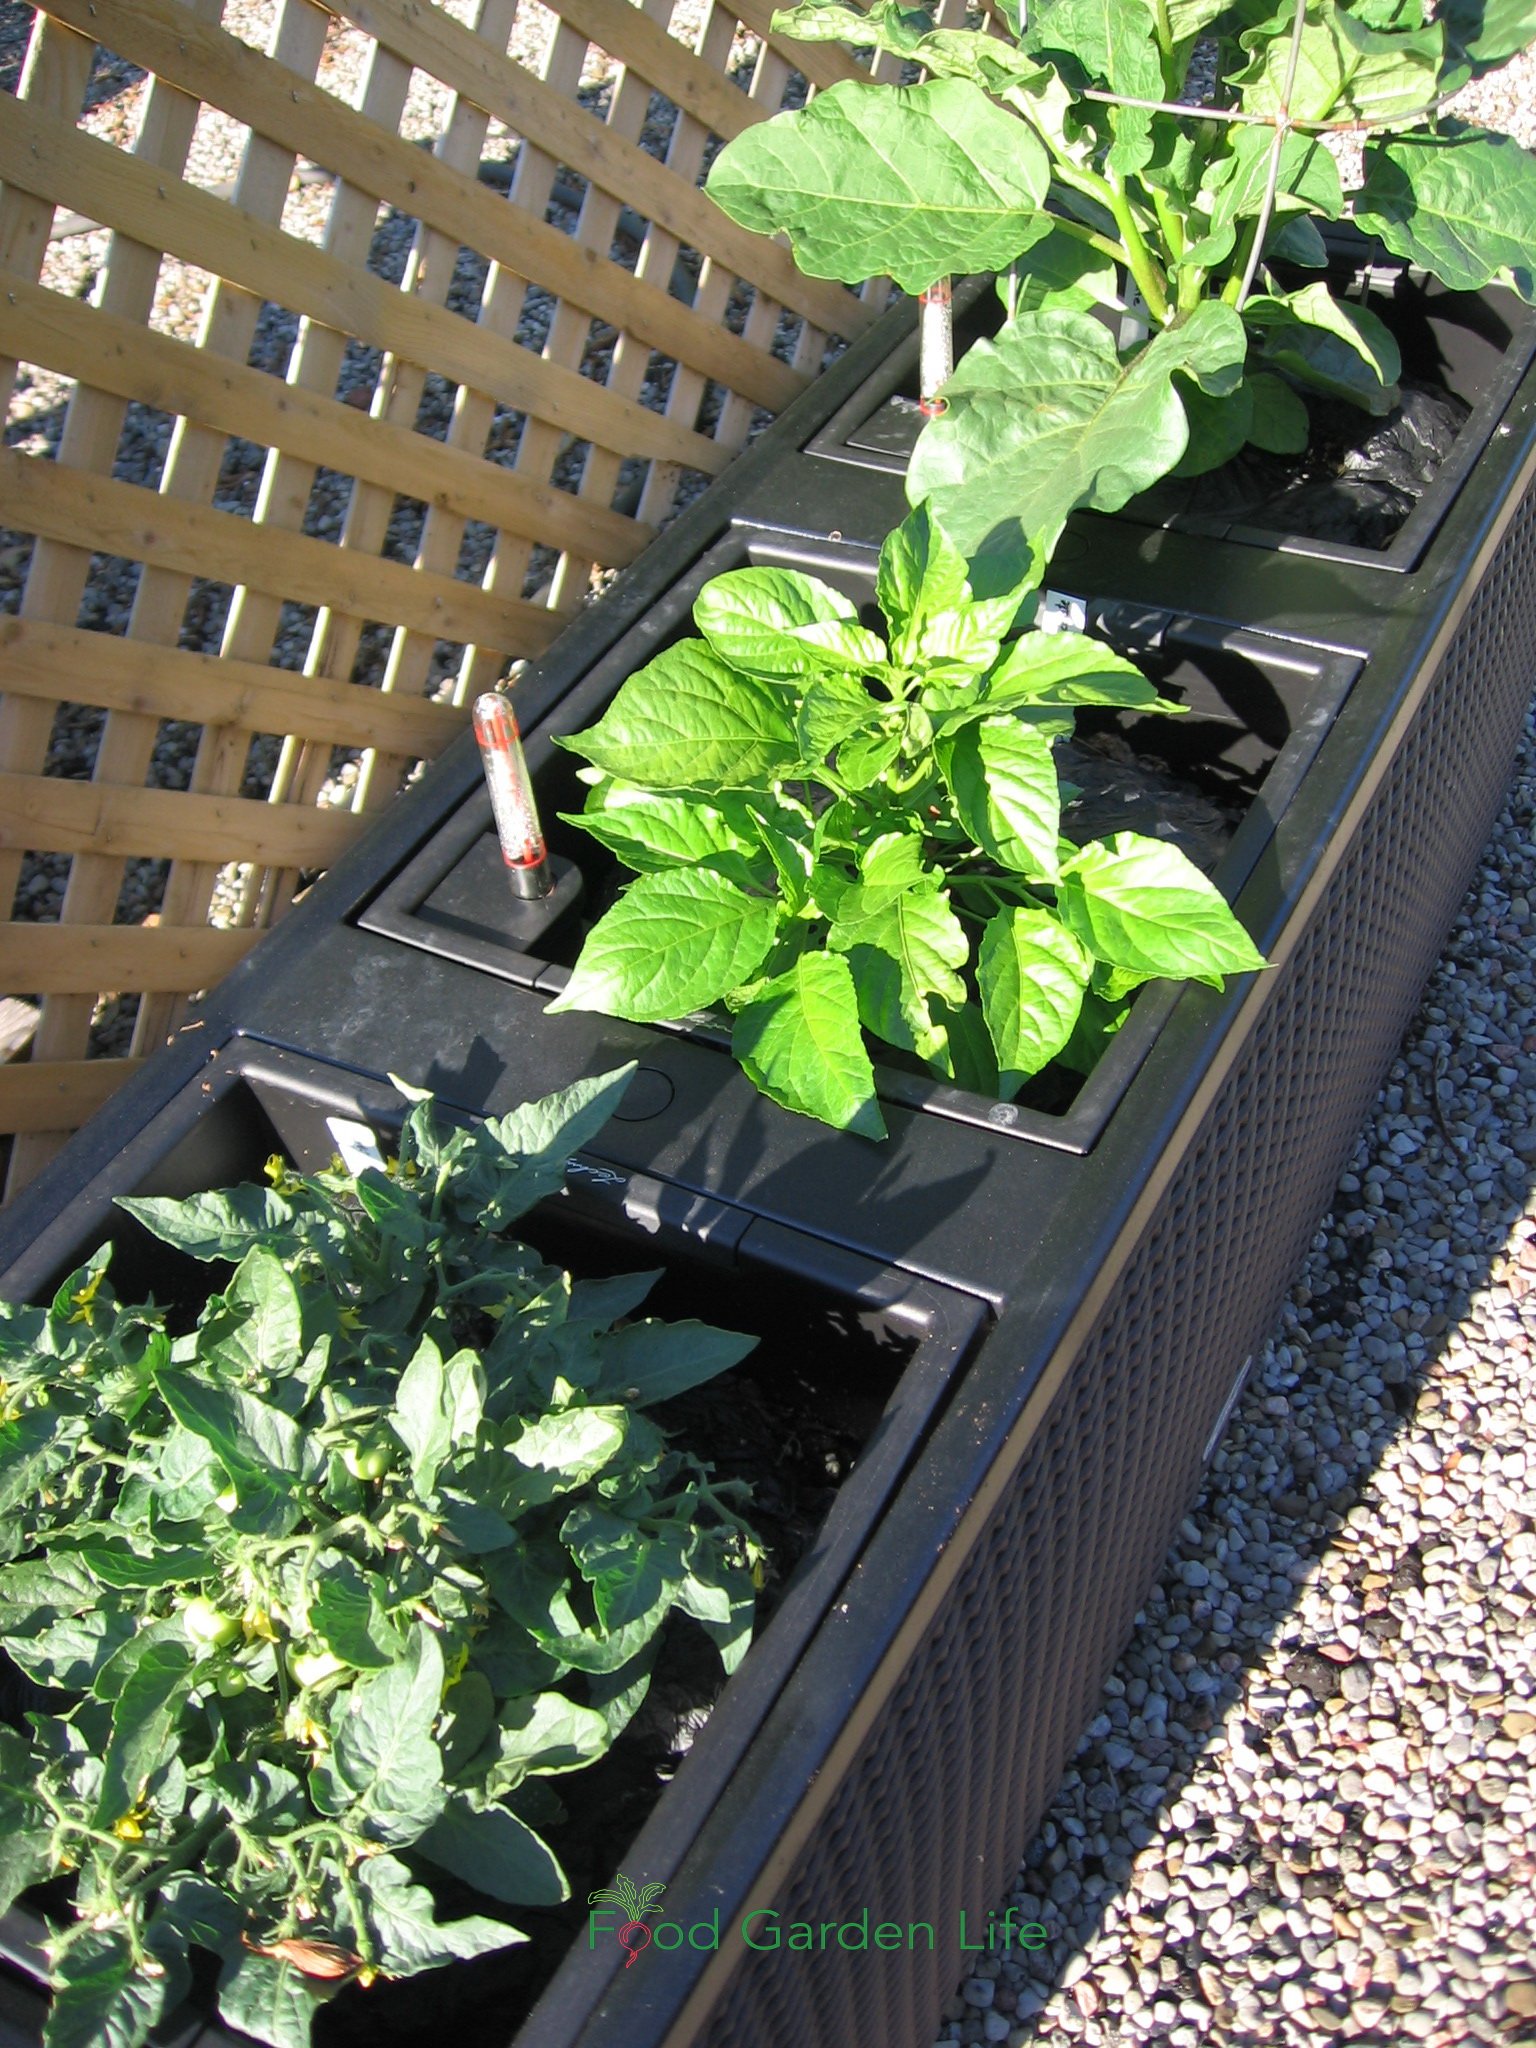
The larger the plant you’re growing, the larger the volume of soil that you'll need. A smaller container with a 15 cm (6") soil depth can be fine for many smaller crops, such as leafy greens. If you're growing something that gets larger, for example bush-type tomatoes, a larger volume of soil is suitable. (That's why I used the storage bins in the example above. Along with determinate tomatoes, we use them for okra, peppers, and eggplant.)
Can I cover the soil on a self-watering planters?
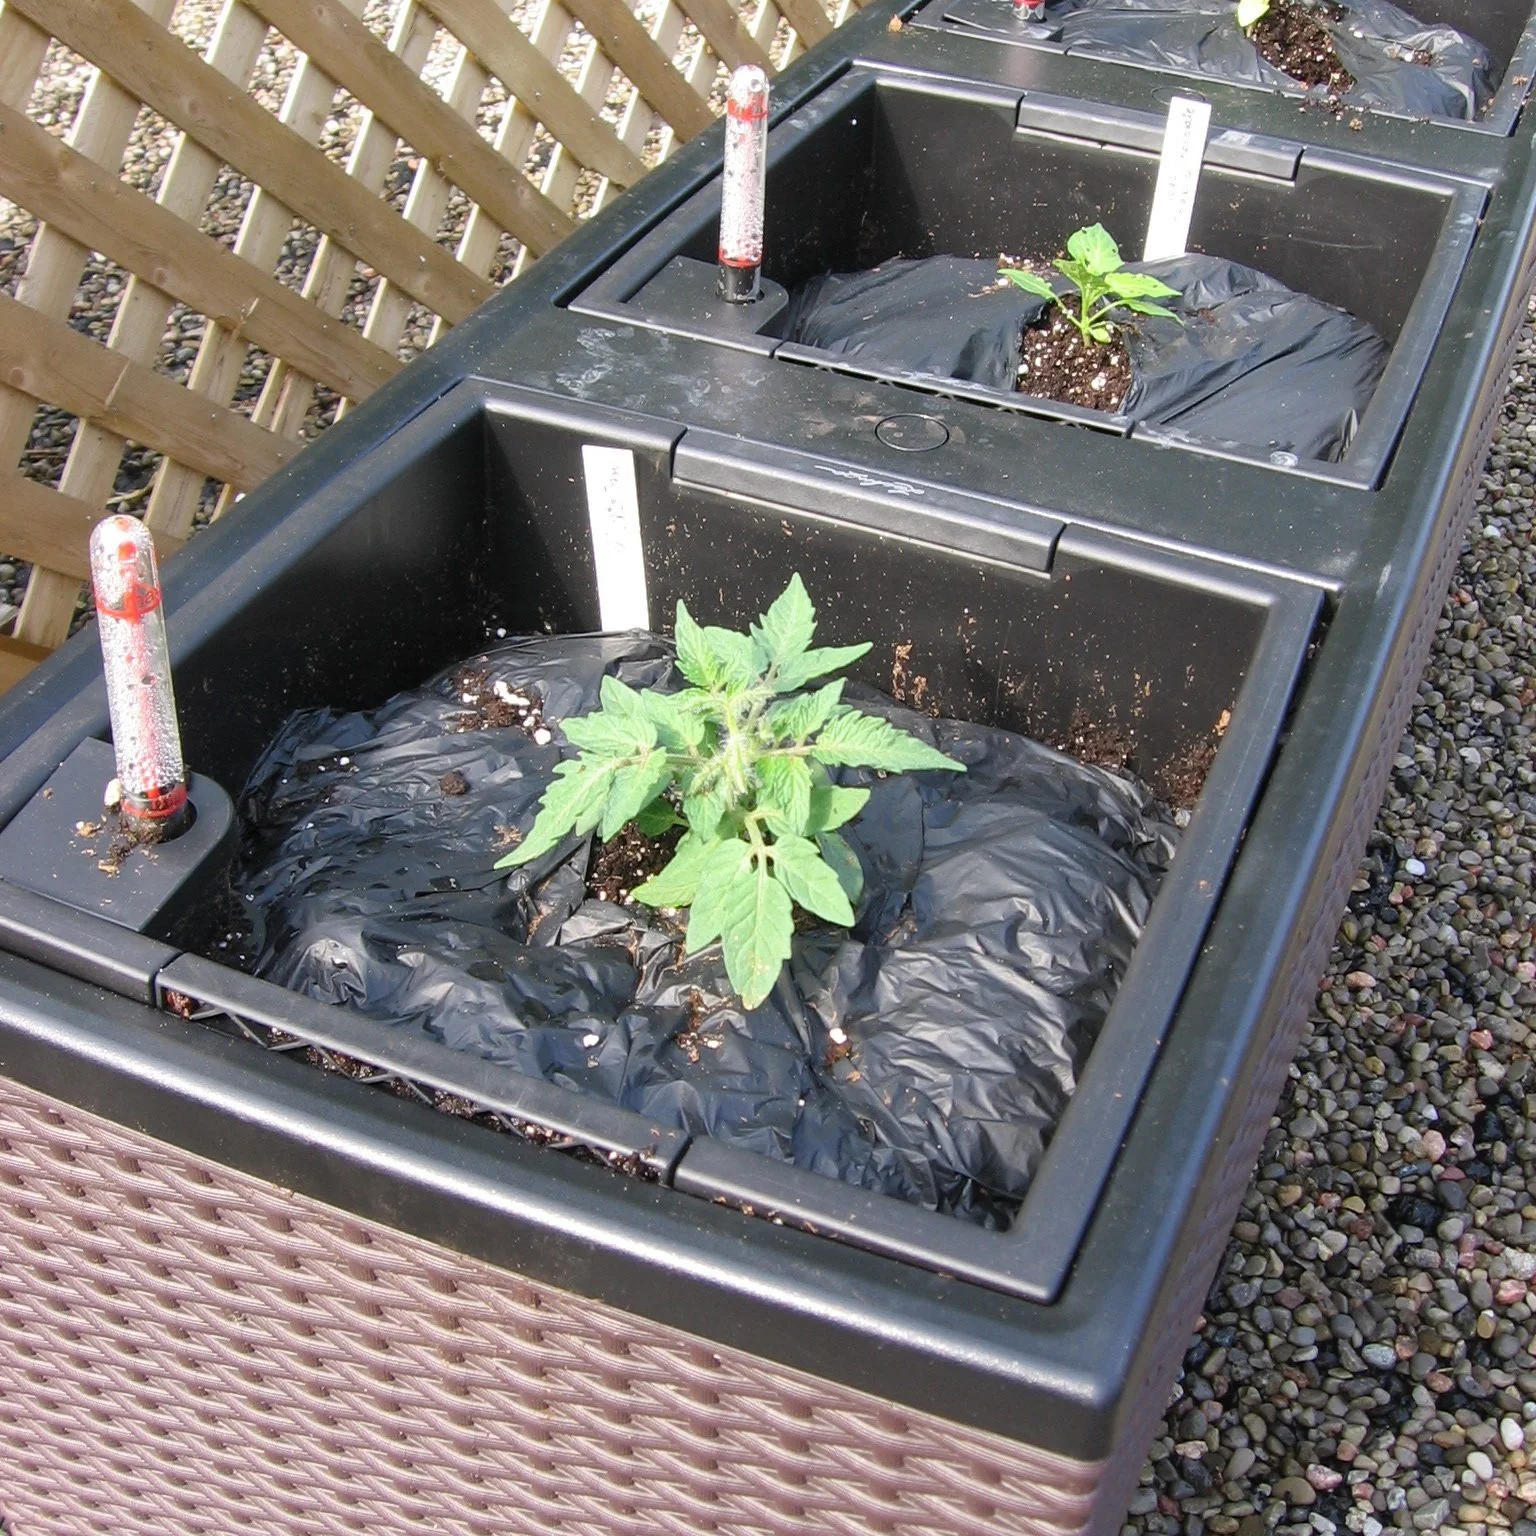
Plastic mulch over the soil holds in moisture and deters squirrels from digging up transplants in the spring.
Yes. A plastic mulch holds in moisture and stops weed seeds from germinating. There are biodegradable plastic mulches that last for a single growing season.
Lay the mulch over the potting mix, and then tuck it in tight at the sides. Once it's snug, you can cut and X in it with a sharp knife, and then plant into the X.
A springtime challenge for us is squirrels digging up newly transplanted seedlings from our planters. A simple solution is the plastic mulch, which seems to deter digging. (Soil is out of sight, and it’s out of their wee little squirrel minds.)
Or, if you don't like the look of the plastic, burlap works well too. (It's a natural fibre, so doesn't hold in as much moisture, but it deters digging and reduces growth of weed seeds.)
What about watering plants in a SIP from above?
This is fine. It will keep the soil surface moister, so there's more chance of weed seeds germinating. But there's nothing wrong with this...other than it can be much slower than filling using a fill tube.
Can I reuse the soil in my self-watering planter?
Over time, as the organic materials in soil break down, potting soil loses its structure. When is has less structure (fewer bigger particles and fewer air pores) it doesn’t wick as well.
So for best wicking, fresh potting mix work best.
But...replacing potting mix every year is both wasteful and expensive. I usually mix in some new soil mix every year, about 20 per cent.
What is an Earthbox?
It is a well-known brand of sub-irrigated planters.
Is a “global bucket” a sub-irrigated planter?
Yes. I suggest you search online to find out more about this easy-to-make pail-in-pail SIP planter that has a reservoir.
What is a wicking bed?

With a wicking bed, we're taking the same ideas we use in a sub-irrigated planter—just on a larger scale. Now we’re talking about a raised bed. A wicking bed has a water reservoir, fill tube, and overflow just like a SIP does.
If you’re researching wicking beds, you’ll see that the names SIP and wicking bed are often used interchangeably. For me, if it’s a moveable planter, it’s a SIP. If it’s a permanent bed, it’s a wicking bed. But don’t sweat the lingo—as long as you understand how it works inside.
Find out more about wicking beds.
Are there any things to watch for with SIPS?
Yes, salt build-up. Normally, excess salts that can accumulate near the soil surface wash away with watering, and then drain from the bottom of a container. But with a SIP, we’re not washing down salts with water, and any runoff is captured.
That means it's a good practice to flush out your SIPs in the spring. Water heavily from the top, enough to cause lots of water to drain through the overflow holes and carry away excess salts.
How can I automate watering in my self-watering planter?

An irrigation spaghetti tube goes into the fill tube on the SIP.
You can set it up with automatic irrigation that refills the reservoirs.
You want what’s called “spaghetti tubes,” small tubes that run from an irrigation line. One tube goes to each planter. (This sort of system is often used to irrigate container gardens, with “drip emitters” at the end of each spaghetti tube to regulate how much water comes out and onto the soil surface in the container.)
But when you’re setting up spaghetti tubes and drip emitters for a SIP garden, just put the tube and drip emitter right into your fill tube, so that when you turn on the irrigation, you’re replenishing the water in the reservoir—not wetting the soil surface. (That way, less water is lost to evaporation, and you’re not creating conditions suited to weed-seed germination.)
Experience will teach you how long to leave on the water supply to fill up the reservoir.
Find This Helpful?
Enjoy not being bombarded by annoying ads?
Appreciate the absence of junky affiliate links for products you don’t need?
It’s because we’re reader supported.
If we’ve helped in your food-gardening journey, we’re glad of support. You can high-five us below. Any amount welcome!
More on Growing Vegetables
Articles and Interviews
Course
Get great ideas for your edible garden in Edible Garden Makeover. Planning. Design. Crops. How-to.