
Beat the Fall Frost: Early Ripening Tomatoes for Northern Gardeners
Short-Season Tomatoes
If you garden somewhere with late spring frosts, early fall frosts, or cool summers, you know the struggle: never enough ripe tomatoes before the first fall frost threatens to end tomato season.
The solution? Early-ripening tomato varieties suited to short growing seasons and coolish summers.
Instead of waiting 85–95 days for large beefsteak tomatoes that rarely ripen in time, northern gardeners can harvest ripe tomatoes in as little as 50–65 days — sometimes even earlier with protection.
Here’s the gist of this article:
What “early ripening” and days to maturity (DTM) mean
Top tomato varieties for cold climates (including tomato varieties with a Canadian pedigree)
Tips to boost your harvest in a short season
In my own Toronto garden (Canadian Plant Hardiness Zone 6a) I have a long enough season and the summer heat needed to ripen large, juicy beefsteak tomatoes. But I grow early ripening tomatoes too, as a way to get the earliest possible tomato harvest. One other benefit of early maturing tomatoes is that in years when late blight rears its head I’ve already enjoyed lots or ripe tomatoes!
What Makes a Tomato “Early Ripening”?
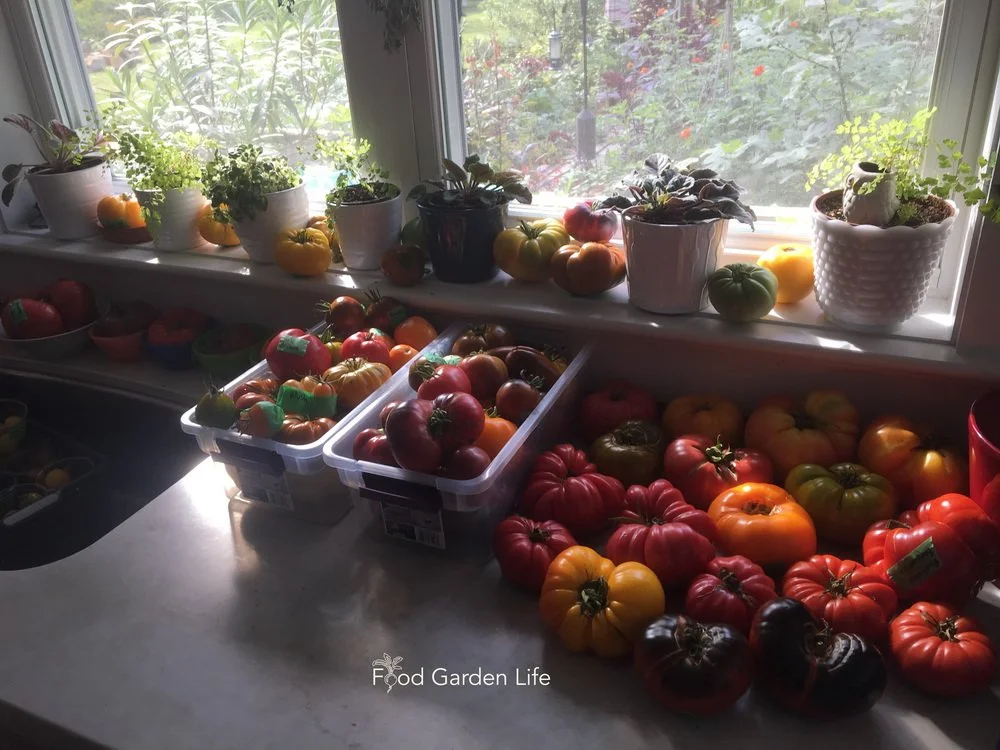
I grow lots of beefsteak and other “late” tomato varieties. But I always grow a few early tomato varieties so that I have ripe tomatoes earlier.
There are a few things to think about when it comes to tomatoes for a short growing season:
Days to maturity
Timing: Early to late
Fruit size
Cool-temperature tolerance
Understanding Days to Maturity
Days to maturity (DTM) is a relative measure that gives you a clue to how long a tomato will take to ripen. Don’t think of DTM as an exact number of days before you have a ripe tomato in your hand: It’s always approximate, because many things (your climate, the weather, growing conditions) affect ripening speed. But DTM is a great tool when comparing one tomato variety with another.
(By the way, for crops that we plant directly in the garden, DTM refers to the number of days from seeding until harvest; while for crops we transplant into the garden (e.g. tomatoes), DTM refers to the number of days from transplanting into the garden until you harvest your first ripe tomato.)
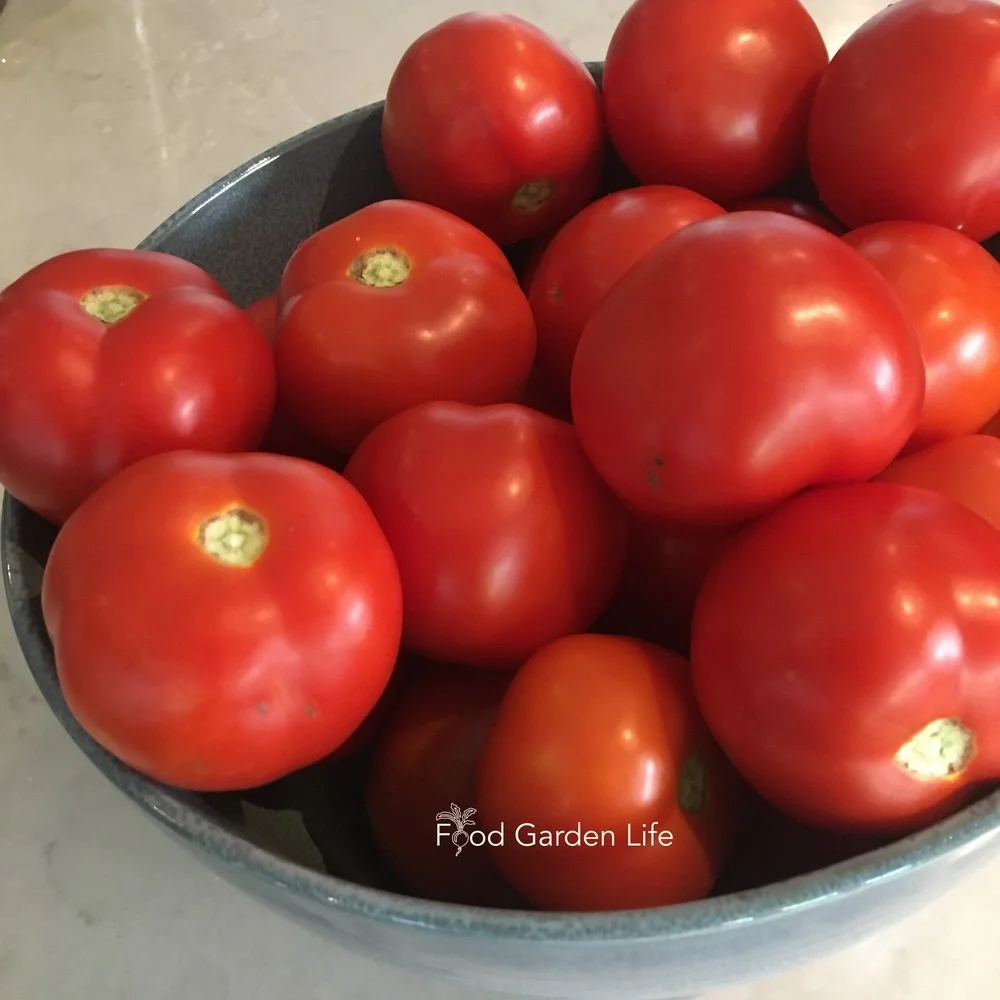
A bowl of early ripening tomatoes.
Timing: Early Maturing Tomato Varieties
As you investigate early maturing tomato varieties, you might notice that some sources give a days-to-maturity rating, while other sources simply categorize tomatoes as ultra early, early, mid-season, and late. So you might wonder how to compare varieties if ripening speed is explained differently.
Use this guide:
Ultra-early: 45–55 days
Early: 55–65 days
Mid-season: 70–80 days
Late: 80+ days
Fruit Size and Plant Type
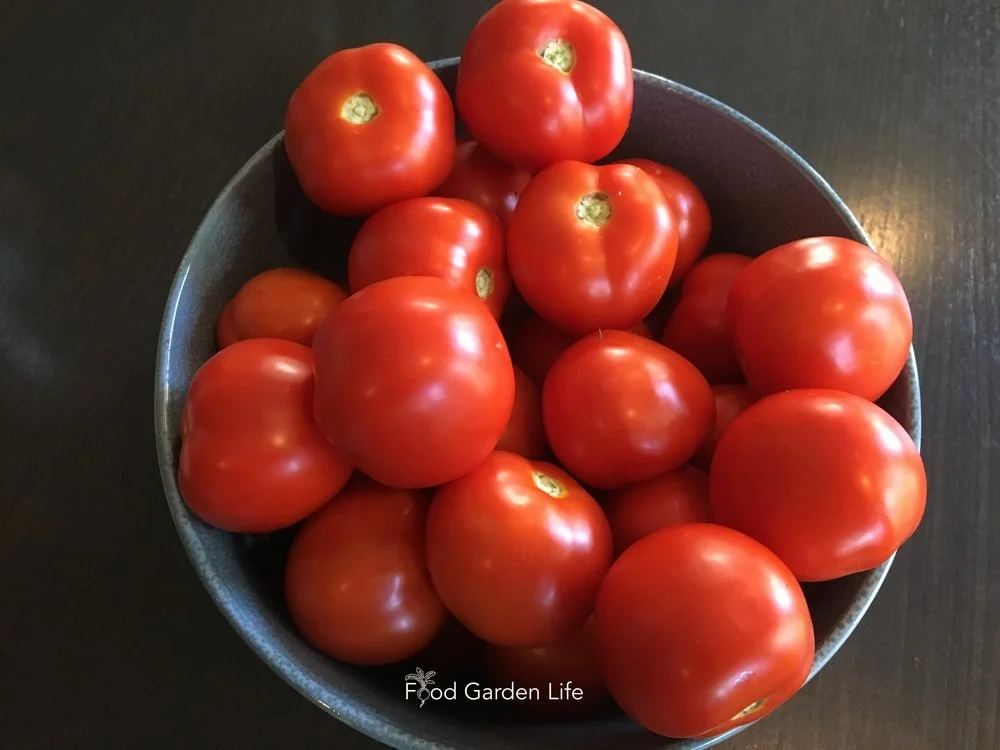
Smaller-fruited tomato varieties often ripen more quickly than large beefsteak types.
Smaller-fruited varieties and determinate varieties (bushier plants that set fruit in a short window of time) very often ripen more quickly. When I teach gardening classes, gardeners in cool coastal climates often tell me they focus on cherry tomatoes and small-fruited tomato varieties.
Cold Temperature Tolerance
When you see a tomato variety described as cold tolerant, it doesn’t mean it will thrive in cold conditions—because tomatoes are a heat-loving crop. It just means that the cold-tolerant tomato varieties can set fruit at temperatures slightly lower than other tomato varieties. It’s not a huge temperature difference, often just a few degrees, but it can be enough to give you tomatoes sooner. And that matters where the growing season is short.
5 Great Early Ripening Tomato Varieties for Cold Climates
These early ripening tomato varieties are proven performers for short growing seasons. They’re also widely available, so they’re a good starting point if you’re new to growing early maturing tomatoes.
1. Glacier
Gives small, red slicing tomatoes. Early and cold-tolerant. 55 days.
2. Stupice
Early, great flavour, and cold-tolerant. Small, red slicing tomatoes. 55–60 days. Great taste. This is my favourite early ripening tomato.
3. Sub Arctic Plenty
I’ve grown this super-early tomato variety for years. Reliably the first tomato in my garden. 45–50 days. Can’t argue with that!
4. Evan’s Extra Early
Good flavour. This mid-sized tomato is from Dr. Ieuan Evans of Alberta, a cold-climate gardener who also released the Evan’s Cherry. 57 days.
5. Early Girl
This is a hybrid tomato that’s been around since the 1970s and is widely available. It’s still around because it’s early, has a good taste, and keeps well. ~57 days.
Early Ripening Tomato Varieties with a Canadian Pedigree
Because of the short growing season in many parts of the country, and the cool, coastal summers in other areas, there are many early maturing tomato varieties from Canada. Sometimes the variety name gives it away—though not always. If this interests you, here’s a list of Canadian early ripening tomato varieties.
Atom
Beaverlodge Slicer
Cabot
Centennial Rocket
Early Alberta
Early Lethbridge
Early Hi-Crimson
Evan’s Extra Early
Glacier
Itabec
Kimberley
Manitoba
Maskabec
Porter’s Early Brookpact
Rocket
Russian Saskatchewan
Scotia
Siberia
Siberian
Sophie’s Choice
Sub-Arctic Cherry
Sub-Arctic Maxi
Sub Arctic Plenty
Summerdawn
Superbec
Usabec
Wentzell
This list is a work in progress. If you like a variety that should be on this list, email me.
Ready to go further?
If this article helped, the next step is the Tomato Overload Masterclass. If you're not ready for a course, grab my 20 Food Garden Hacks guide and I'll send more practical tips by email.
Final Thoughts: Short Season Tomatoes
Pin this post about early ripening tomatoes!
Choosing an early maturing tomato variety is a simple way to harvest more tomatoes in areas with a short growing season or cool summers. It’s also a way gardeners in warmer areas can enjoy an earlier tomato harvest.
FAQ: Short Season Tomatoes
What is the earliest ripening tomato variety?
One of the earliest is Sub Arctic Plenty, clocking in at under 50 days.
Can tomatoes grow in Zone 3?
Yes. Choose early varieties and use season extension techniques in the spring and fall.
Find This Helpful?
Enjoy not being bombarded by annoying ads?
Appreciate the absence of junky affiliate links for products you don’t need?
It’s because we’re reader supported.
If we’ve helped in your food-gardening journey, we’re glad of support. You can high-five us below. Any amount welcome!
More on Vegetable Gardening
Articles and Interviews
Looking for more information about growing vegetables? Drop by the Grow Vegetables home page for articles and interviews.
Course: Tomato Overload Masterclass
Want to up your game growing tomatoes?
This self-paced course helps you choose great varieties, grow great seedlings, give plants the care they need, and enjoy an abundant harvest.
How to Grow Tomato Seeds Indoors
A complete guide to growing tomato seeds indoors. Tips, supplies—and what to avoid.
By Steven Biggs
Learning How to Plant Tomato Seeds
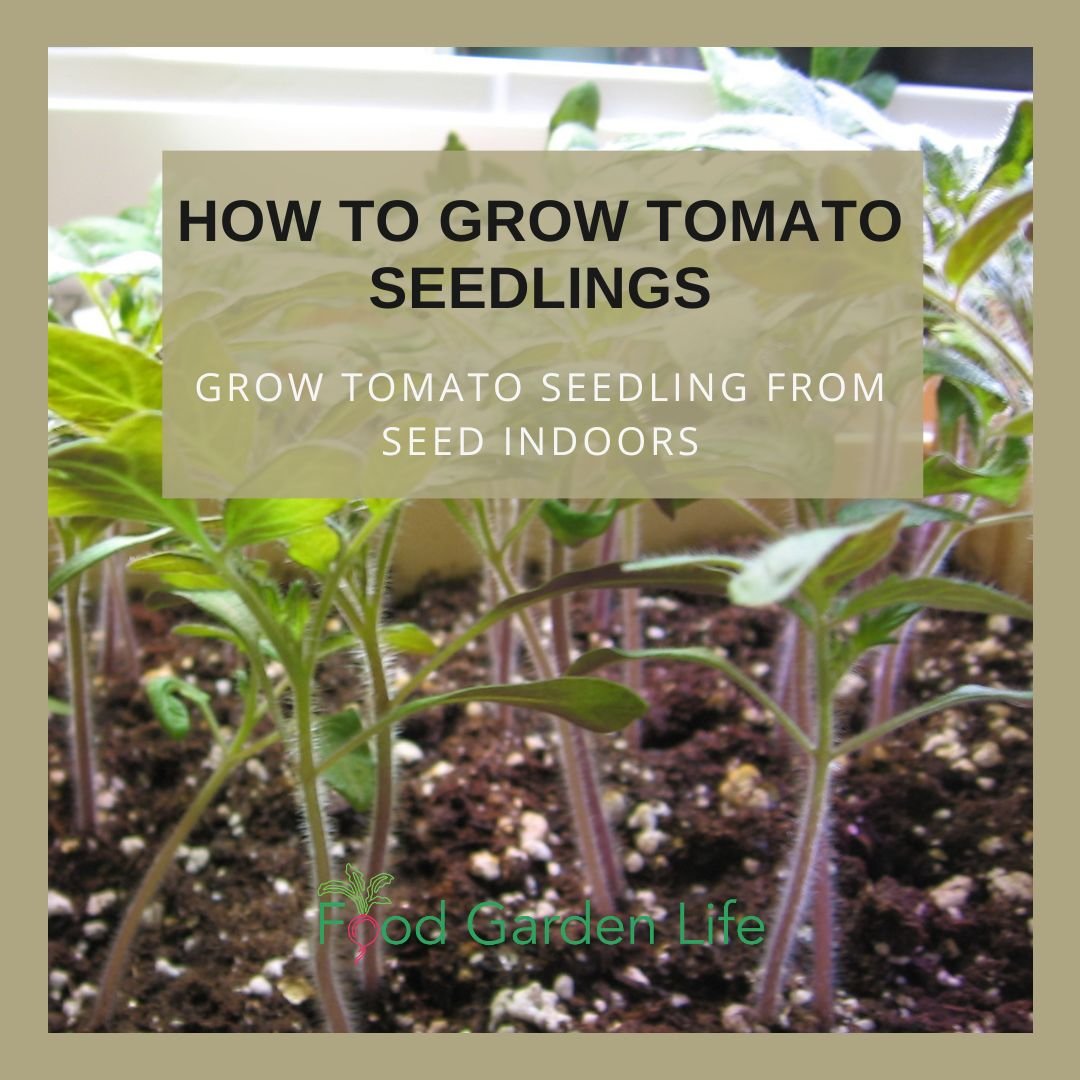
How to grow tomato plants from seed.
When I was 10 years old my grandfather helped me sow tomato seeds. My first yellow-fruited tomatoes.
I had the perfect teacher. Dido was a life-long gardener and retired market gardener.
He was visiting us from Calgary that spring. We didn’t have much in the way of seed-starting supplies at our place. So he just grabbed an unused wash basin. We put a couple of inches of potting soil in it, sprinkled seeds on top. And then a thin layer of soil.
I gave lots of yellow tomatoes to the neighbours that summer!
His no-fuss approach to gardening coloured mine. There are lots of great supplies, gadget, and tricks…if you want. But you can also make gardening—and growing tomato seeds—really simple. And in a home-garden setting, I think simple is good.
In this article I share ideas about how to grow tomato seeds in a way that suits your situation.
Choose a Tomato Variety

Find out how to grow tomato plants in a way that suits your situation.
Before planting, select a variety that gives you what you want.
Here are things I think about as I choose varieties:
Colour
Size
Taste
How long it takes to mature
Plant stature (determinate tomatoes, indeterminate tomatoes, dwarf tomatoes…there are even micro-dwarf tomatoes)
Disease Resistance
How I use the tomatoes (sauce, sandwiches, packed lunches)
Storage properties (there are storage—a.k.a. “keeper” tomatoes!)
Find out about “keeper” tomatoes.
Get tomato-choosing tips in this article by my tomato-crazy daughter, Emma.
Got problems with squirrels? Cherry tomatoes might be better than big beefsteak tomatoes because there are more tomatoes to go around. Here’s a guide with 50 ways to foil squirrels.
When to Start Tomato Seeds Indoors
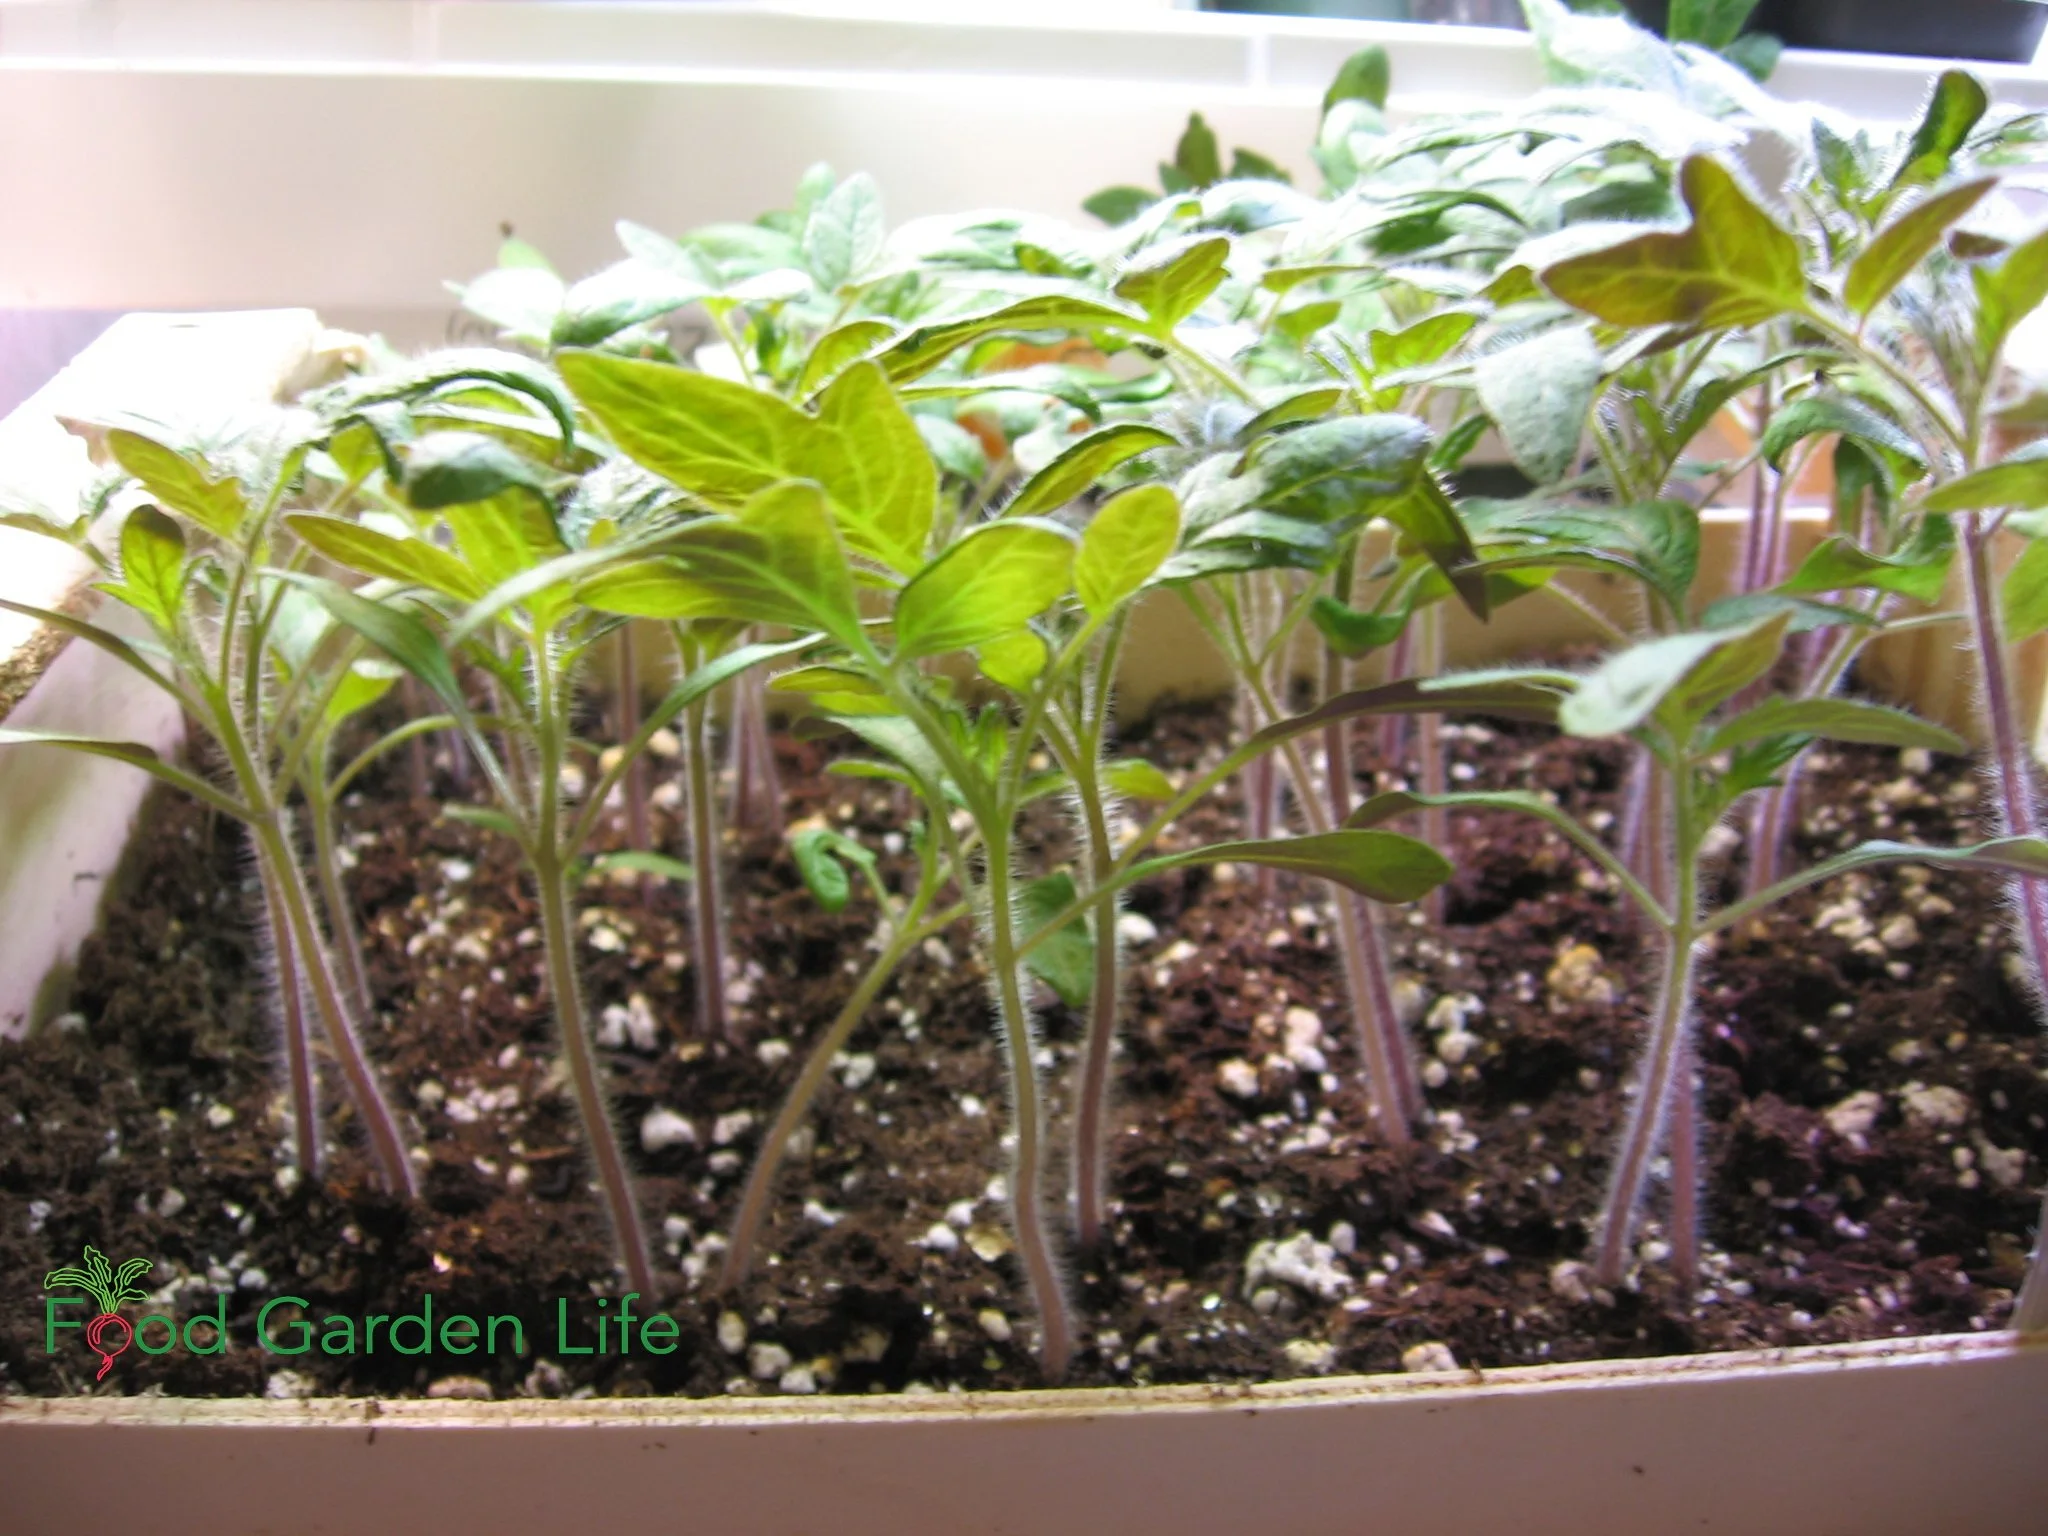
Start tomato plants indoors to get a head start on the growing season. These tomato plants are growing in a wooden mandarin orange crate.
We grow tomato seeds indoors to get a head start on the growing season. That head start gives us an earlier harvest.
When it comes to timing, the date of the last spring frost is our guidepost. You’ll often see this date called the “last frost date” or “average last frost date.”
Find out the average last frost date for your area, and then count backwards 6 to 8 weeks.
For example:
The average last frost date around here is mid May. So working backwards 8 weeks, I know that I should be starting tomato seeds indoors around mid March.
This is not an exact science.
So don’t sweat the exact date.
Aim for approximately 6-8 weeks. But don’t start too early, because you could end up with leggy seedlings.
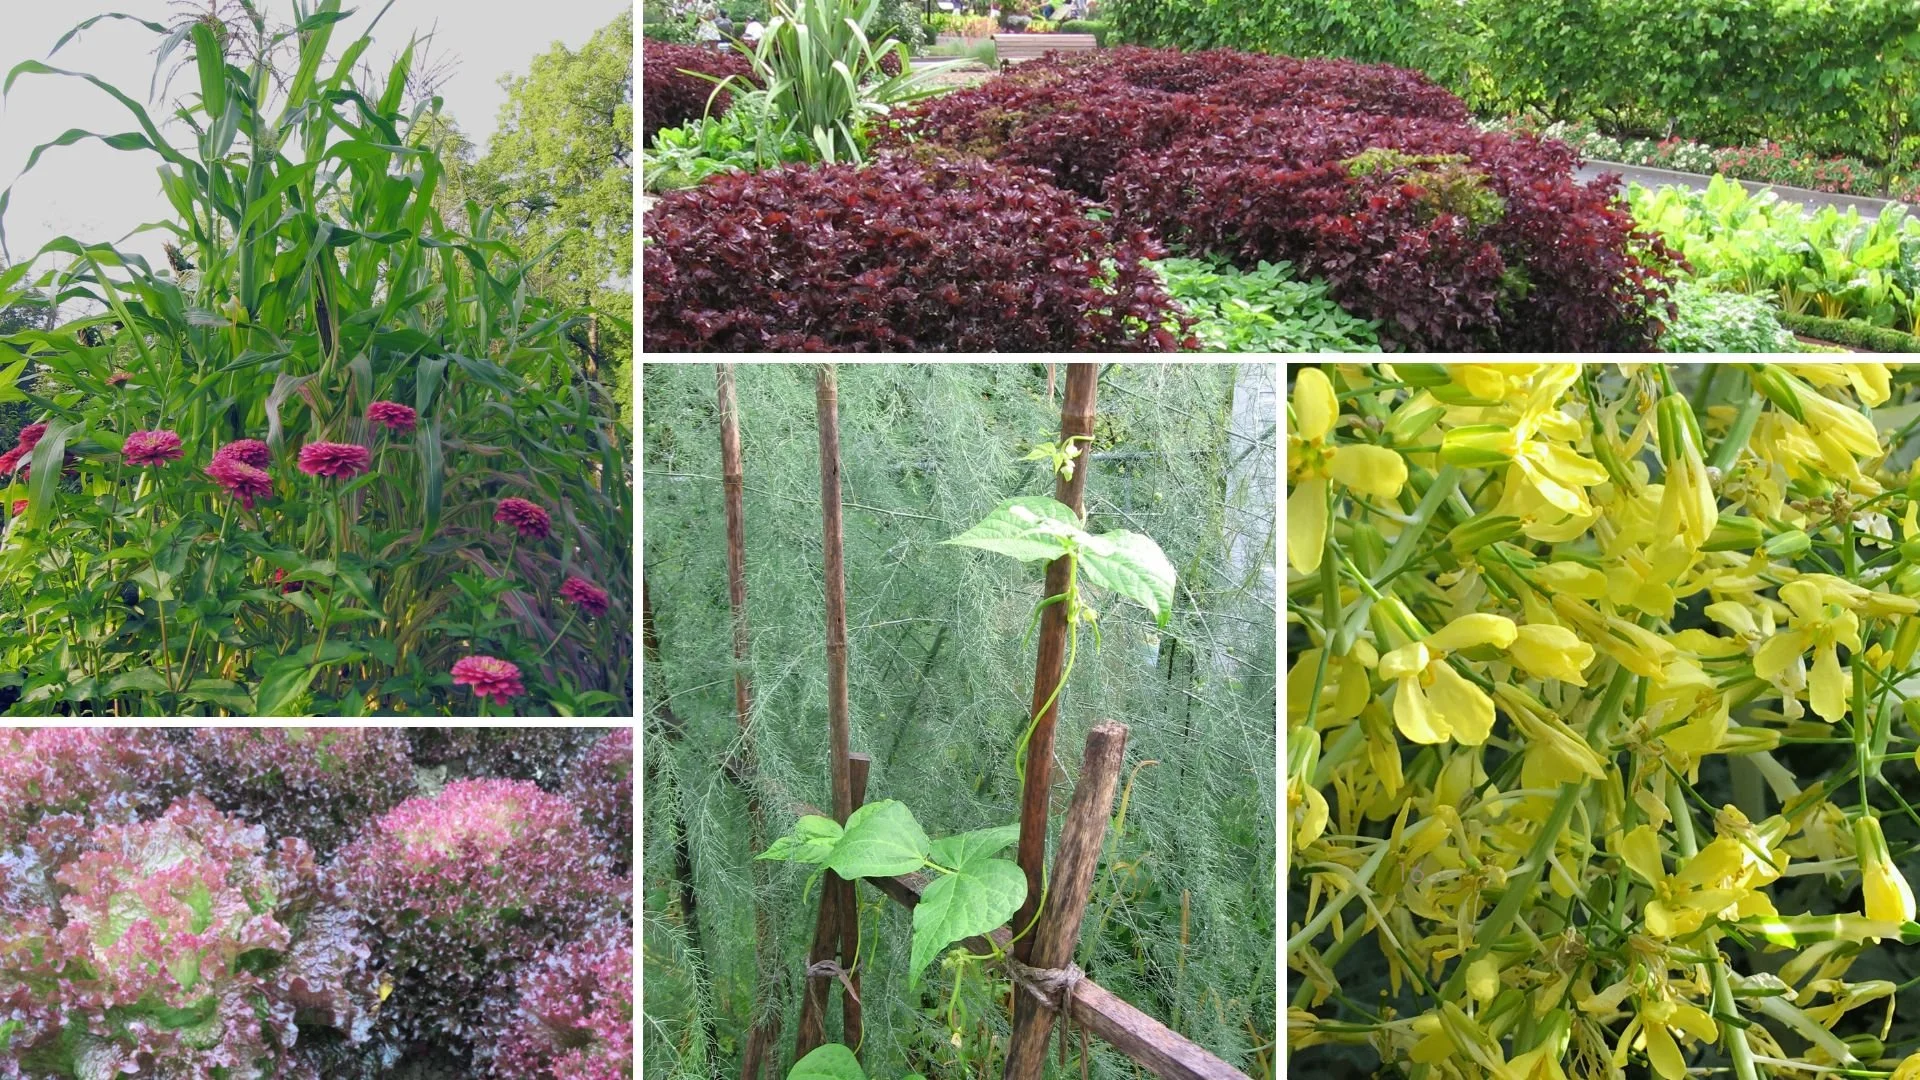
Create Your Own Unique Edible Landscape
That fits for your yard, and your style!
Supplies for Growing Tomato Seeds Indoors
The supplies you need when growing tomatoes from seed depends on your approach to gardening. As I mentioned above, you can keep it pretty simple.
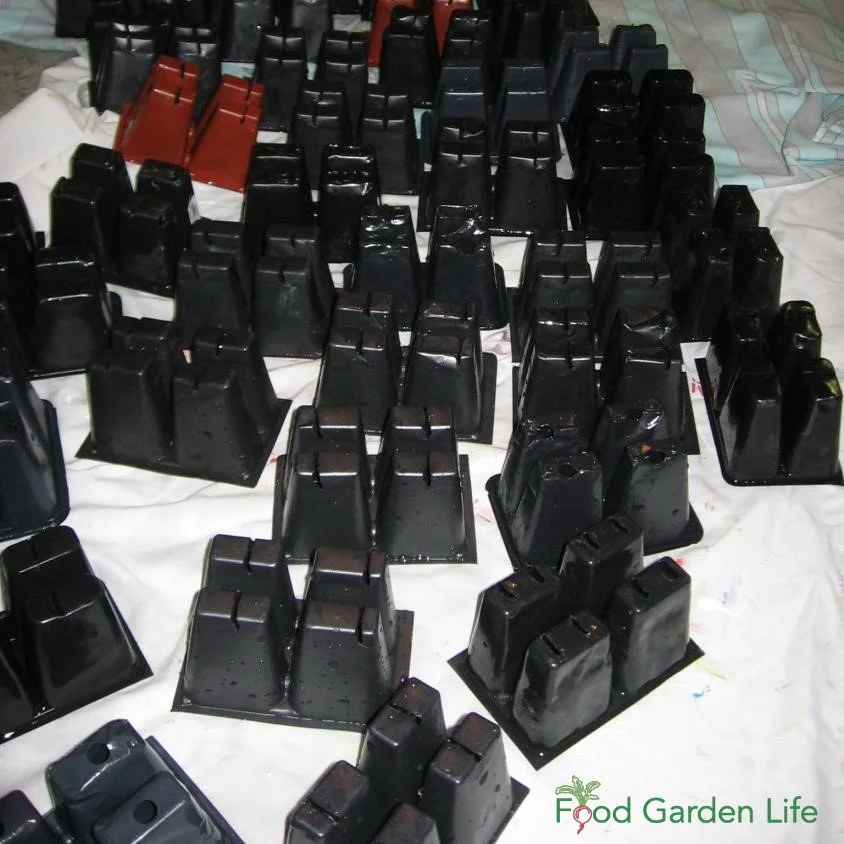
Cell packs are a good option if you’re growing a lot of seedlings.
Here are basic supplies:
Potting soil
Pots or containers (ideas below)
Labels
Seeds
Optional goodies:
Heat mat
Fan
Dome or cover
Containers for Starting Tomato Seeds
You can buy purpose-made containers for starting seeds. Or you might already have things you can reuse for seed-starting. (Horticulture creates a lot of plastic waste…and a bit of creativity with seed-starting containers is a great way to generate less waste.)
Here are ideas for seed-starting containers for tomatoes:
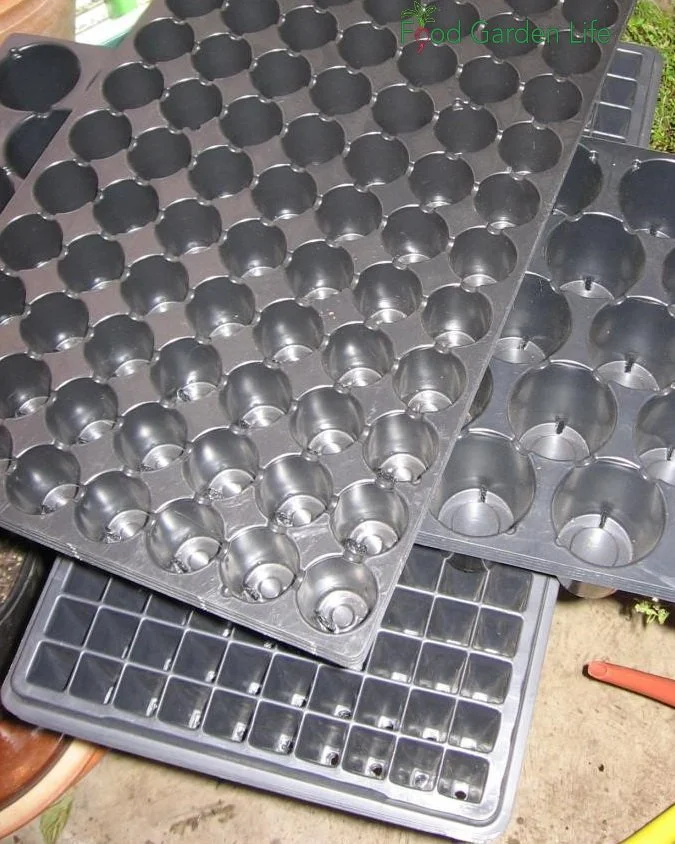
Plug trays are an option if you want to start lots of seeds.
Cell packs. These are the plastic containers with multiple holes, often used for bedding plants – a good option if you’re growing a lot of seedlings.
Plug trays. Plastic trays with a number of smaller holes, more commonly used in commercial greenhouses.
Pots.
Crates. I’ve used wooden mandarin orange crates.
Newspaper pots. Remember that paper pots wick moisture and dry quickly, so adjust your watering accordingly.
Egg cartons. Like egg shells, below, too small for growing tomato plants to the final transplanting size, but if it’s all you have, they’re OK for getting seeds started before transplanting into a bigger pot.
Egg shells? Don’t bother. There are lots of cutesy pictures online of seeds growing in egg shells. My suggestion is don’t bother, they’re impractical.
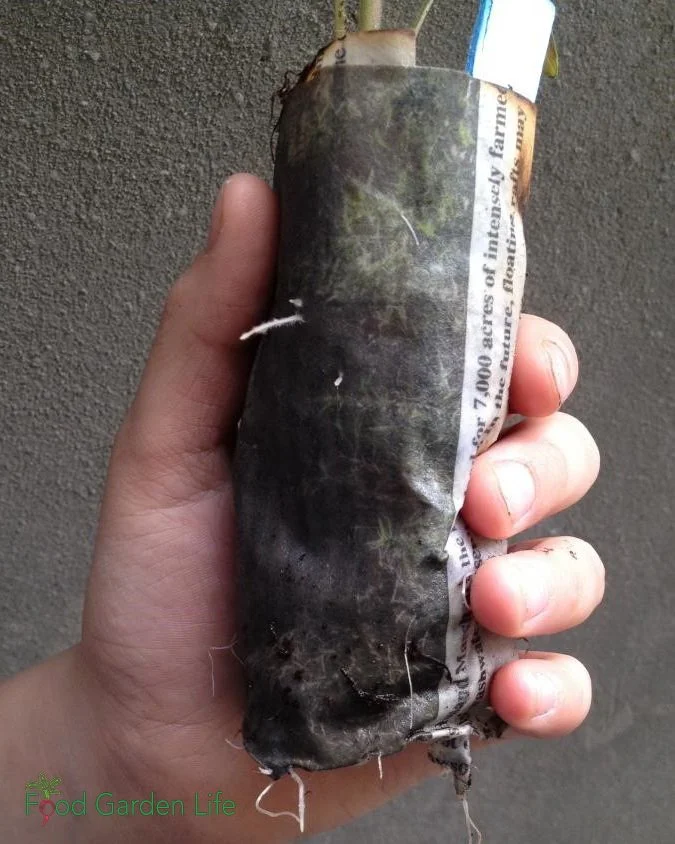
Newspaper pots are easy to make. They can be planted directly into the garden as the roots grow right through the newspaper.
If you’re using biodegradable, natural-fibre pots (peat pots are common, and I’ve even seen pots made from cow manure) a word of caution: Bury the entire pot when planting in the garden, or the whole thing is a wick, wicking water away from plant roots.
Soil for Starting Tomato Seeds
Top Tip: Don’t use garden soil.
That’s for two reasons: First, many garden soils have a structure that packs down, preventing little roots from growing. The other thing is that garden soil can harbour diseases that kill young tomato seedlings.
Use potting soil.
You might see potting soils specifically for seed-starting. These are made with ingredients that are more finely ground, so that there are no chunks of material blocking the way of little germinating seeds.
You don’t need the finely ground potting soils.
A general-purpose potting soil is fine. (A finely ground seed-starting mix is important for commercial growers who need uniform, optimal seed germination; but in a home garden we usually have more seeds than we need, so having the odd coarse chunk in the soil is no big deal).
If the soil is dry, moisten it before using it.
Light for Your Tomato Seedlings
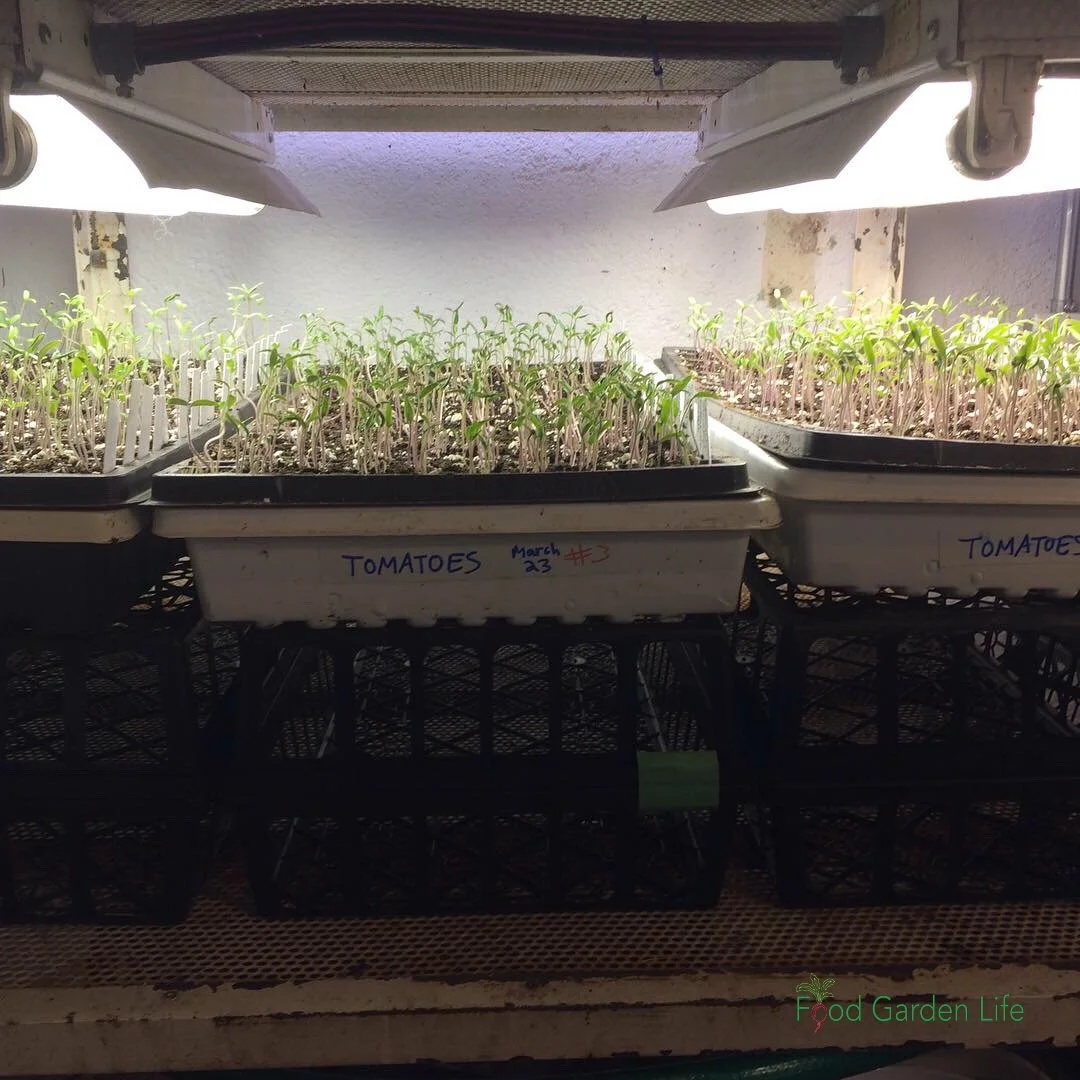
Grow lights for growing tomato seedlings. I use fluorescent lights. Note that the trays are propped up to be as close as possible to the lights.
Good light is important for growing compact plants. When there’s not enough light you end up with leggy plants that topple over.
There are lots of lighting options. The simplest and least expensive is to grow seedlings in a bright window (south facing is best.)
If you don’t have a bright window, you can start seeds under lights. There are many types of lights available.
Here’s the thing to know: Your tomato seedlings don’t need the same light as an indoor hydroponic vegetable crop.
You’re not trying to create perfect conditions to grow a plant right through to harvest. The lights just need to be good enough to give you healthy, fairly compact tomato transplants.
So save yourself some money and don’t go overboard on lighting.
My lighting for growing tomato seedlings is fluorescent shop lights. You don’t need full spectrum lights, nor do you need the strongest lights. Remember: You’re growing a young plant to transplant outdoors – where it will spend the rest of its life in sunlight.
Some grow light are adjustable, allowing you to move the lights close to the seedlings. Mine aren’t, so instead, I prop up trays of plants closer to the lights by putting something underneath them.
Use a timer so that you don’t have to remember to turn the grow lights on and off every day. I leave mine on for 16 hours a day.
Landscape with Fruit
That’s easy to grow in a home garden!
Planting Tomato Seeds
Fill your container with soil, leaving a bit of space at the top.
If you’re planting an individual seed, place it on top of the soil
If you’re planting a number of seeds in one container, space them out on top of the soil
Then place a thin layer of soil over the top. You don’t need to put much soil over the seed: Cover with a depth of soil similar to the seed width…up to about one-quarter inch. (Too deep and they might not grow.)
Then tamp very gently and water. What we’re trying to do by covering with soil and tamping is to make sure the seed is in contact with soil, which helps with uniform germination.
Wait a minute. Have you seen the recommendation to make a small hole, put a seed in the hole, and then cover with soil? There’s a gizmo called a dibbler that’s used to make holes. And some gardeners make holes, and even use a toothpick for precise seed placement. That’s fine too. There are many ways to plant tomatoes. My opinion is that this sort of precision is needed in a commercial operation…but I don’t need it for at the home-garden level.
Tomato Seeding Density
Not sure how many seeds to put in each container? Depending on how many tomato plants you’re growing and how much space you have, you can seed more or less densely:
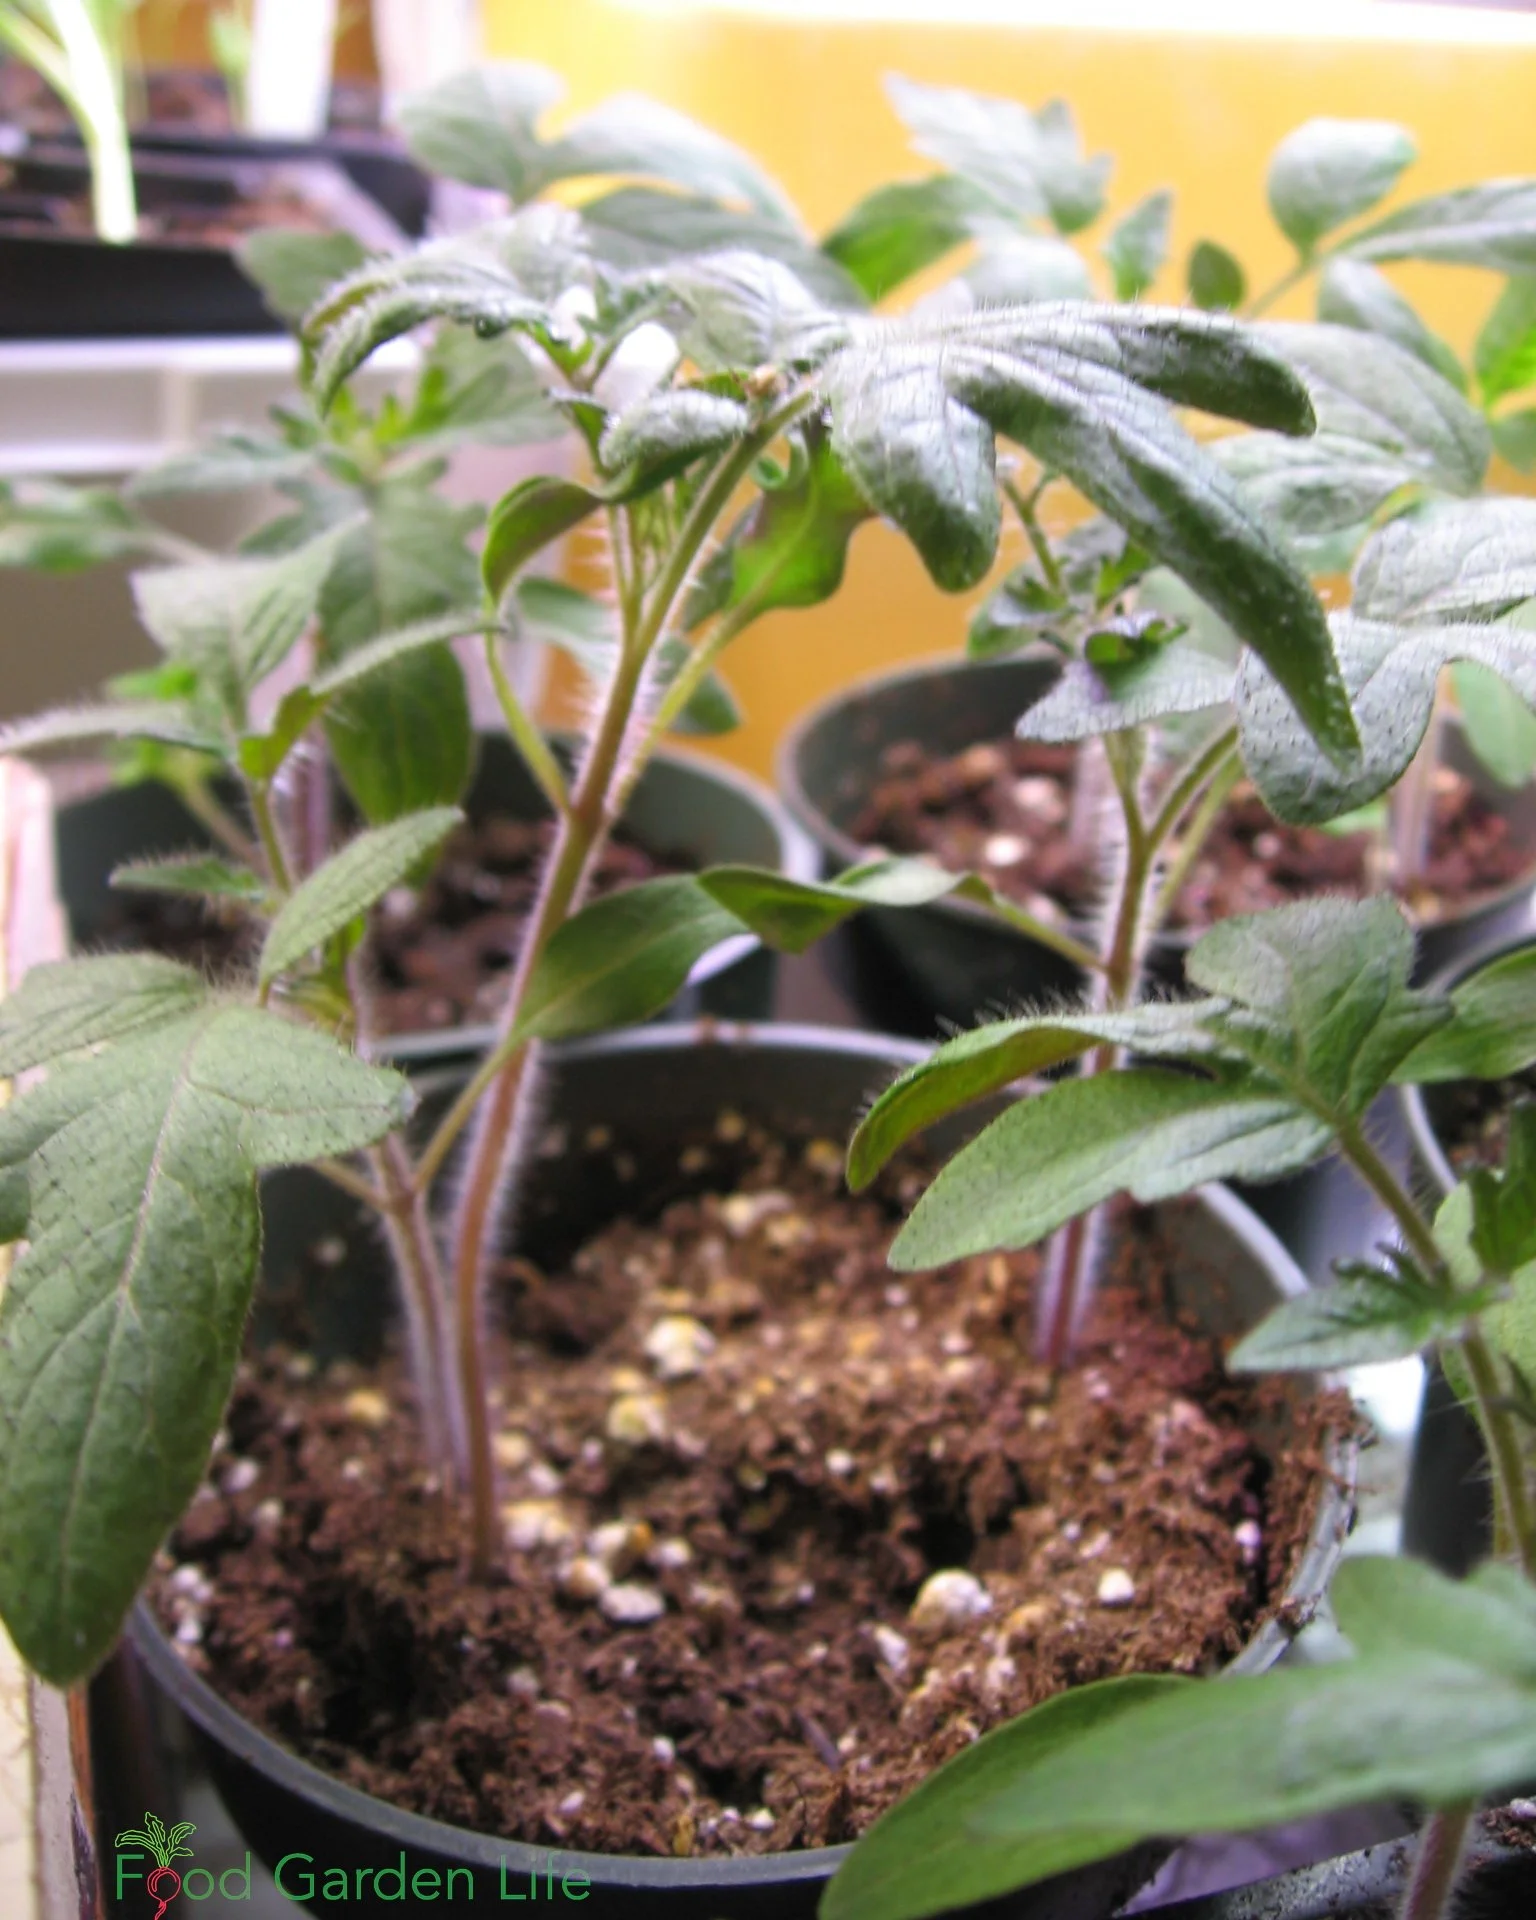
Grow 2-3 seeds per pot, and then thin out extras as the tomato plants begin to grow.
Low Density
If you have lots of space and aren’t growing a lot, give each seed its own pot or section within a cell pack. One seed per pot takes up far more space initially. But if you want to keep things very simple, this is a good way to do it because it can cut out the step of transplanting later on.
Remember that a bigger pot dries out more slowly; water them accordingly so they aren’t waterlogged.
Tip: It’s rare to have every single seed germinate. To avoid having empty pots where seeds haven’t germinated, place 2-3 seeds per pot, and then thin out extras as the plants begin to grow.
High Density
If you want to start more seeds in less space, plant more than one seed in a container, and then separate and transplant them as they get bigger.
Labelling
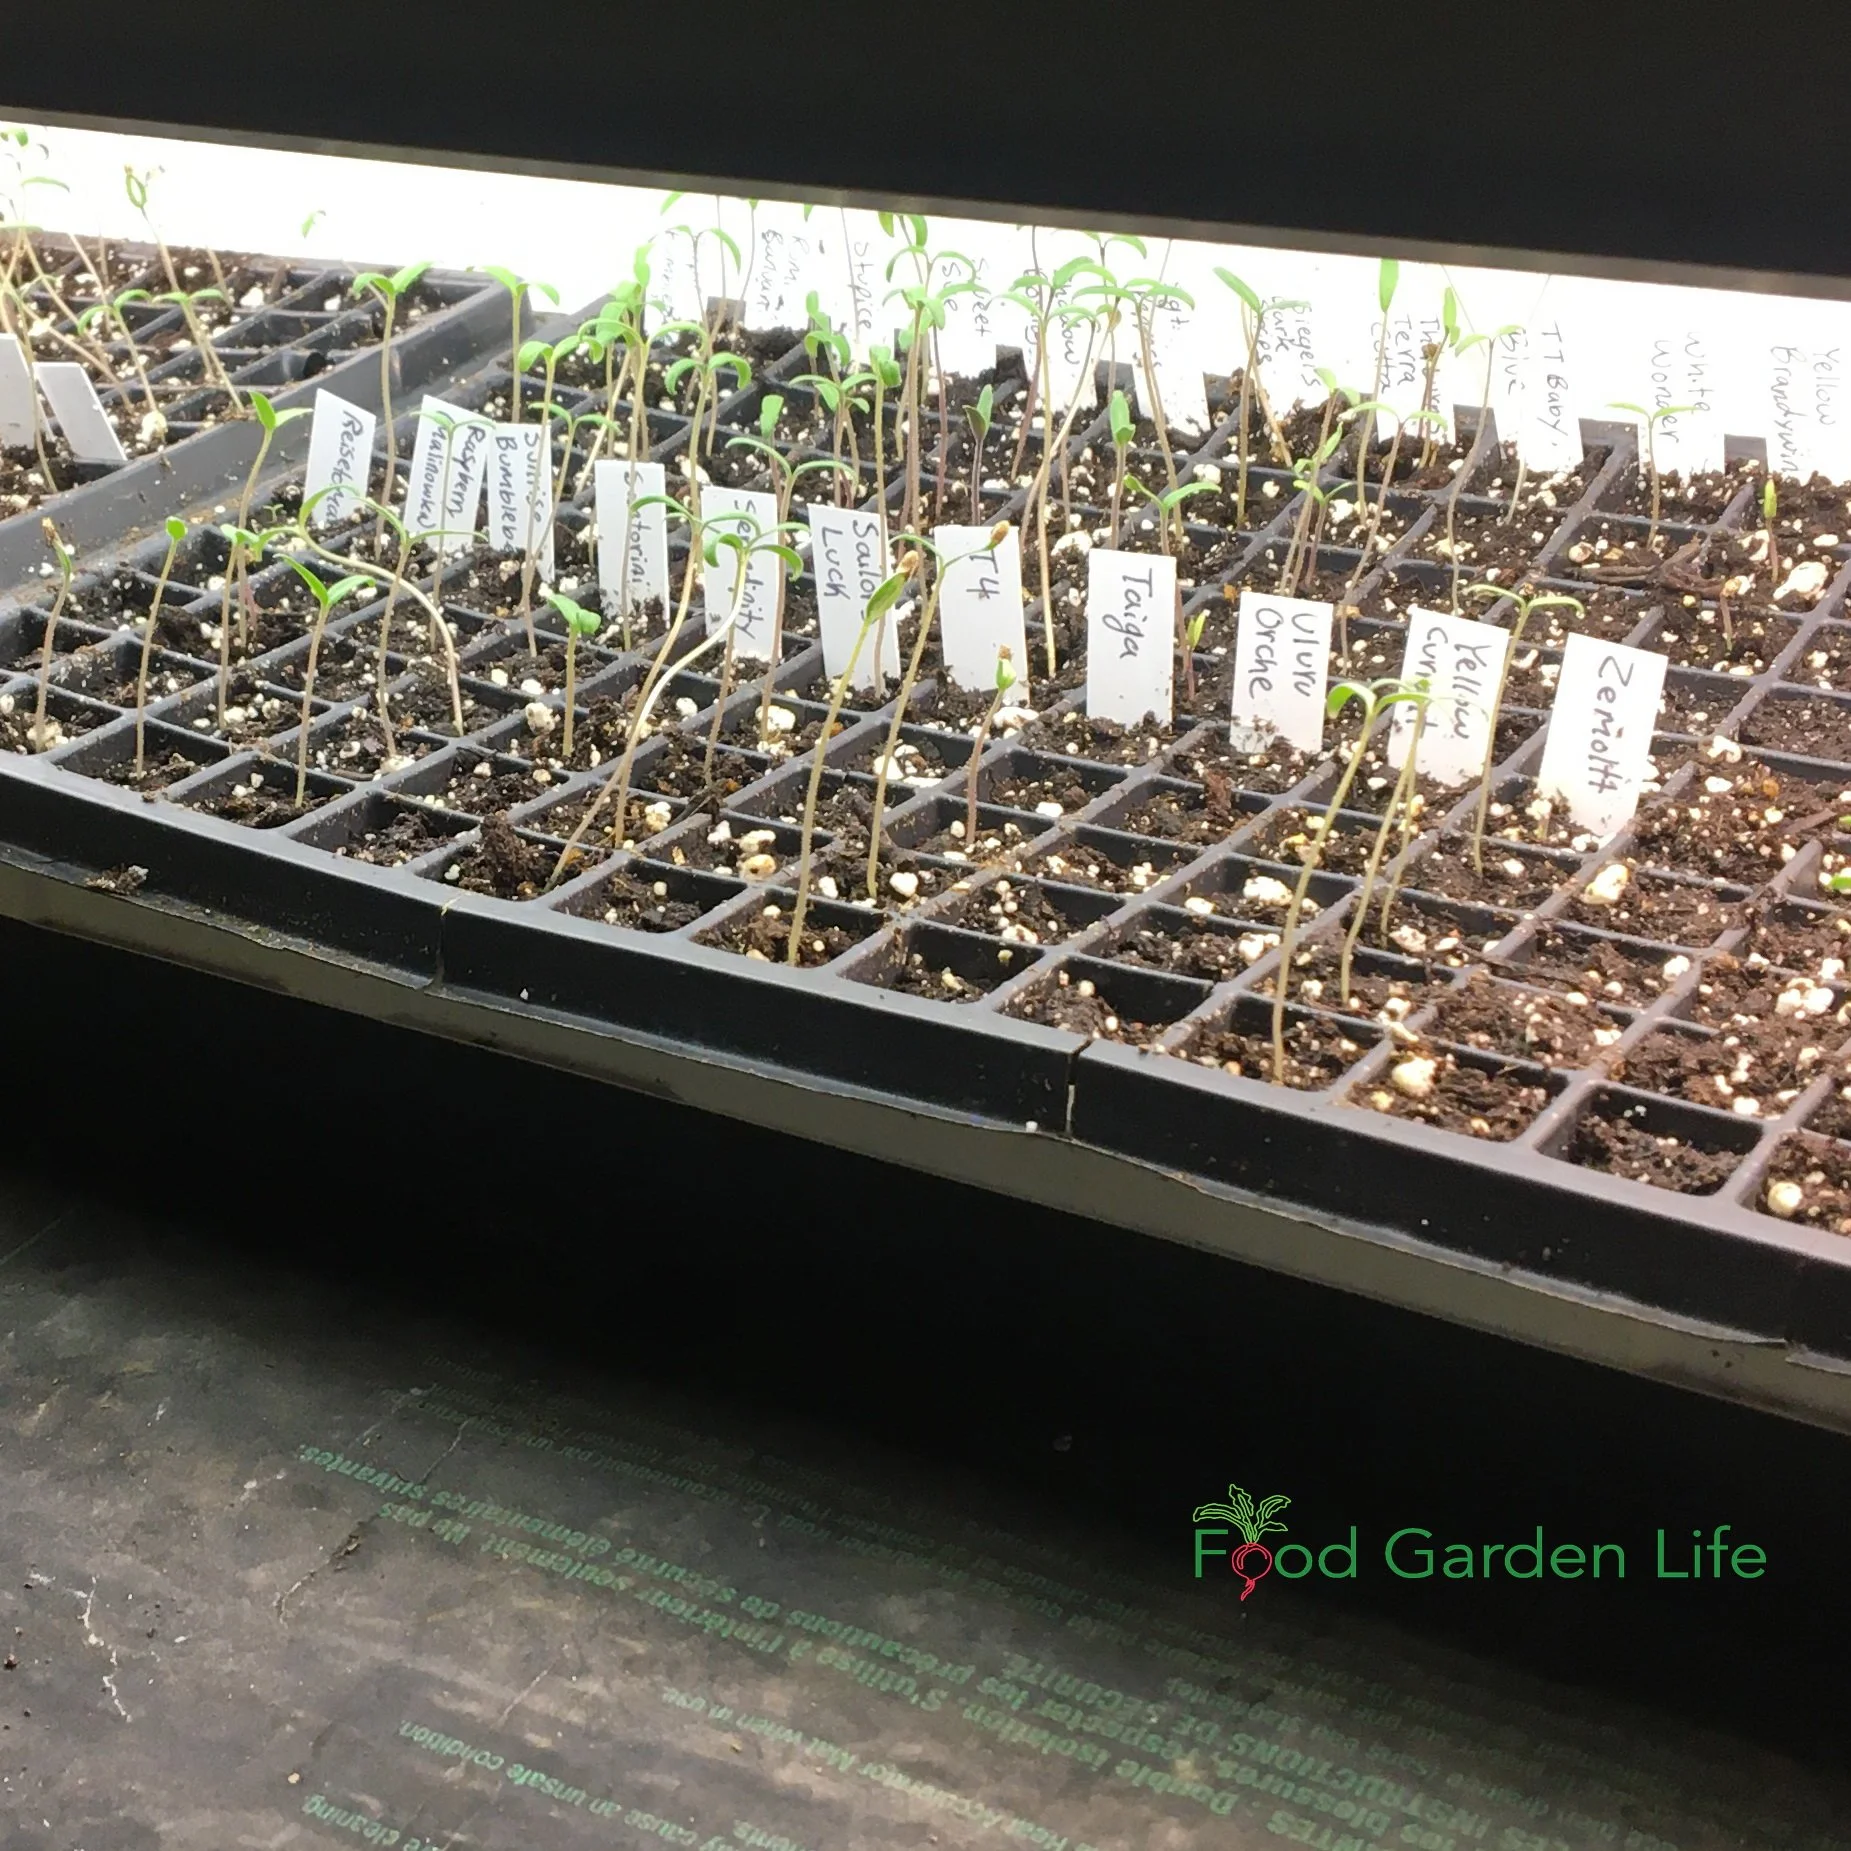
A tray of labelled tomato seedlings.
If you’re growing more than one variety, label them as you plant them. There are years I was sure I’d remember what was what…and I forgot.
You can use purpose-made plastic labels; or, if you want to use less plastic, wooden popsickle sticks or wooden tongue depressors work well (but don’t last all summer.)
If you’re using pots or cell packs, you can also just write the tomato variety name on masking tape, and then stick it on the container.
Hygiene
Damping off disease can wipe out a whole crop of seedlings quickly. It’s a fungal disease that moves around your growing area along with runoff from watering plants. It gets there in contaminated soil and on previously used equipment and pots.
The easiest way to avoid damping off is to use disease-free soil and clean supplies. If you make your own potting soil using compost, consider sterilizing it. Many commercial potting soils are made with peat and inert ingredients—and these tend to be disease free.
New pots and cell packs are likely disease free, but if you’re reusing pots and cell packs, sterilize them. First, scrub off any soil that’s caked on. Then dunk them in a solution of 10 parts water with 1 part bleach, and then let them air dry. (Note: This is a strong smelling solution, so I do this outdoors or in my garage.)
How Many Seeds to Grow
Planting extra tomato seeds is cheap insurance against plants lost to accidents.
I always grow extra plants.
Then I share leftovers with friends.
Conditions for Germinating Tomato Seed
Temperature

No heat mat? No problem. Find a warm spot to germinate tomato seeds. Pictured here: Germinating a flat of tomato seeds beside a heat duct near the basement ceiling — a warm location. (The wine is unrelated…I didn’t have a lot of space in that house!)
Room temperature is fine for germinating tomato seeds, but you can speed up seed germination if the temperature is warmer.
Here are ways to give your seeds warmer conditions:
Place them on a heated floor
Set them on top of a hot-water radiator
The fluorescent fixtures in my light tray give off heat, so if I put seed containers on the rack above
Some appliances give off heat – check to see if the top of your fridge is warm
Or get a heat mat (a water-resistant heating pad for plants)
Once a half to three quarters of the seeds are up, I remove the container from the heat.
Humidity
As a seed germinates, it needs moist surroundings until it grows roots and can take up water on its own. If it dries out at this vulnerable stage, it’s game over.
But the air in centrally heated homes over the winter is often quite dry.
You can keep the humidity higher right around the seeds by covering them.
I use the clear plastic domes designed to go over top of plant trays.
Or, cover a tray with a sheet of glass or plastic; or cover an individual pot with a plastic bag.
Another option is to use plastic cling wrap
Remove once the seeds emerge.
Light
Don’t worry about light for tomato seed germination. Some types of seed need light to germinate; not tomatoes.
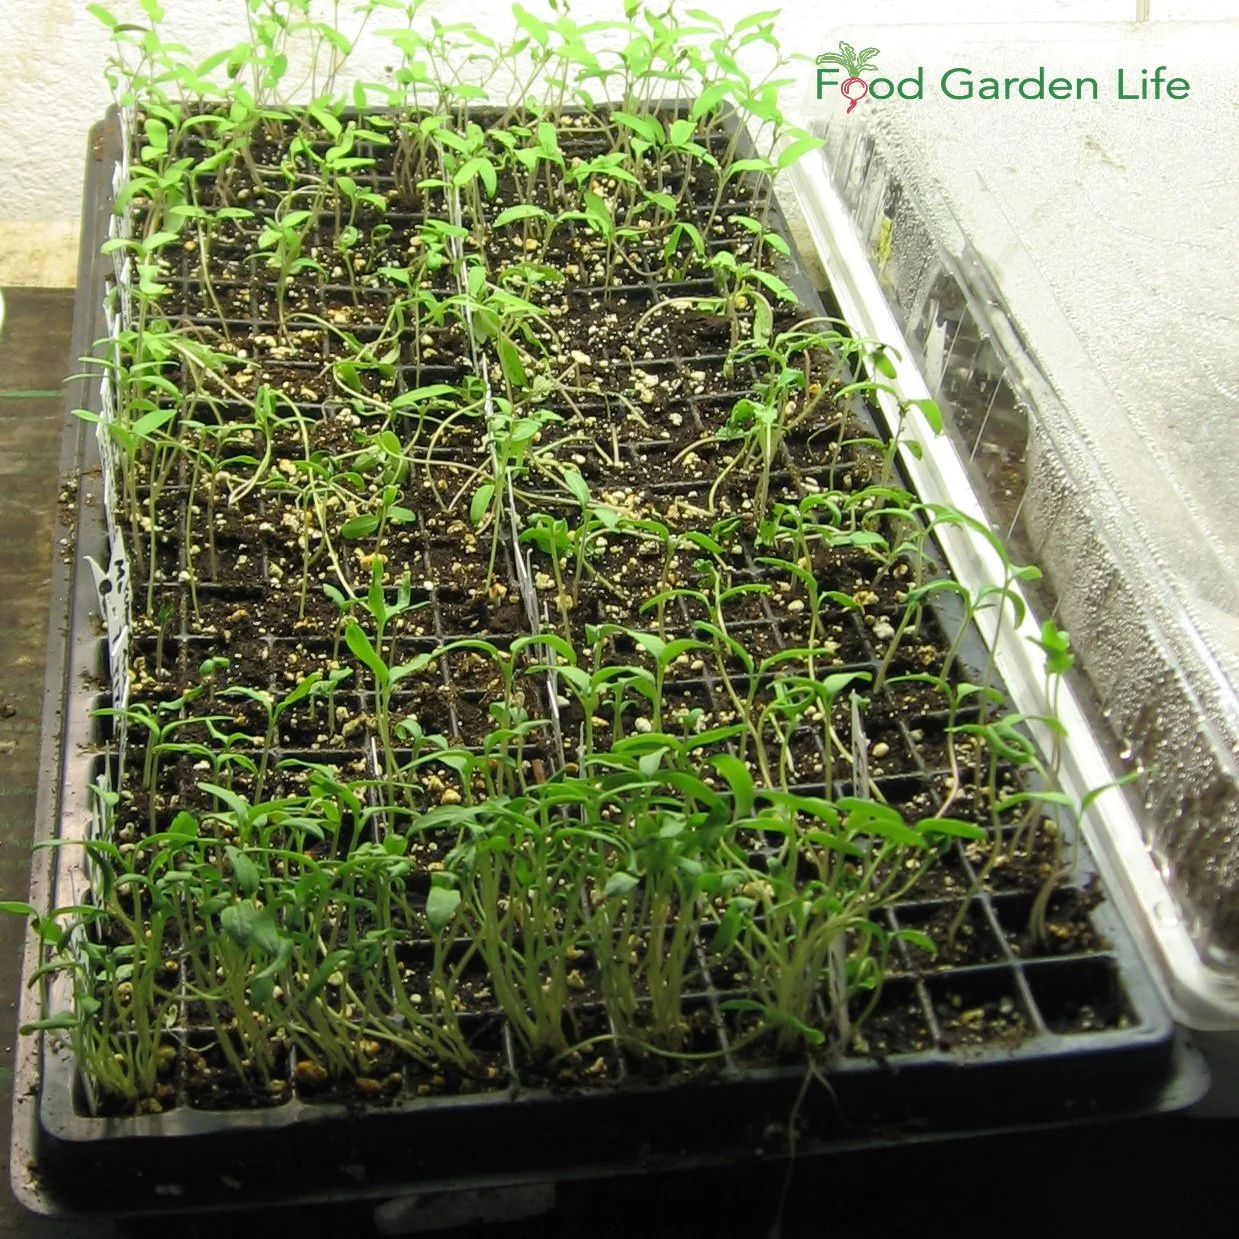
The seedlings on the left are uncovered, to get air circulation. The seeds on the right are covered with a plastic cover to keep the humidity high during germination.
So in summary, as you’re getting your tomato seeds to germinate, think warm and humid. (In a previous house, I’d germinate my seeds atop a shelf in the basement, near the heat duct at ceiling level, where it was nice and warm.)
Conditions for Growing Tomato Seedlings
Once your tomato seedlings are up and growing, the best conditions are different from what we want when germinating seeds.
Light and Temperature
As seedlings begin to grow, we want bright light and cooler temperatures. That’s because with warmer temperatures, growth is lanky. With cooler temperatures (combined with bright light) the plants will be more compact and sturdy.
See if there’s a cooler spot near a sunny window. In my case, my grow lights are in the basement, in a room that is cooler than the rest of the house. It’s perfect for growing tomato seedlings.
Humidity and Air Circulation
High humidity while seed germinate is good.
But as the plants grow, we want lower humidity and some air circulation, which reduces the chance of fugal diseases. The moving air also gives stronger stems. (Some people use a fan to improve air circulation.)
So in summary, once the tomato plants are growing, you want cooler, brighter conditions than for germination.
Caring for Tomato Seedlings
Water
It’s easy to kill seedlings by overwatering them.
Keep the soil moist, but not sopping wet. Moist, but not waterlogged.
If in doubt about the amount of moisture in the soil, use your finger. (Whatever you do, don’t waste your money on a gadget that tells you soil moisture!)
Wondering about bottom watering? A lot of people “bottom water” seedlings. This just means sitting a container in water so that water wicks upwards. The reason is that a strong jet of water from a watering can can move around seeds and soil. So feel free to do the bottom watering if you like, although I find that watering gently, by putting my finger over the tip of the watering can to slow the flow of water, is enough to prevent making a potting soil sinkhole.
(If you forget to water and your seedlings flop over, there might still be hope. I remember the seedlings I grew with Dido: we came home one day and they were flopped right over…looked like they were doing yoga. He shrugged and watered them—and they sprang back up within an hour.)
Feeding Tomato Seedlings
Check your potting soil mix to see if it contains fertilizer. Some do. And if it contains fertilizer, you might not need to feed.
Otherwise, once your plants have a few leaves, you can begin to feed them. I use a water-soluble fertilizer.
Don’t overfeed. It can damage delicate seedling roots. (I feed at half of the rate recommended on the label.)
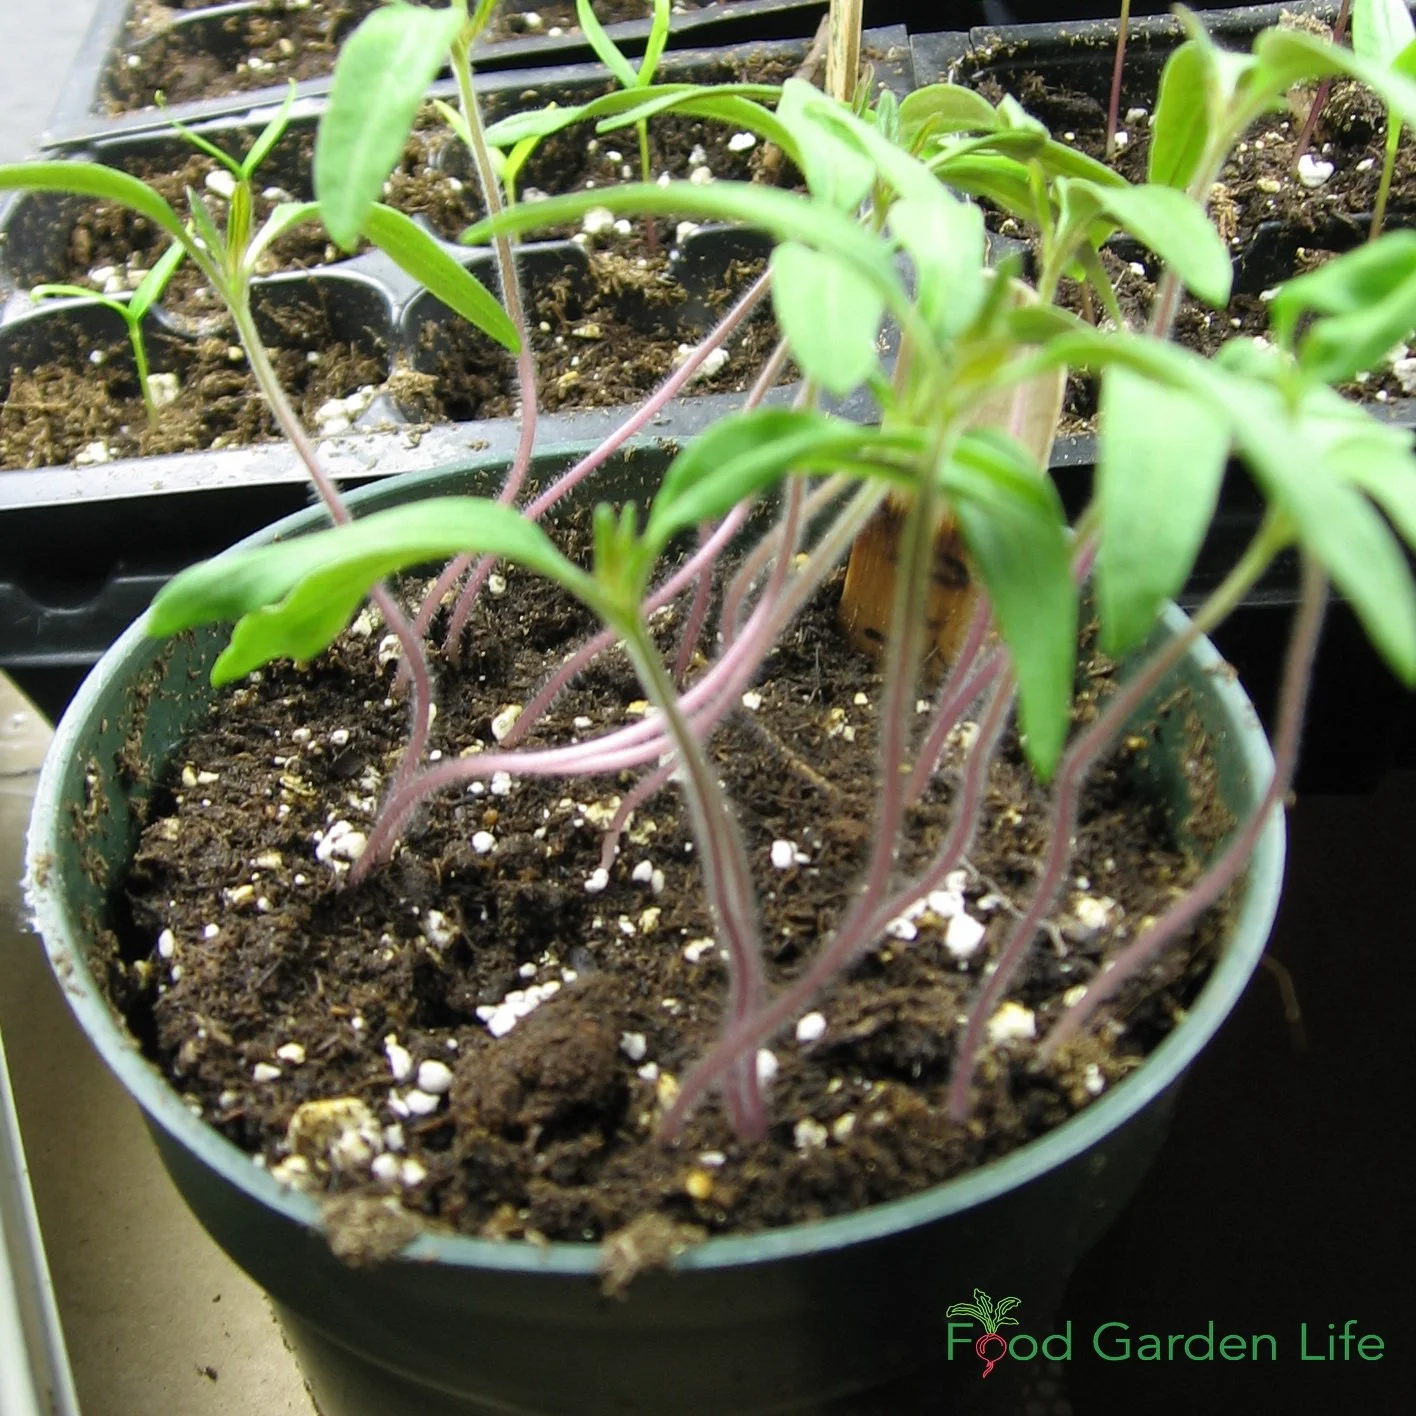
Transplant tomato seedlings after they get “true leaves,” the second set of leaves that comes after the “seed leaves.” These plants are beginning to grow true leaves.
Note: Don’t worry about feeding before the seedlings have a couple of sets of leaves. They’re still drawing from stored energy in the seed.
Thinning and Repotting
If you planted a few seeds together in a container, once they get big enough to handle, you can separate them and give them more space.
If you planted a few seeds together in a container, once they get big enough to handle, you can separate them and give them more space.
Transplant tomato seedlings after they get “true leaves.” The first leaves that appear are “seed leaves” so it’s the third and fourth leaves that are the true leaves. You’ll quickly see the difference.
I use a popsicle stick or pencil to tease apart soil and gently lift up a seedling and its roots. (There are purpose-made gadgets for this…not necessary.)
When picking up seedlings, hold them by the leaves. That’s because it’s very easy to crush the stem. (If you crush a leaf, it can grow a new leaf…if you crush the stem, it’s game over.)
Transplanting Tomato Plants in the Garden
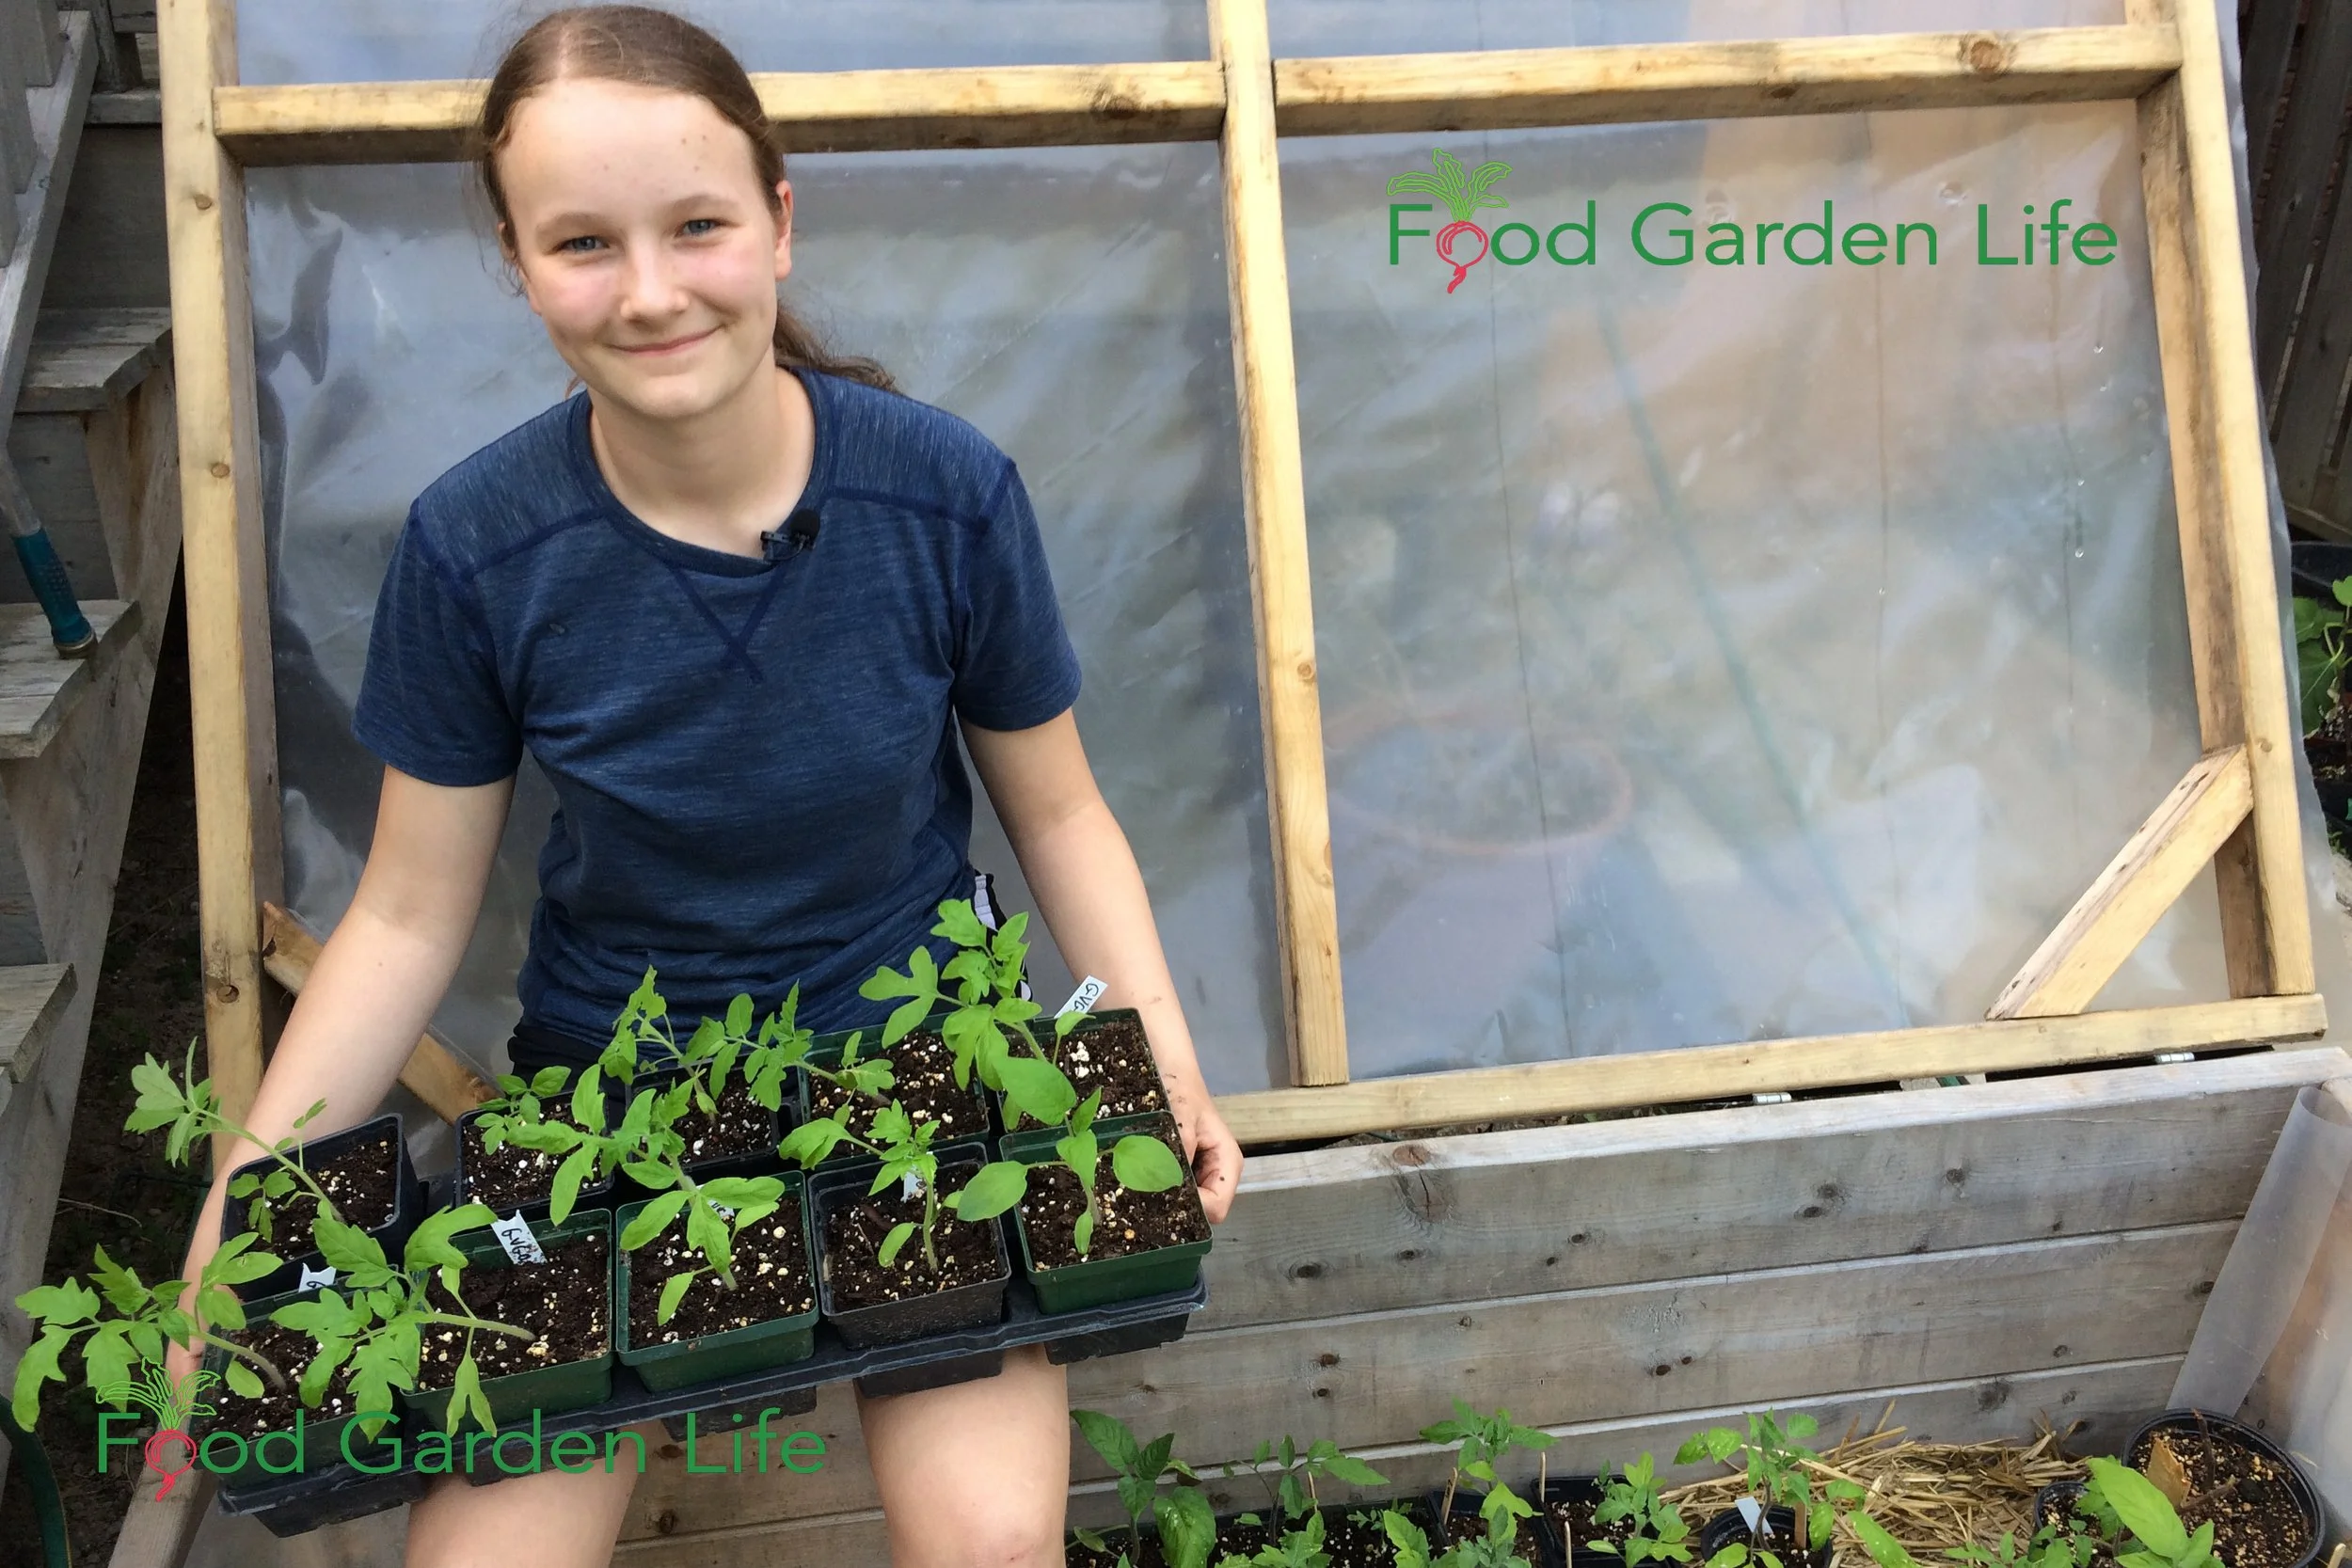
Moving tomato seedlings outdoors to a cold frame in the spring so that they are hardened off for planting into the garden. If the light is bright, we cover the top of the cold frame with something to shade the plants below.
When it’s time to move your tomato seedlings to the garden, there’s one last thing to remember: Your seedlings have grown in the house, in moderate conditions. Once they’re outdoors, the light is brighter, the temperature swings, and there’s wind.
So we “harden off” seedlings, which simply means we get them used to outdoor conditions.
We do this by putting the plants outdoors, in the shade, for a few hours each day. Give them a longer stint in the sun each day, and keep doing this for at least a week.
Got lanky tomato plants? If you have lanky plants, with more stem than you want, you can bury a lot of that stem. That’s because tomato plants will send out new roots where you bury the stem. So just dig a deep hole, or make a trench and lay the plant on its side.
FAQ - How to Grow Tomato Seeds
Can I plant tomato seeds directly in the garden?
Yes, but your harvest will be weeks behind plants started indoors. (Tomato plants sometimes come up on their own in the garden where tomatoes fell to the ground the previous year…but the harvest is late.)
Should I soak my tomato seeds?
No, it’s not necessary.
Can I save my own seed?
Absolutely. It can be as simple as smearing some seeds on a paper towel, or you can clean them more through a fermentation process. In our household, I do the former, while my daughter does the latter.
Note: If you save seeds from hybrid tomato varieties, the seeds you end up with will be different from the parent plant. If you plan to save seeds, look for “open pollinated” varieties.
Is it too late if I start my tomato seeds only 4 weeks before the last frost?
No, but your harvest won’t be as early.
Can I start my tomato plants 10 weeks before the last frost?
Yes, but when they’re started indoors early, there’s more chance of ending up with lanky plants, unless you have very good growing conditions. If I had a greenhouse, I’d consider starting a few plants earlier—for an earlier harvest.
Where can I find the average last frost date for my area?
The easiest way is to do an online search. Some seed companies list dates, as do some master gardener groups and extension agencies.
Find This Helpful?
Enjoy not being bombarded by annoying ads?
Appreciate the absence of junky affiliate links for products you don’t need?
It’s because we’re reader supported.
If we’ve helped in your food-gardening journey, we’re glad of support. You can high-five us below. Any amount welcome!
More About Growing Tomatoes
Hear Tips from Tomato Experts
Course: Tomato Overload Masterclass
Want to up your game growing tomatoes?
This self-paced course helps you choose great varieties, grow great seedlings, give plants the care they need, and enjoy an abundant harvest.
How to Support Tomato Plants: Tomato Stakes and More
Support those tomato plants! This guide tells you how to stake, trellis, train, and cage tomatoes so you can fit in more plants and get a great harvest.
By Steven Biggs
Tomato Stakes, Cages, Trellises
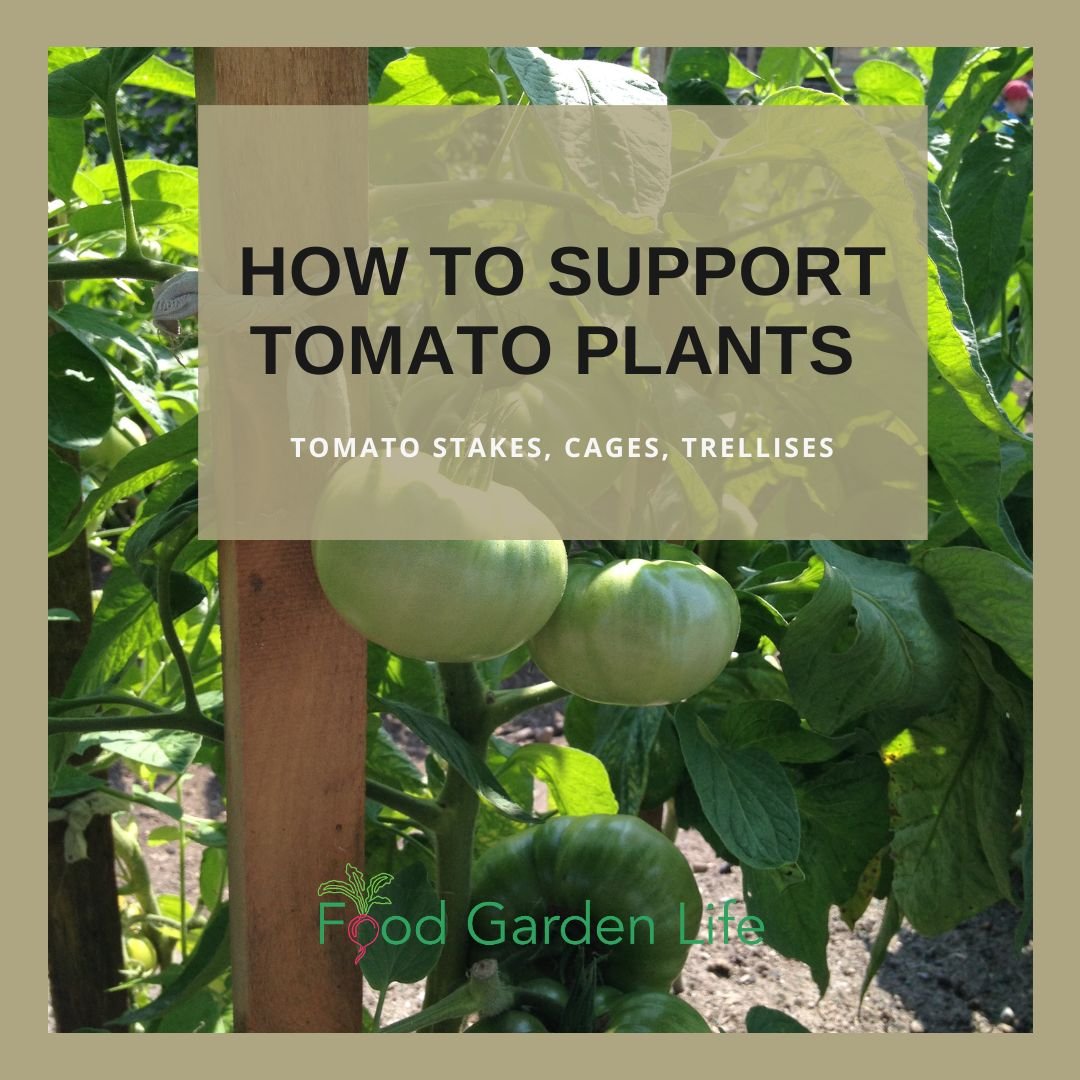
Tomato stakes,tomato cages, and more: Pick a method that suits your garden and your approach to gardening.
Joe uses tomato stakes.
I don't.
My neighbour Joe's backyard is all garden. Full-on backyard farm. He has row after row of tomatoes, neatly staked, pruned, and trained.
My garden is maxed out on tomatoes too. But my tomato patch looks entirely different from Joe's.
I have some tomatoes in cages. The tomato plants on my driveway (where I can't hammer in a stake) are supported by a trio of stakes in a teepee formation. In another area, I grow indeterminate tomatoes up twine.
Joe and I both grow in ways that suit our garden layout and approach to gardening.
This guide has information about tomato stakes, tomato cages, and other ways to provide support for your tomato plants.
To Stake or not to Stake

When tomatoes are staked or supported, the fruit isn't touching the soil.
When to Provide Support
The easiest way to grow a tomato plant is to let it sprawl on the ground. This is often how processing tomatoes are grown on a field scale.
There are reasons for home gardeners to support tomato plants:
When tomato plants are staked or supported, the fruit isn't touching the soil, so it's cleaner, and there's less chance of rot and insect damage
Upright plants take up less space…so if you stake tomatoes, you can fit more plants into your garden
An upright tomato plant has more air circulation around the leaves—and that reduces the chance of disease
In my garden we have a high-density approach to growing tomatoes because my daughter grows over 100 varieties in our urban yard. We grow them much more densely than many gardeners, but it works well because we support and prune the plants.
Choose a Type of Support to Suit the Plant Type
Decide if You Need to Provide Support
Whether or not you need to support the plants depends on the type of plant you're growing.
“Dwarf” tomato plants are quite compact and usually don't need any pruning or support. Great for container gardeners!
“Bush” tomatoes (also called determinate tomatoes) get to a certain height and then don't get any taller. The harvest window is shorter. Great if you want a concentrated harvest for sauce-making or processing. Stake or cage determinate tomato plants to increase planting density and to keep tomatoes off the ground.
Indeterminate tomatoes keep getting taller and taller all summer long. Great if you want an ongoing harvest. Prune and support indeterminate tomatoes to optimize production—and know that they can get very tall by the end of the summer.
Tomato Staking and Support Ideas
Tomato Stakes or Cages?
There are lots of ways you can stake and support tomato plants. Pick one that suits your garden and the amount of time you want to spend tending your tomato crop.
Here are ideas for supporting your tomato plants:

Staked tomato plants with wooden tomato stakes.
Tomato Stakes
Tie your tomato plant to a stake. A lot of gardeners keep one main stem, pinching off side shoots (called suckers). See ideas for support stakes below.
We tie the plants to the tomato stakes with a soft twine. Some gardeners prefer to use plant clips. My dad used strips of plastic garbage bags because they were soft and stretched.
Tomato Cages
Grow the tomato inside a supportive cage-like frame. Plants in cages can be wider—so having more than one main stem is common. See below for a tip on making your own heavy duty tomato cages.
Grow Tomato Vines up Twine
Visit a commercial tomato greenhouse and you're likely to see tomato vines growing up a piece of twine that is suspended from above.
We use a variation of this twine method in our garden, where we make tall A-frames with bamboo, and run a horizontal pole between them—six feet up in the air. Then we dangle pieces of twine from the horizontal pole, and train the stems up the twine. This way we can space our tomatoes very closely together so that we can fit more tomato varieties into the garden.
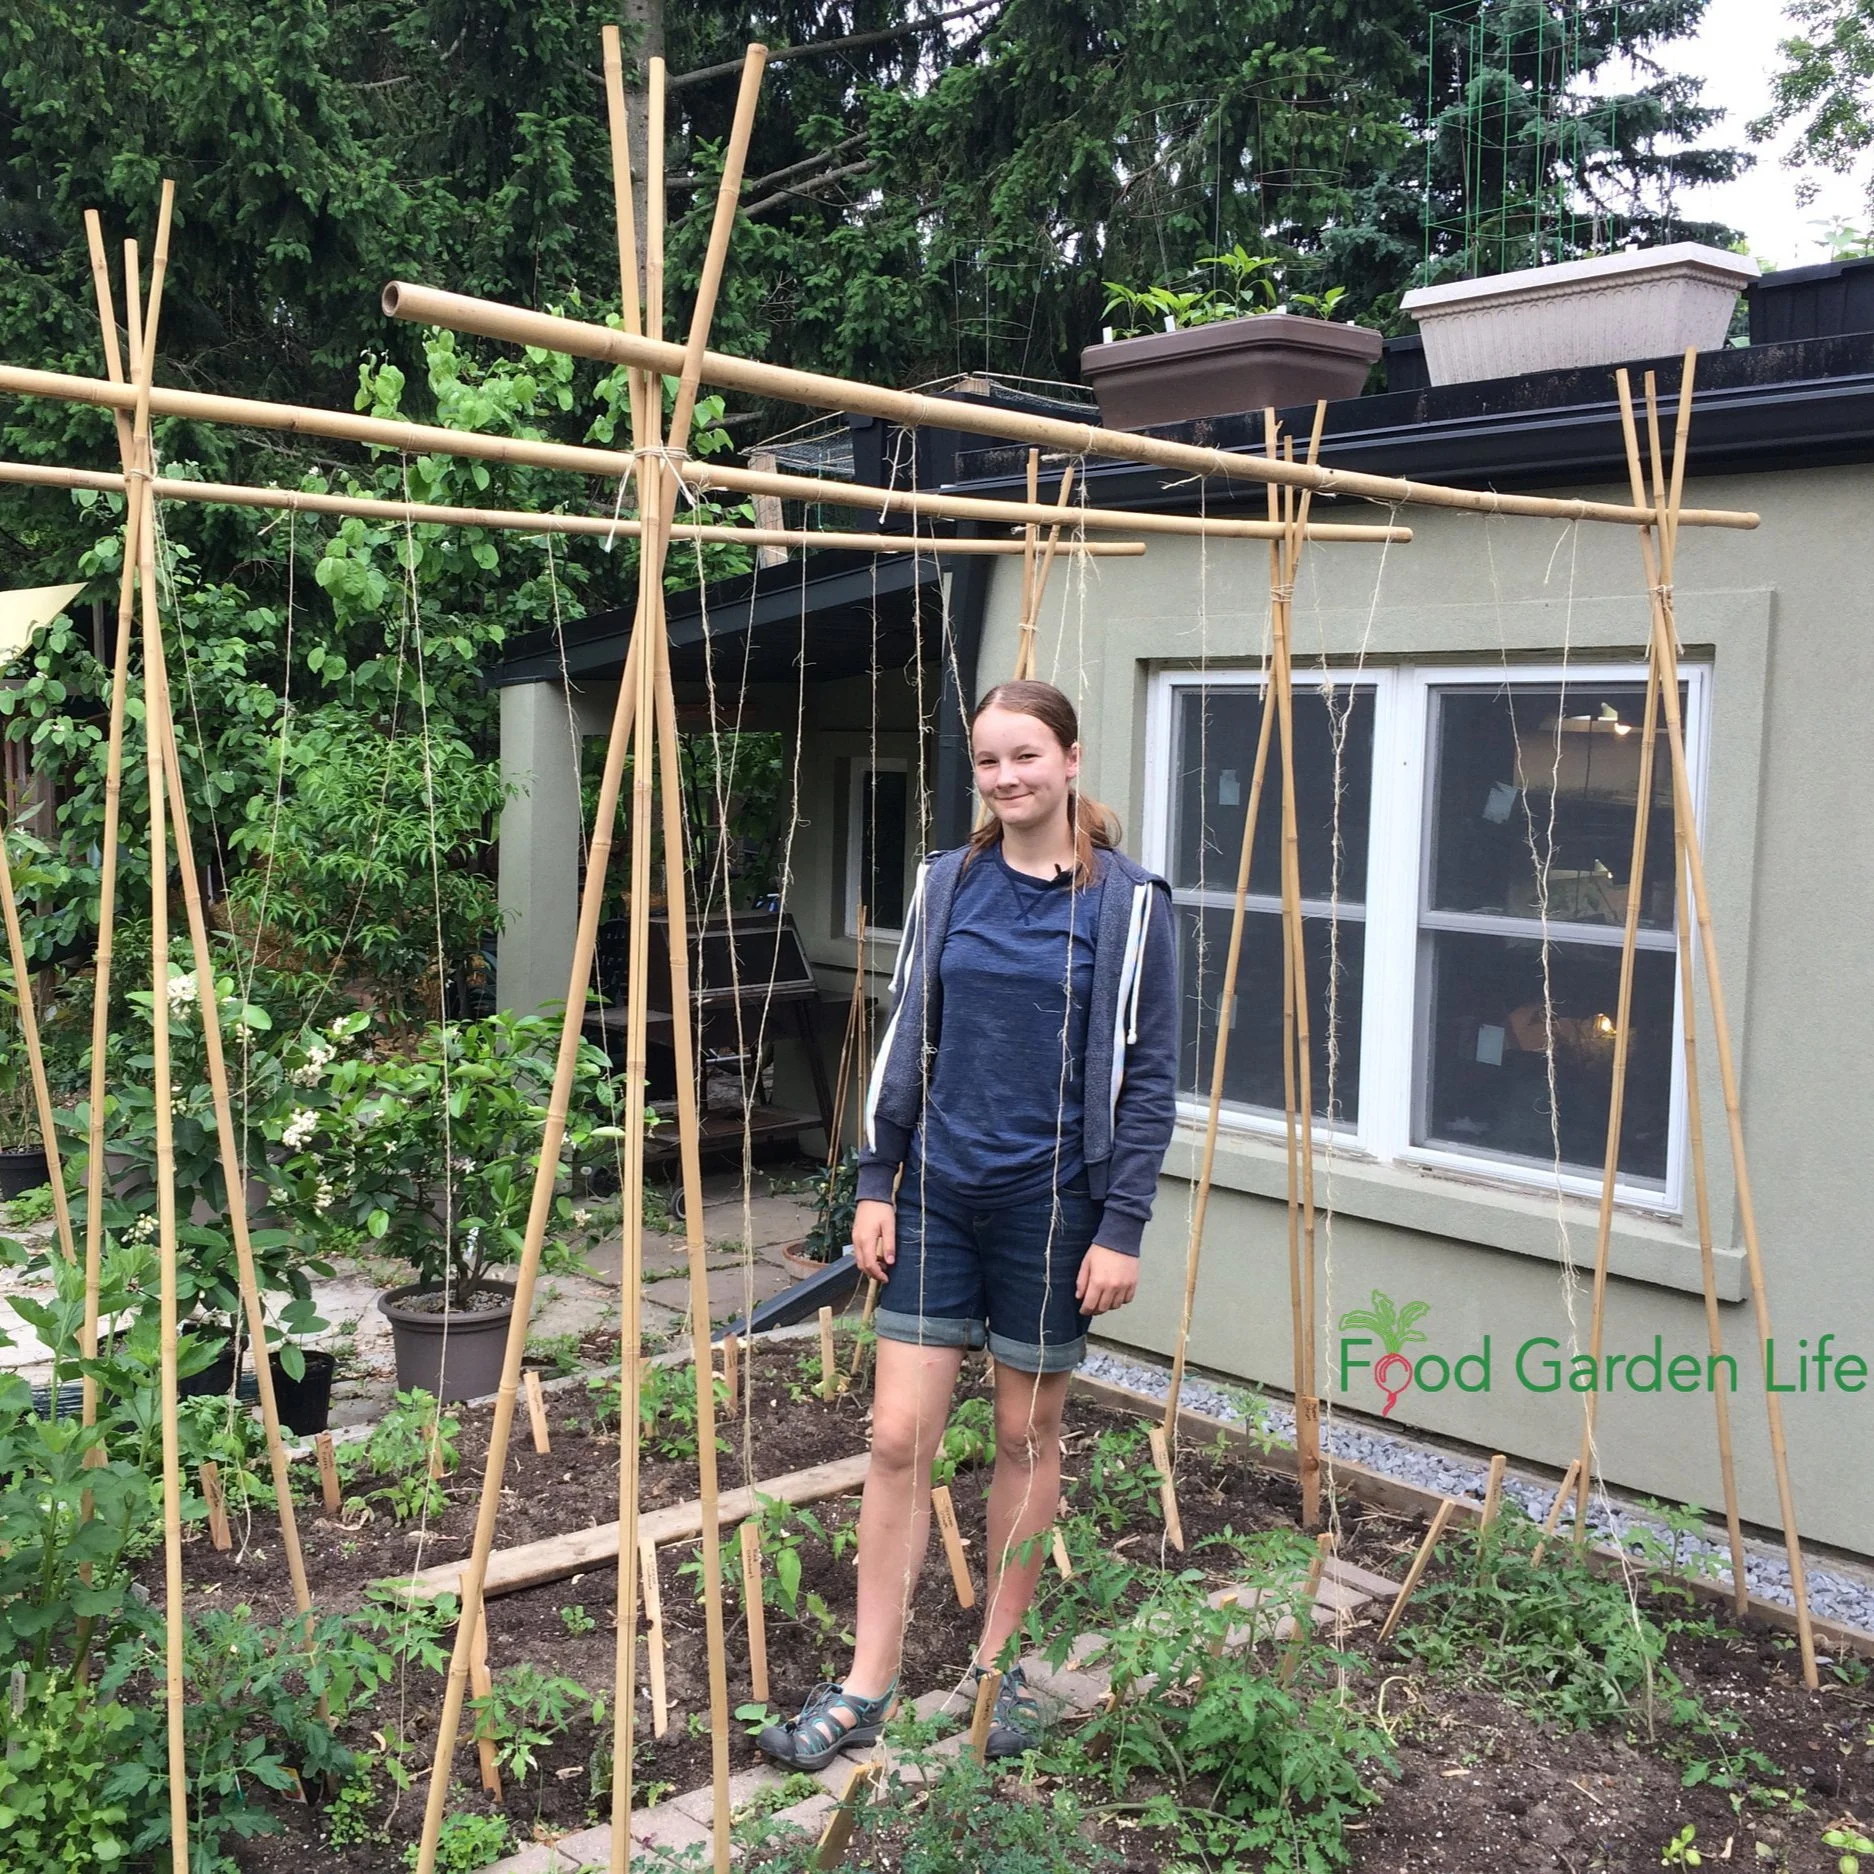
We make tall A-frames with bamboo, and run a horizontal pole between them.
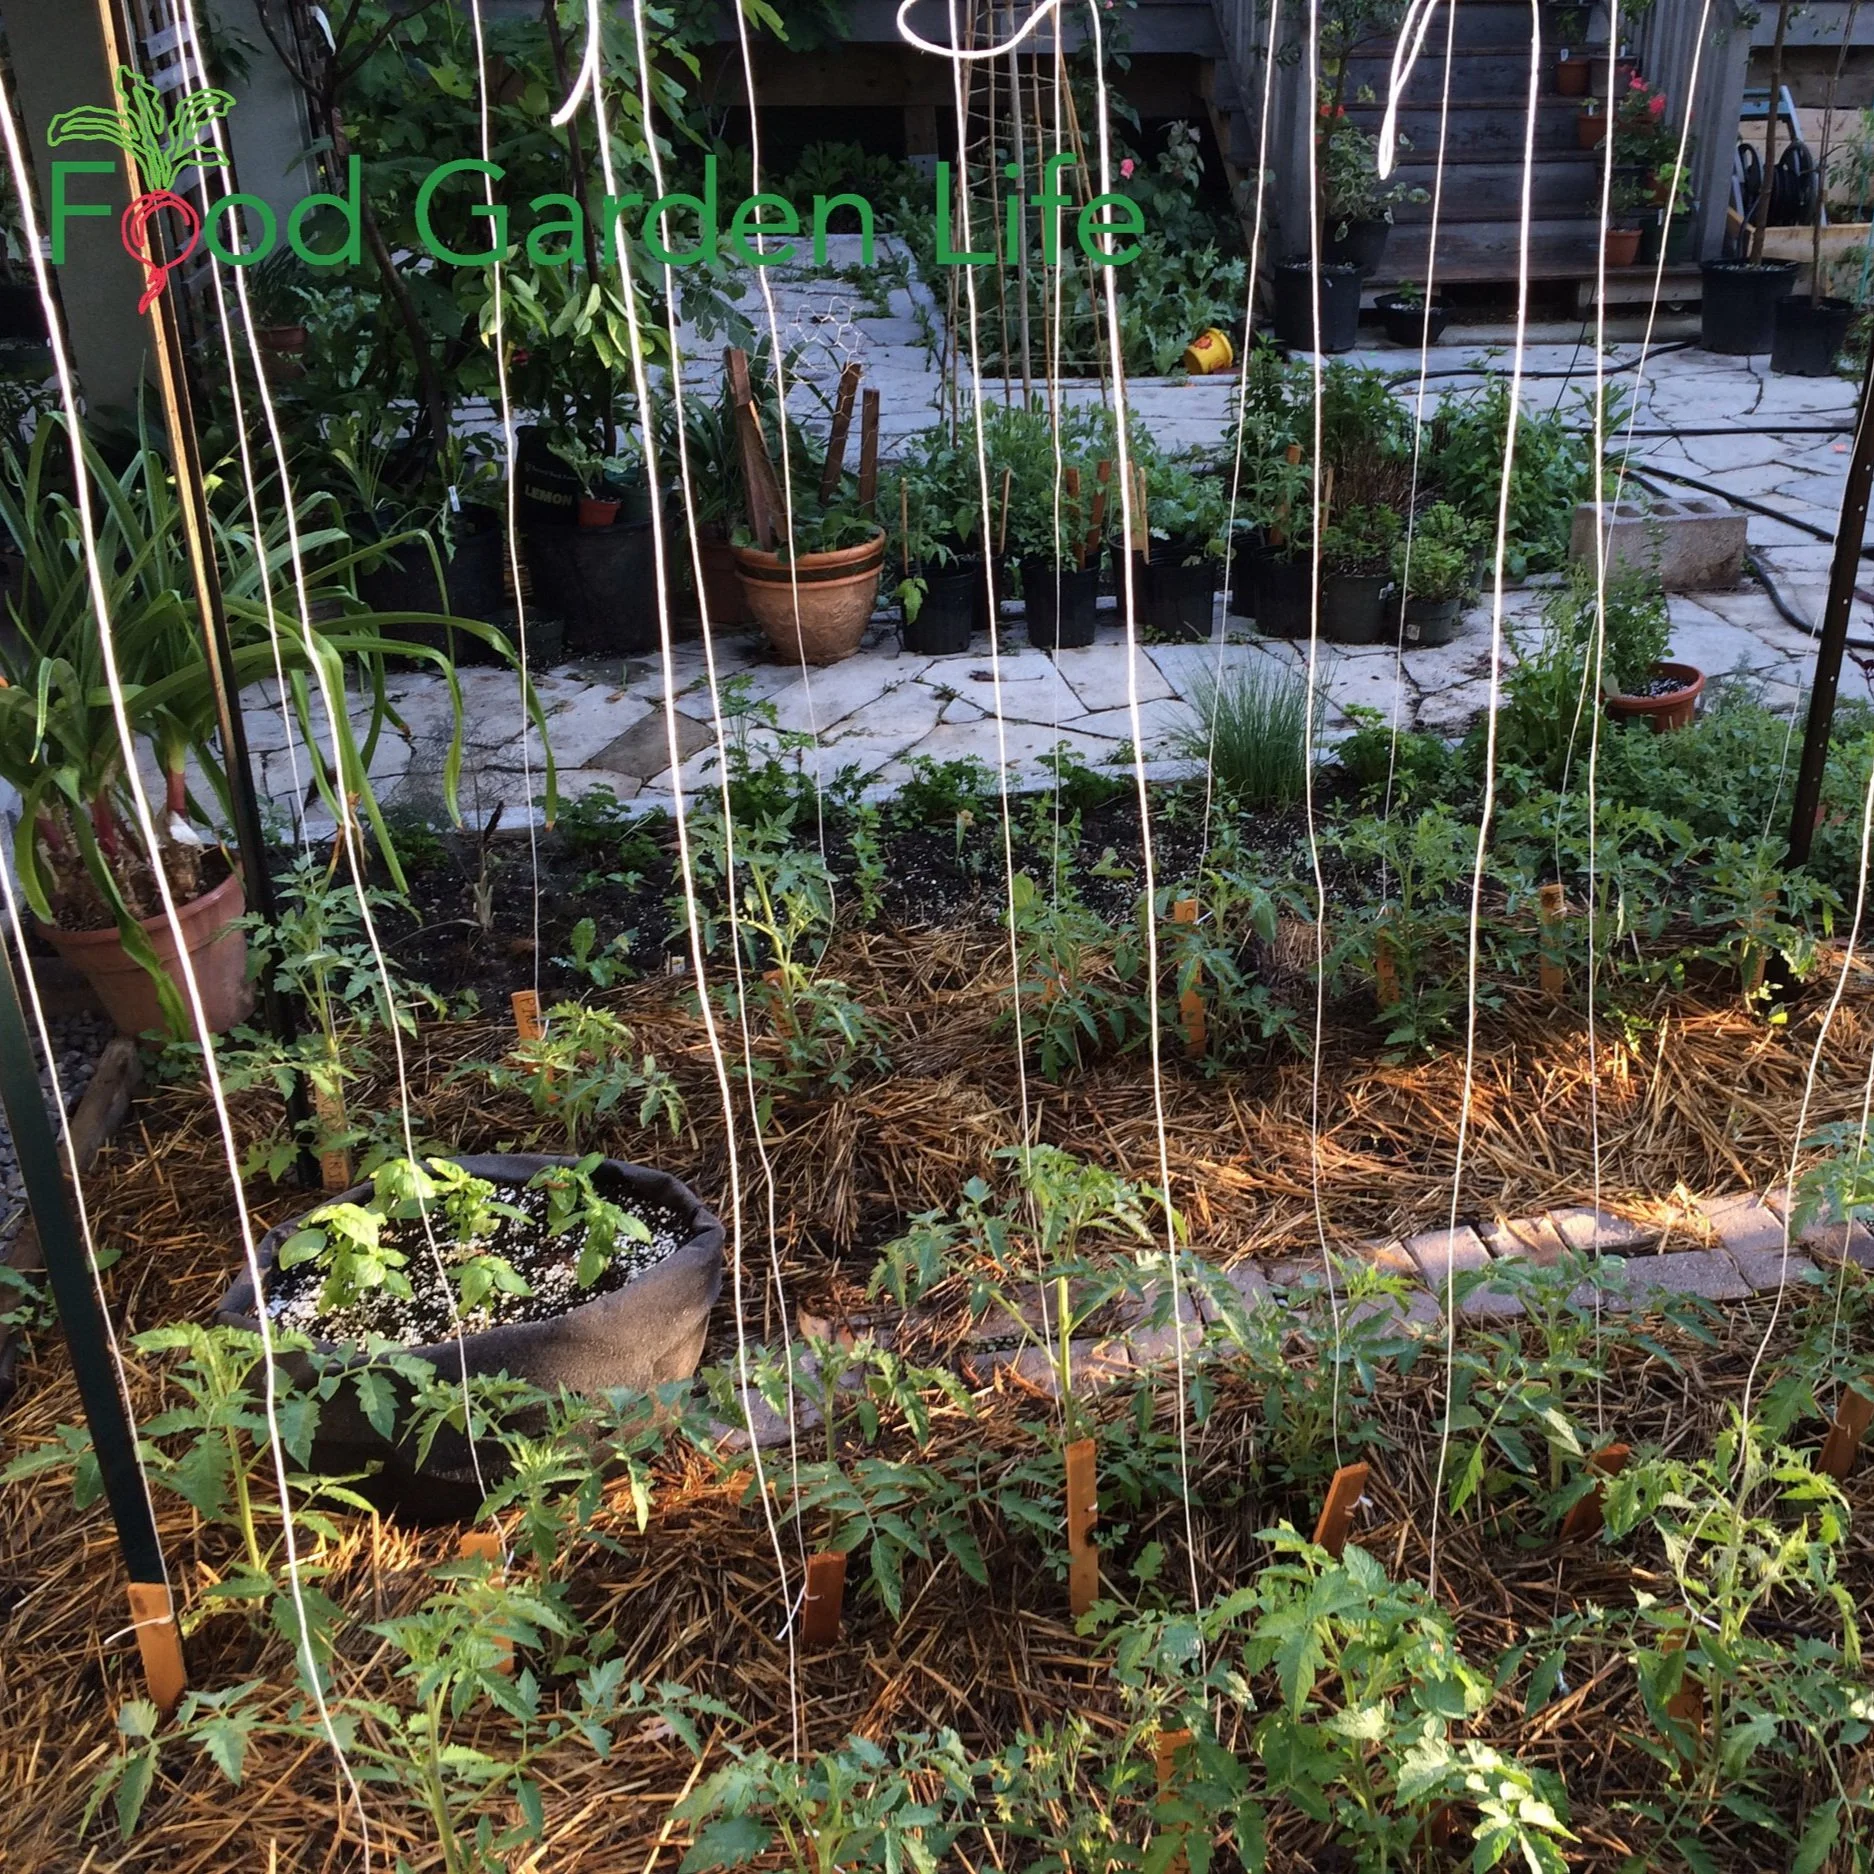
Then we dangle pieces of twine from the horizontal pole, and train our tomato plants up the twine.
Florida Weave

The “Florida Weave,” where twine supported by two end stakes is woven around the tomato plants for support.
In this method of supporting tomato plants, we weave the tomato stems between horizontal rows of twine. Start by putting stakes at both ends of your tomato row. As plants get taller, keep adding rows of twine, and weave the stems between them.
Grow a Tomato Arch
If you have an archway in your garden, use it for tomato plants.
Indeterminate tomato varieties get taller, and taller, and taller. As they reach the top of the arch, you can train them down the other side.
Make Your Own Tomato Cages

Make a tomato arch with cattle panel wire.
A lot of the so-called tomato cages sold at garden centres are just too small to be useful. And if you find larger cages, they can cost you an arm and a leg.
We make our own tomato cages from the sheets of wire mesh used to reinforce concrete.
Cut the 4' x 8' sheet into two 4' x 4' sections (bolt cutters work well)
Then, bend the mesh into a cage
The bending takes effort as this is a strong material (I find that it works best if I place a board over the line I want to bend along, and then stand on the board as I bend the wire upwards)
These homemade tomato cages are long-lasting. Our oldest ones are over 15 years old and going strong.
If you're creative, you might come up with other materials to make your own tomato cages. I've seen old bundle buggies used!
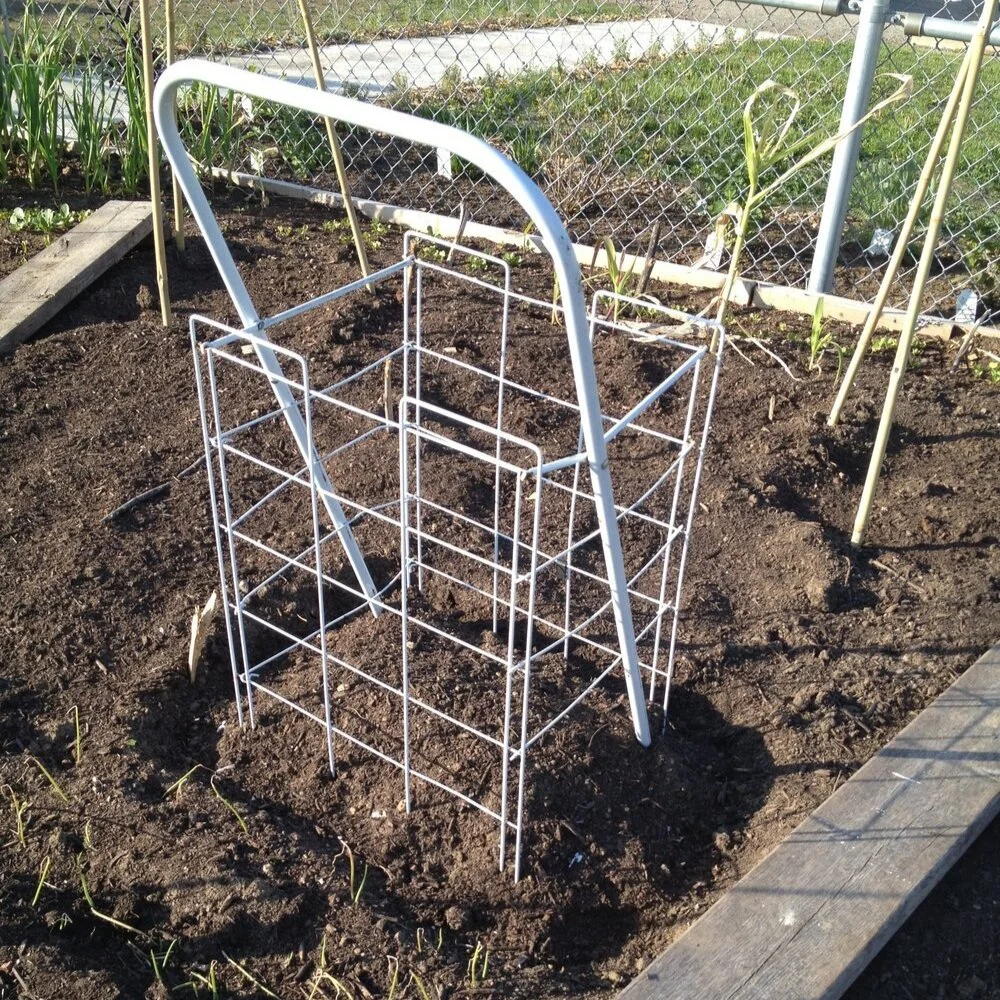
Be creative! A bundle buggy as a tomato cage.
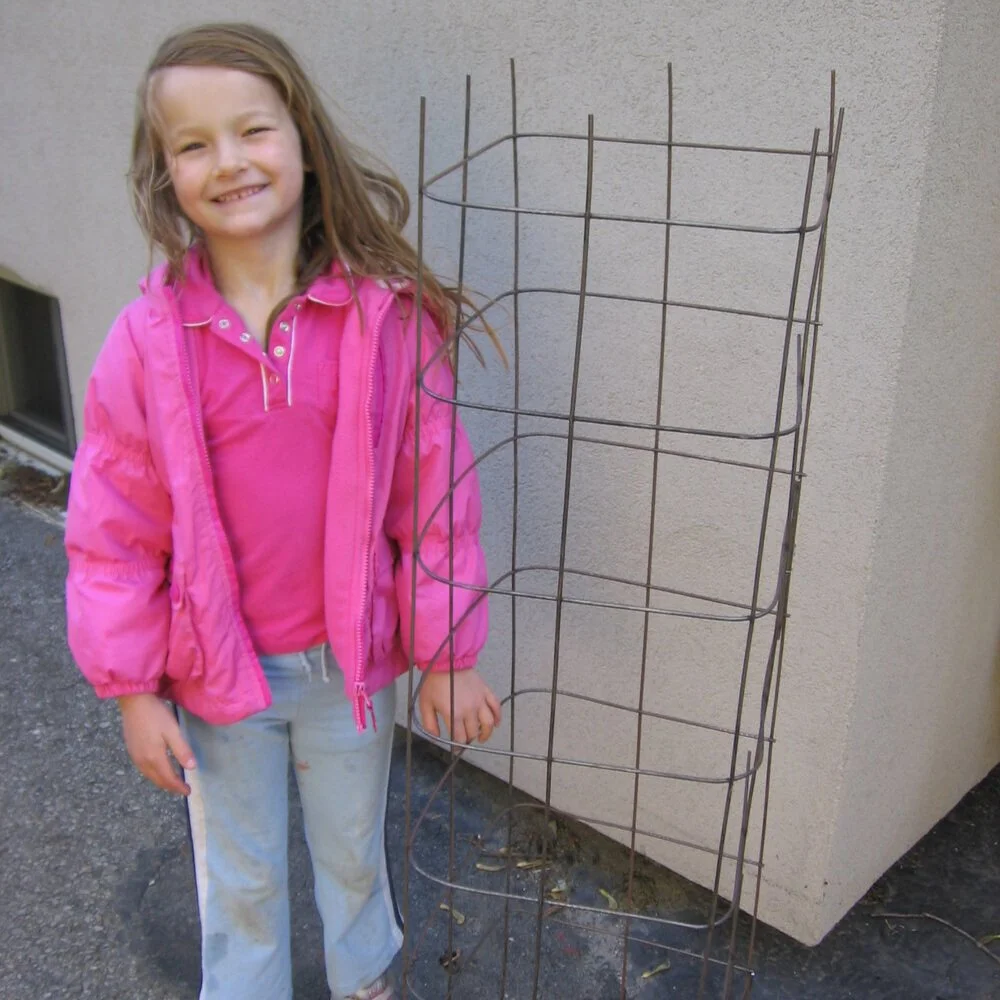
My daughter Emma and I made our own tomato cages by cutting and bending wire mesh.
Ideas for Tomato Stakes

Bamboo for tomato stakes. Make sure it's thick enough as thinner pieces might be too flimsy.
There are lots of other things you can use as tomato stakes. Here are ideas:
Iron rebar
Iron t-bars
Lumber (1x2 and 2x2 stakes are common, and if you buy pre-made 2x2 stakes they often come with a pointed tip)
Bamboo
Metal pipe
Bamboo and wood rot over time. But they widely available and relatively inexpensive.
My Favourite Tomato Stakes
I'm not a fan of the flimsy plastic-coated tomato stakes sold at garden centres. They're short-lived and look pretty ugly as the plastic ages and cracks.
My favourite tomato stake is iron rebar. Here's why:
It's long lasting
It's thin, making it easier to push into the ground by hand (iron t-bars last a long time too…but need hammering into the ground)
As it oxidizes, it becomes brown and blends into the surroundings
Ready to grow better tomatoes?
The Tomato Overload Masterclass covers varieties, seedlings, pruning, support, watering, and harvesting.
Best Twine to Use
If you opt to grow tomatoes up twine, keep in mind that by the end of the season, a tomato-laden plant weighs a lot. We've used natural-fibre twines such as just and sisal some years—but they aren't always up to the task for the whole season.
If you can find it, get a tomato twine. Such a thing exists; it's what's used in commercial tomato greenhouse operations.
How to Stake a Tomato Plant in a Straw-Bale Garden
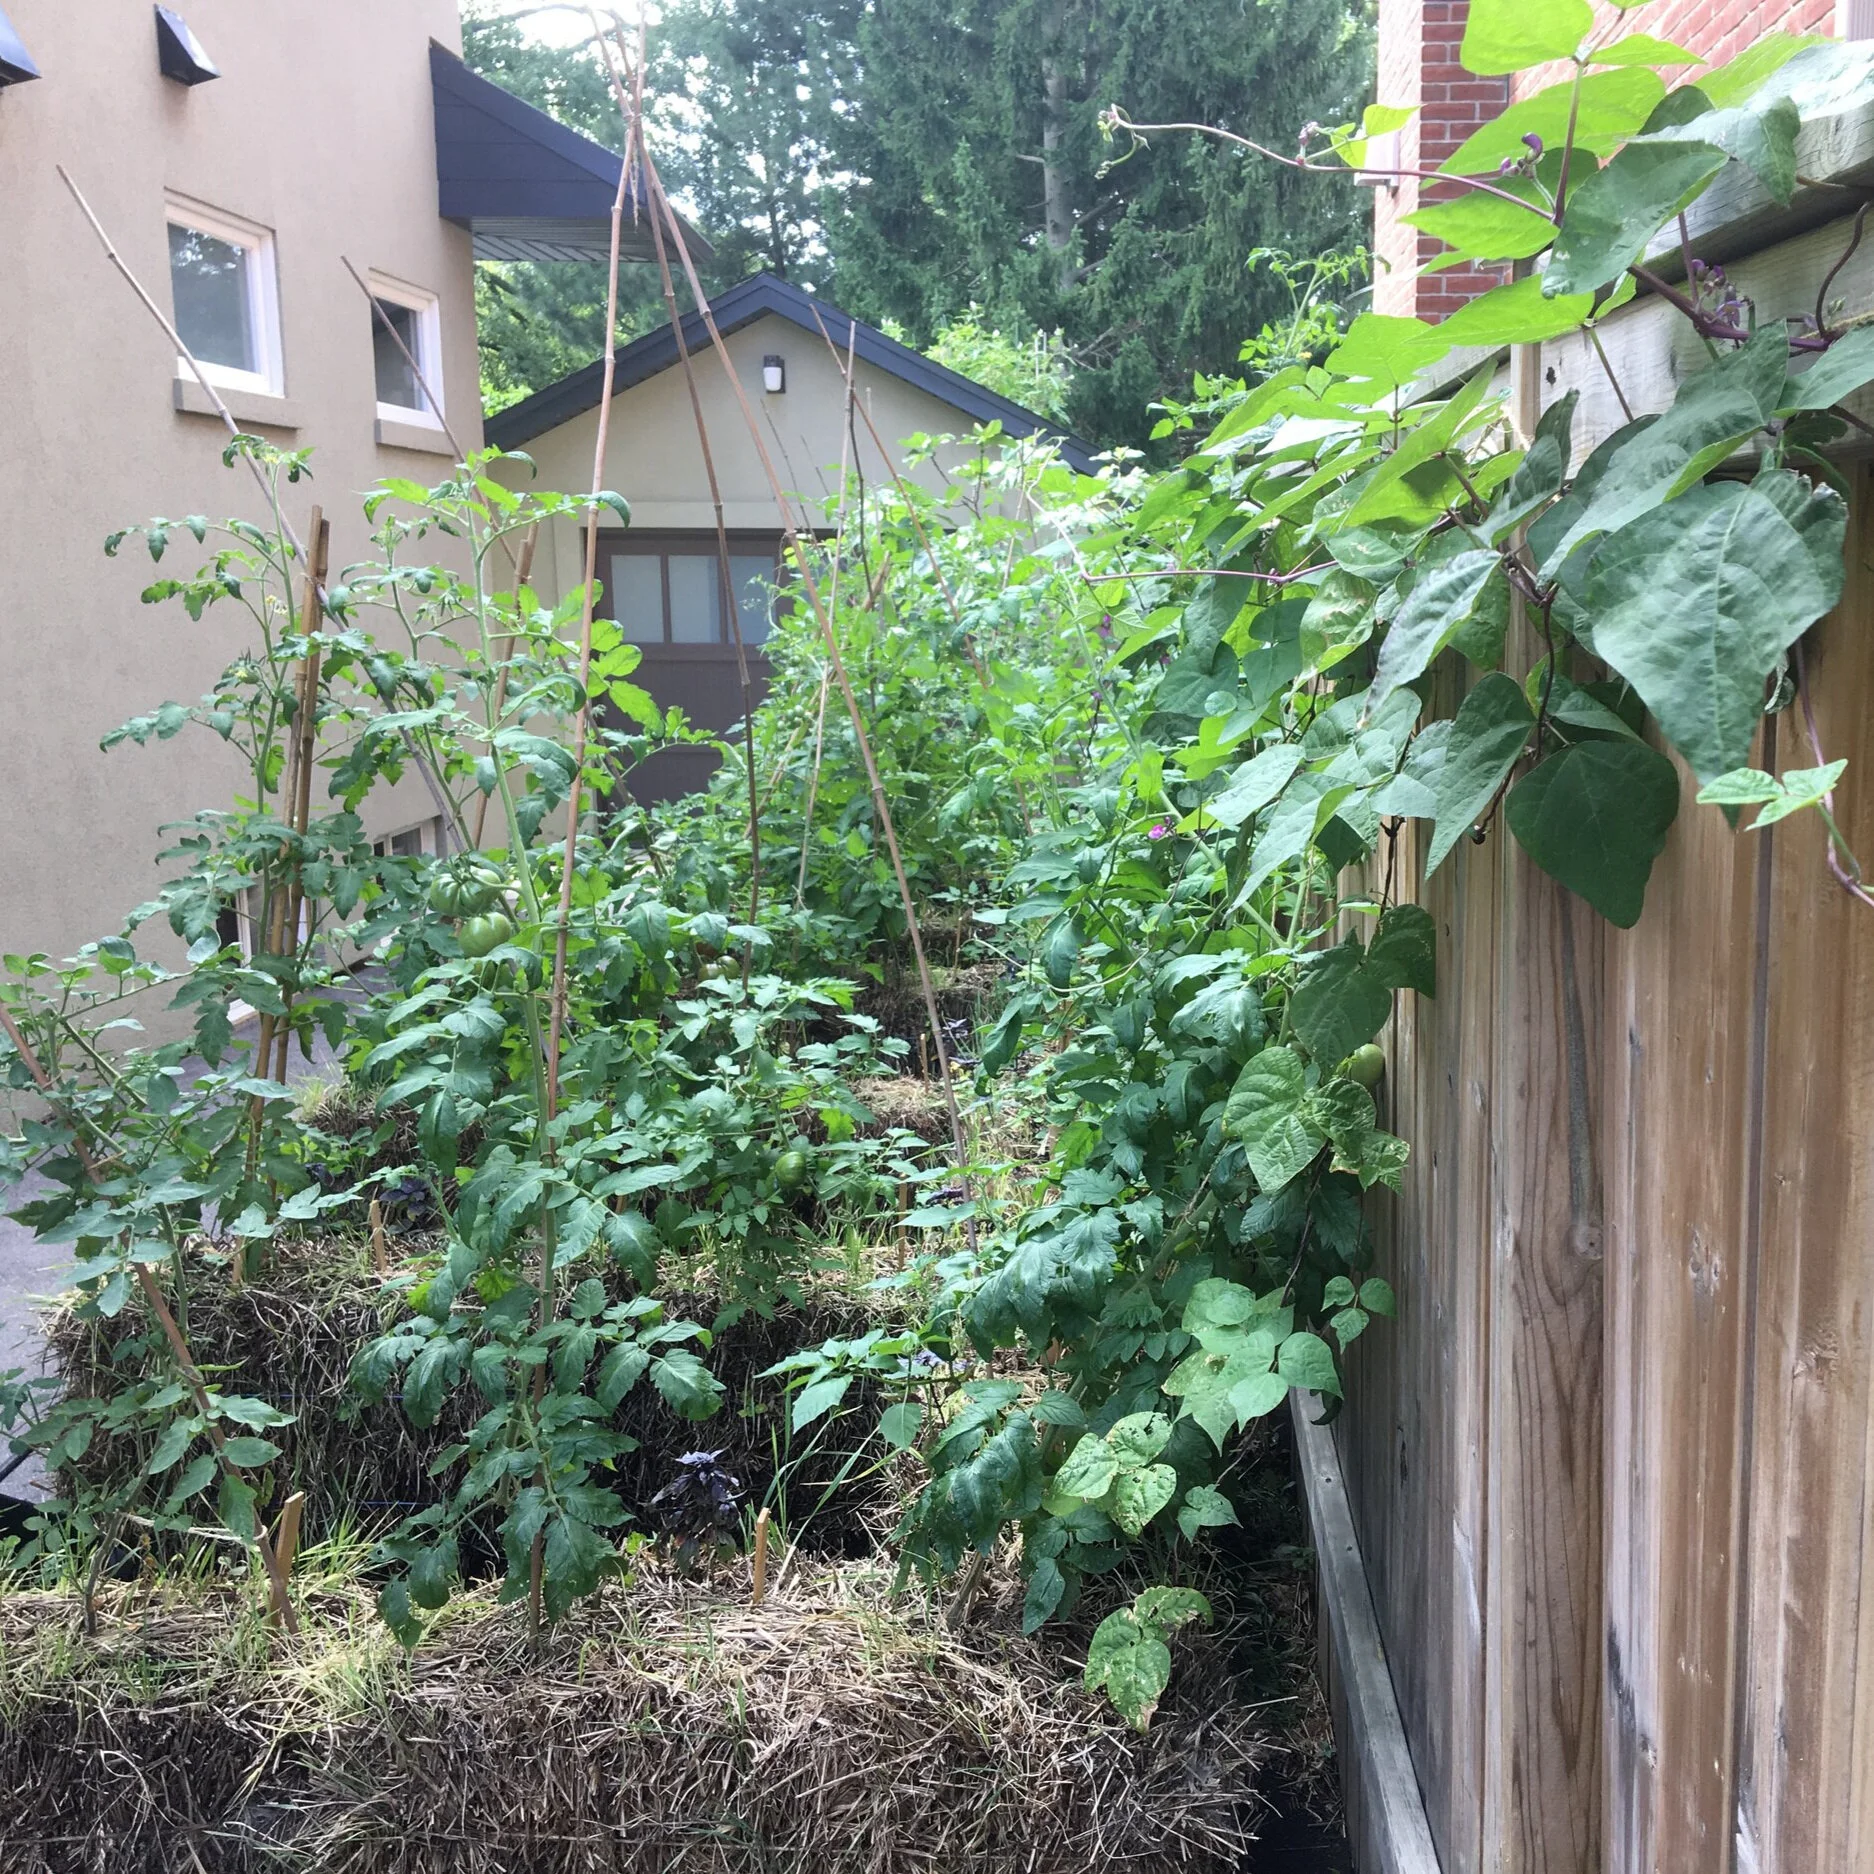
The tomatoes in this driveway straw-bale garden are supported with bamboo tripods.
If the concept of straw-bale gardening is new to you, read this article.
Straw bales break down as the summer progresses. That's what we want. But the result is that what seem like a firmly anchored support stakes in the spring will move (unless you drive the stake deep enough that it goes right through the bale and into the underlying soil.)
In our driveway straw-bale garden, we make tripods out of lumber or bamboo, tied together at the top. If the base is spaced out and balanced, they support the plants all summer.
How to Support a Tomato Plant in a Container
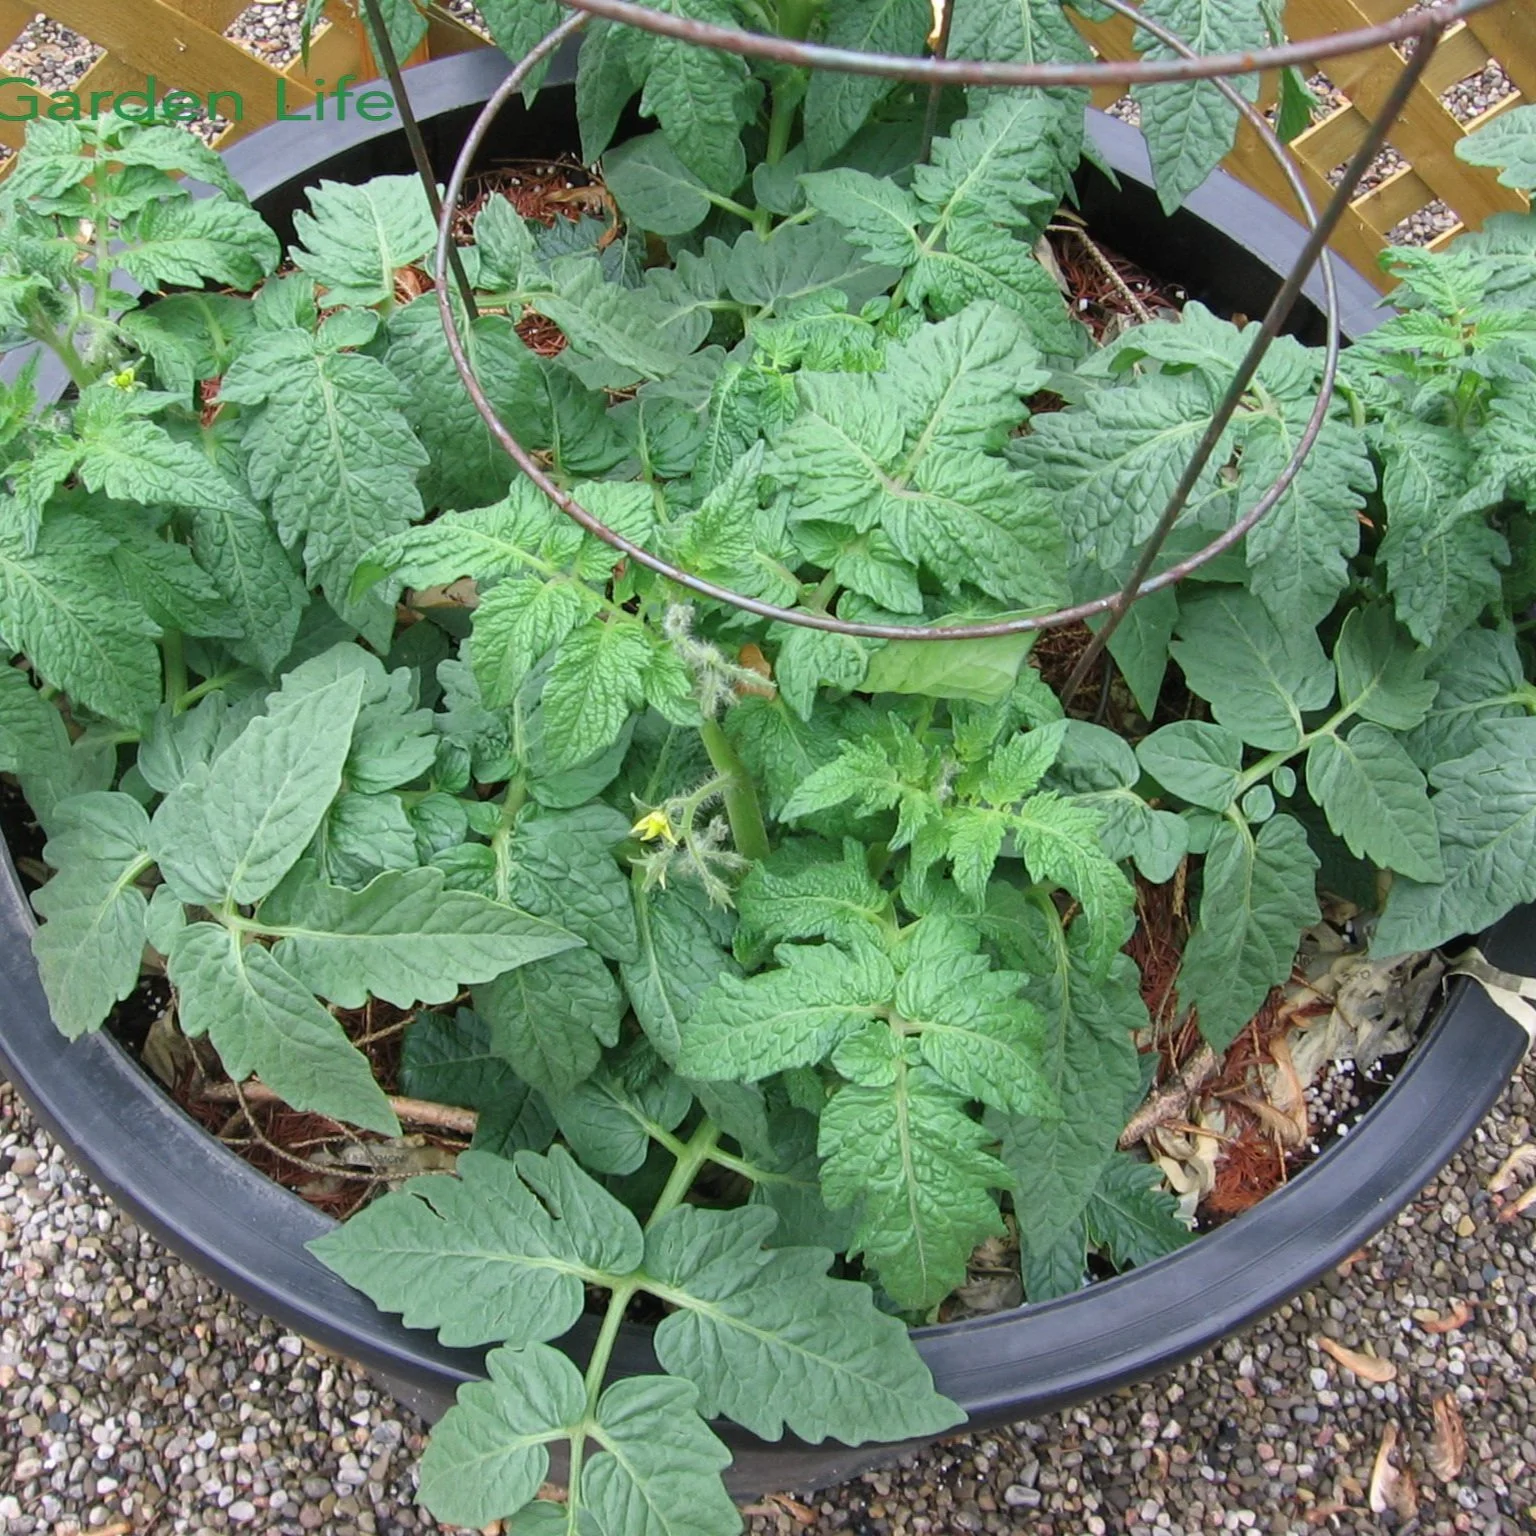
Determinate plants in containers need some sort of support, such as the tomato cage shown here.
If you're growing dwarf tomato plants, they likely won't need support.
But if you're growing determinate plants, you'll probably want to support them. I find that cages work well.
Note: When growing in containers, the shorter the better. That's because if the plants are too tall, there's a chance of the container tipping over in the wind.
Tomato Support FAQ
How often should I prune and train my tomato plants?
Ideally you don't want to let suckers get too big before pruning them out…it's a waste of energy that would be better spent growing tomatoes! In the summer when they're actively growing, check them once a week. (But don't sweat it if you miss a week.)
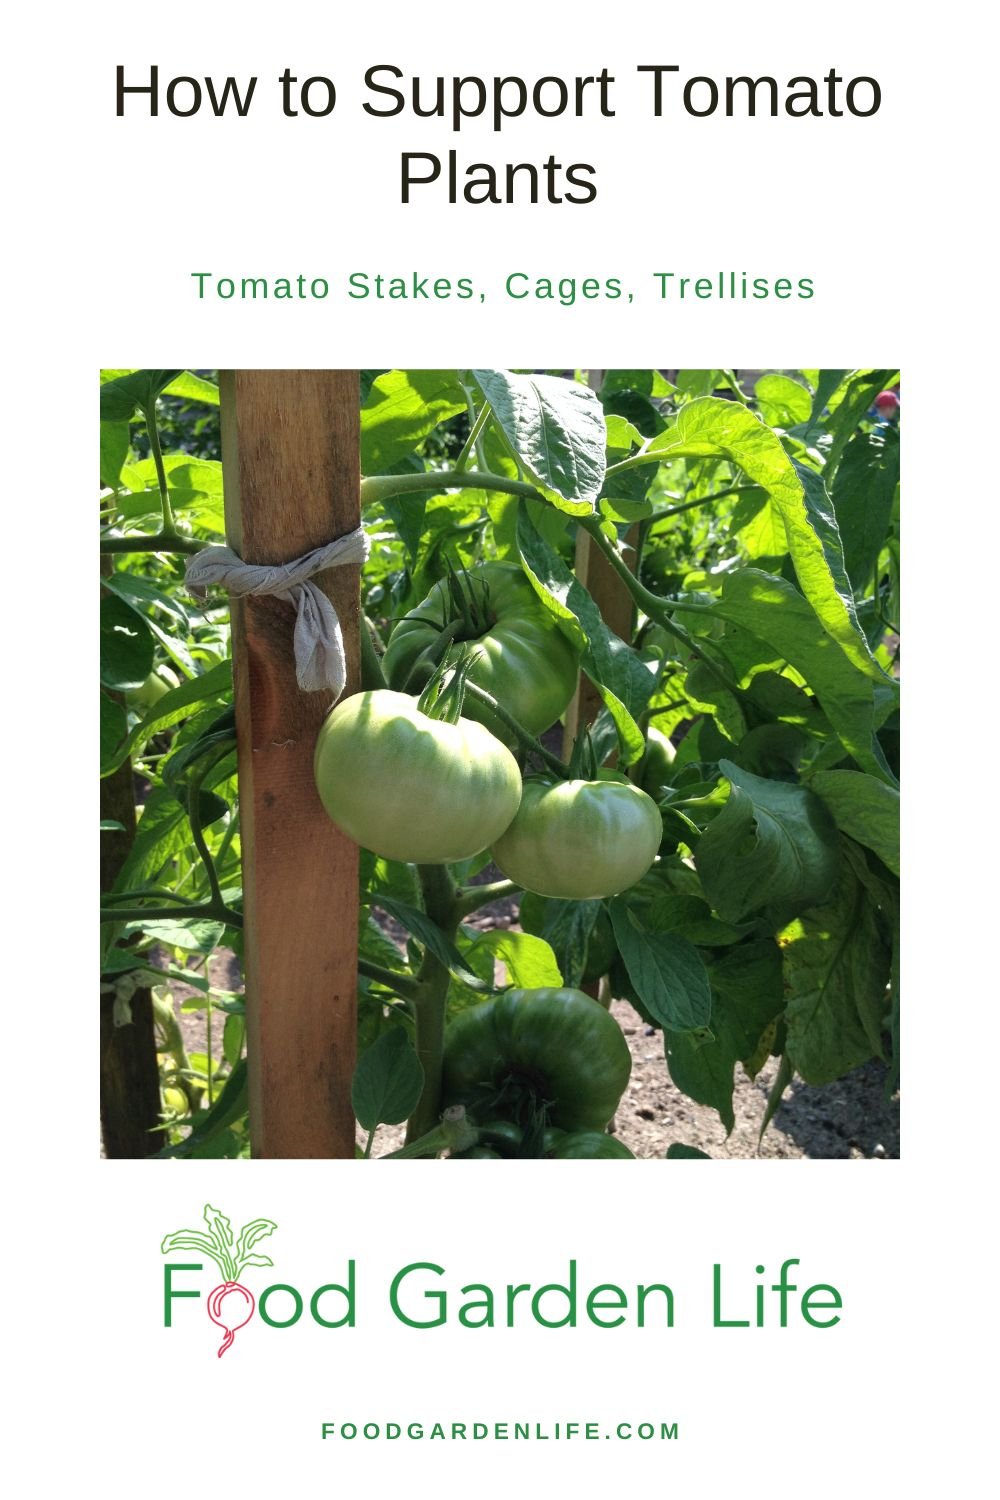
Pin this post about tomato stakes!
What should I do when the tomato plants gets taller than the tomato stakes?
Find a taller tomato stakes, or bend over the top of the plant and allow some stems to grow from down below.
Should I leave one stem or more than one stem?
It's up to you. But here's what I do: For tomatoes on twine, I leave only one stem. In a cage, I allow 3 or 4 to grow because the plant has more space.
What should I use to tie my plants to the tomato stakes?
I use a natural-fibre twine such as sisal or jute because at the end of the season I can compost it or let it fall to the soil where it decomposes.
Here are more ideas for tying plants to stakes:
Dad used to cut up black garbage bags into strips because it made a soft tie that didn't damage the tomato stem
My neighbour Sally used strips of old panty hose as tomato ties
You can buy purpose-made ties…but don't waste your money
Will the tomato cage tip over when the plant gets big?
Can do. I drive one stake into the ground and secure a corner of the cage to it. That prevents any tipping as the plants get bigger.
Find This Helpful?
Enjoy not being bombarded by annoying ads?
Appreciate the absence of junky affiliate links for products you don’t need?
It’s because we’re reader supported.
If we’ve helped in your food-gardening journey, we’re glad of support. You can high-five us below. Any amount welcome!
More on Tomatoes
Check Out These Tomato Guides
Hear Experts Share Tomato Tips
Course: Tomato Overload Masterclass
Want to up your game growing tomatoes?
This self-paced course helps you choose great varieties, grow great seedlings, give plants the care they need, and enjoy an abundant harvest.
More on Edible Gardening
7 Vegetable Garden Layout Ideas To Grow More Food In Less Space
Course: Edible Landscaping
Eat Your Own Fresh Tomatoes in March! Grow Storage Tomatoes
By Steven Biggs
Long Keeper Tomatoes Last all Winter
With the right tomato variety, you’ll still be eating your own fresh tomatoes in early spring. It’s often March by the time I use up my fresh tomatoes.
That’s right. March.
Yet I picked the tomatoes the previous October, just before the first fall frost.
Tomatoes that store well are called long-keeper tomatoes, keeper tomatoes, storage tomatoes, or winter tomatoes.
These storage tomatoes are a simple way to add fresh, homegrown veg to the winter menu. Perfect for home gardeners.
If you’re interested in growing long keeper tomatoes, keep reading to find out how you can enjoy your own homegrown tomatoes over the winter.
What’s a Long Keeper Tomato?
Let’s be clear: Long keeper tomatoes are NOT like a thin-skinned, juicy tomato.
They’re thick-skinned. It’s because of that thick skin that they last a long time without spoiling.
Storage Tomato…Not a Thin-Skinned Slicer
I once gave long keeper tomato plants to my neighbours Joe and Gina. They were avid veg gardeners. Loved tomatoes. I thought they’d love the idea of having their own storage tomatoes all winter long.
But they hated my keeper tomatoes…
That’s because they loved juicy tomatoes for sandwiches and meaty tomatoes for sauces. Keeper tomatoes are for storage—they’re not summer sandwich material.
Expecting a keeper tomato to be like a beefsteak tomato is like expecting a pickup truck to drive like sports car. Ain’t going to happen. The purpose of each is quite different.
When to Sow Long Keeper Tomato Seeds
Because I harvest my keeper tomatoes at the very end of the season, there is no point to starting them too early. (My first fall frost is usually late October—so that means I’m only harvesting the keeper tomatoes in October.)
I start my summer-eating tomato varieties 6-10 weeks before the average last frost date, so that I can enjoy fresh tomatoes as soon as possible.
But I only start the keeper tomato varieties a couple of weeks before the last spring frost. Then I transplant them into the garden when the plants are big enough.
Want to grow your own storage tomatoes from seed? Get tips to grow great tomato seedlings at home.
How to Grow Storage Tomatoes
In the garden, grow storage tomatoes as you would other tomato varieties. The main difference is that there’s less of a rush to get them going early.
Here’s a guide to staking tomato plants.
How to Store Long Keeper Tomatoes
If you have only a few storage tomatoes, put them in a bowl on the counter; they last well and look nice. But for longer-term storage, a slightly cooler temperature is better. That way, they’ll last longer. I store long keeper tomatoes in a cool basement room, spread out on a tray.
Hurray! No processing, no freezing.
Here’s another way to store keeper tomatoes: Leave the tomatoes on the plant, and then harvest the whole plant. Then, hang the plant upside down, somewhere cool. The tomatoes continue to ripen on the plant.
Wondering about how to ripen all the other green tomatoes left in your garden in the fall? Here’s an article that tells you how.
How to Use Keeper Tomatoes
Keeper, or “winter,” tomatoes are perfect for chopping up to use in salads and in cooking.
My favourite way to use them is in bruschetta.
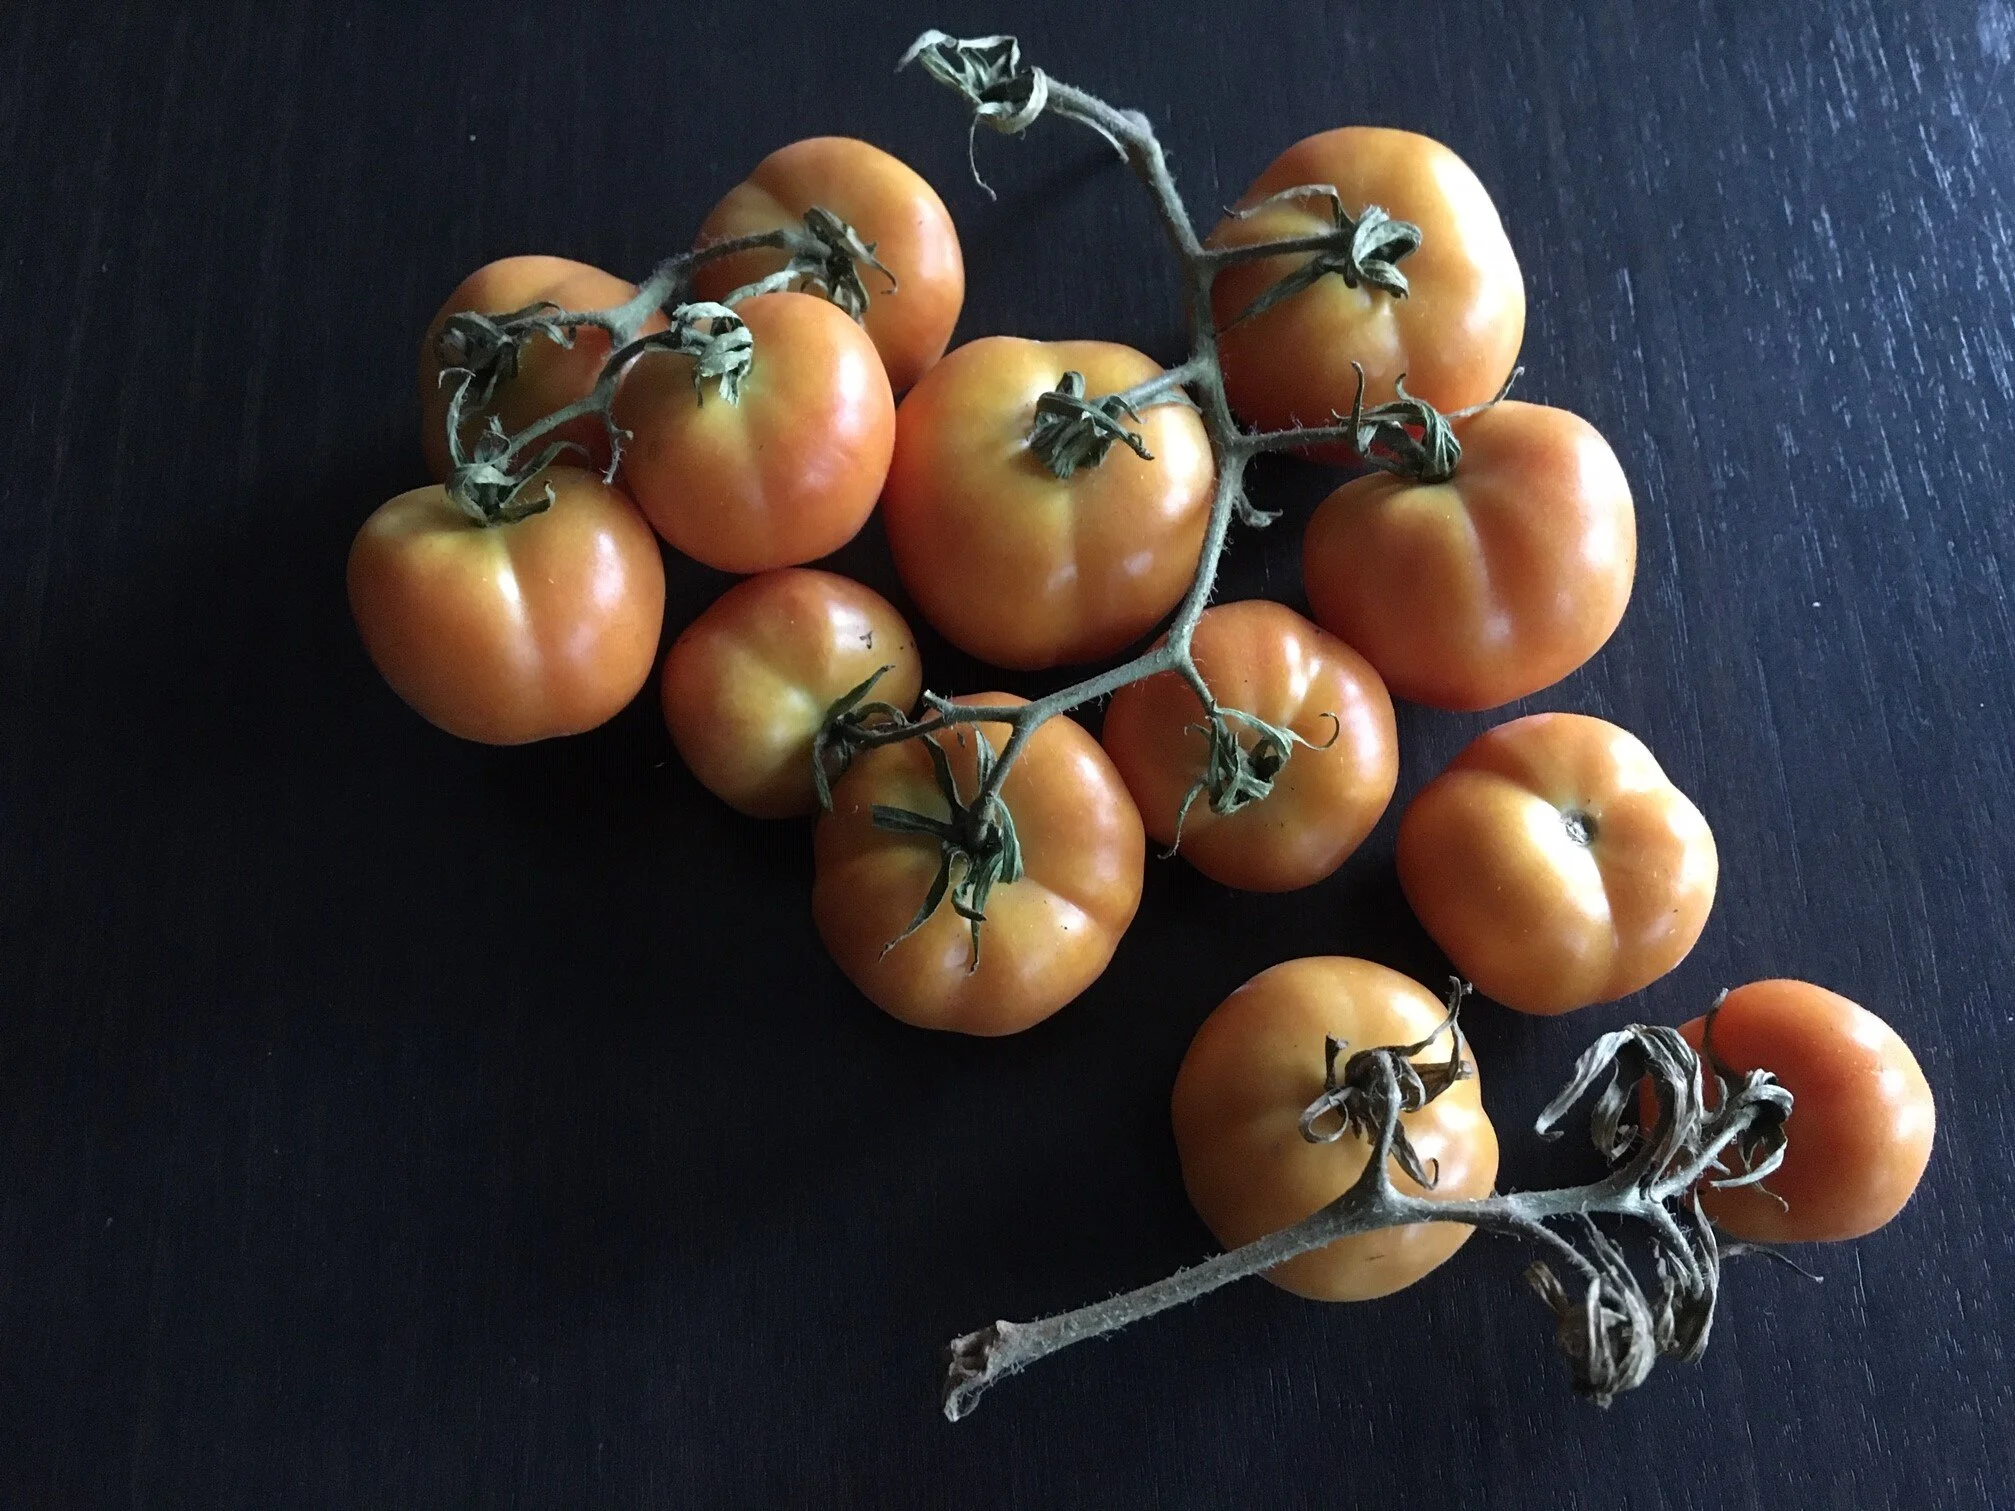
Tomatoes in March. Grow a “keeper” or “winter” tomato.
Long Keeper Tomato Varieties
My first long keeper tomato variety came from my Dad’s friend Dino. Dino simply called it a “winter tomato.” So I just call it Dino’s Winter Tomato.
When it’s ripe, the skin has an orange colour; and when you cut into it, the flesh has a light red colour.
There are many keeper varieties around. Here are some to try:
‘Long Keeper’ is an old variety that’s widely available.
Prairie Garden Seeds sells a keeper tomato called ‘Clare’s Tomato’.
‘Green Bee’ is a firm-when-ripe tomato that grills well—and it’s also an excellent storage tomato.
Looking for a beautiful keeper tomato? Then try ‘Evil Olive’. It’s a great storage tomato. (Don’t be put off by the name, it’s lovely!)
‘Fakel’ is an old processing variety with a thick skin. It’s a medium-sized red tomato that’s good for fresh eating and storage. So if you want something that’s good sliced but also stores well, a good option. (Determinate plant, so good if you’re doing container gardening.)
‘Piennolo del Vesuvio’ is an Italian heirloom from the area around Mount Vesuvius. It forms clusters with cherry-tomato-sized fruit having a pointy tip. The clusters are traditionally picked and hung indoors to slowly ripen through the winter.
More on Tomatoes
Find This Helpful?
Enjoy not being bombarded by annoying ads?
Appreciate the absence of junky affiliate links for products you don’t need?
It’s because we’re reader supported.
If we’ve helped in your food-gardening journey, we’re glad of support. You can high-five us below. Any amount welcome!
Course: Tomato Overload Masterclass
Want to up your game growing tomatoes?
This self-paced course helps you choose great varieties, grow great seedlings, give plants the care they need, and enjoy an abundant harvest.
Ripen Green Tomatoes to Extend Your Harvest
Find out how to ripen the green tomatoes that you still have in your garden, by picking them before the first frost, and bringing them indoors.
By Steven Biggs
How to Ripen Green Tomatoes Indoors

You can eat homegrown tomatoes through the winter. No greenhouse needed.
I’ve even eaten my own homegrown, “fresh” tomatoes in April. These are tomatoes I picked green the previous October, just before the first fall frost killed the plants. Then, I ripened them indoors.
You don’t need special conditions to ripen your green tomatoes because unripe tomatoes that have reached a “mature” size (nearly the final size) will keep ripening after they’re removed from the plant.
You can prolong your tomato harvest for weeks – even months.
Keep reading for pointers on picking, storing, and using your green tomatoes in the fall.
How do they Taste?
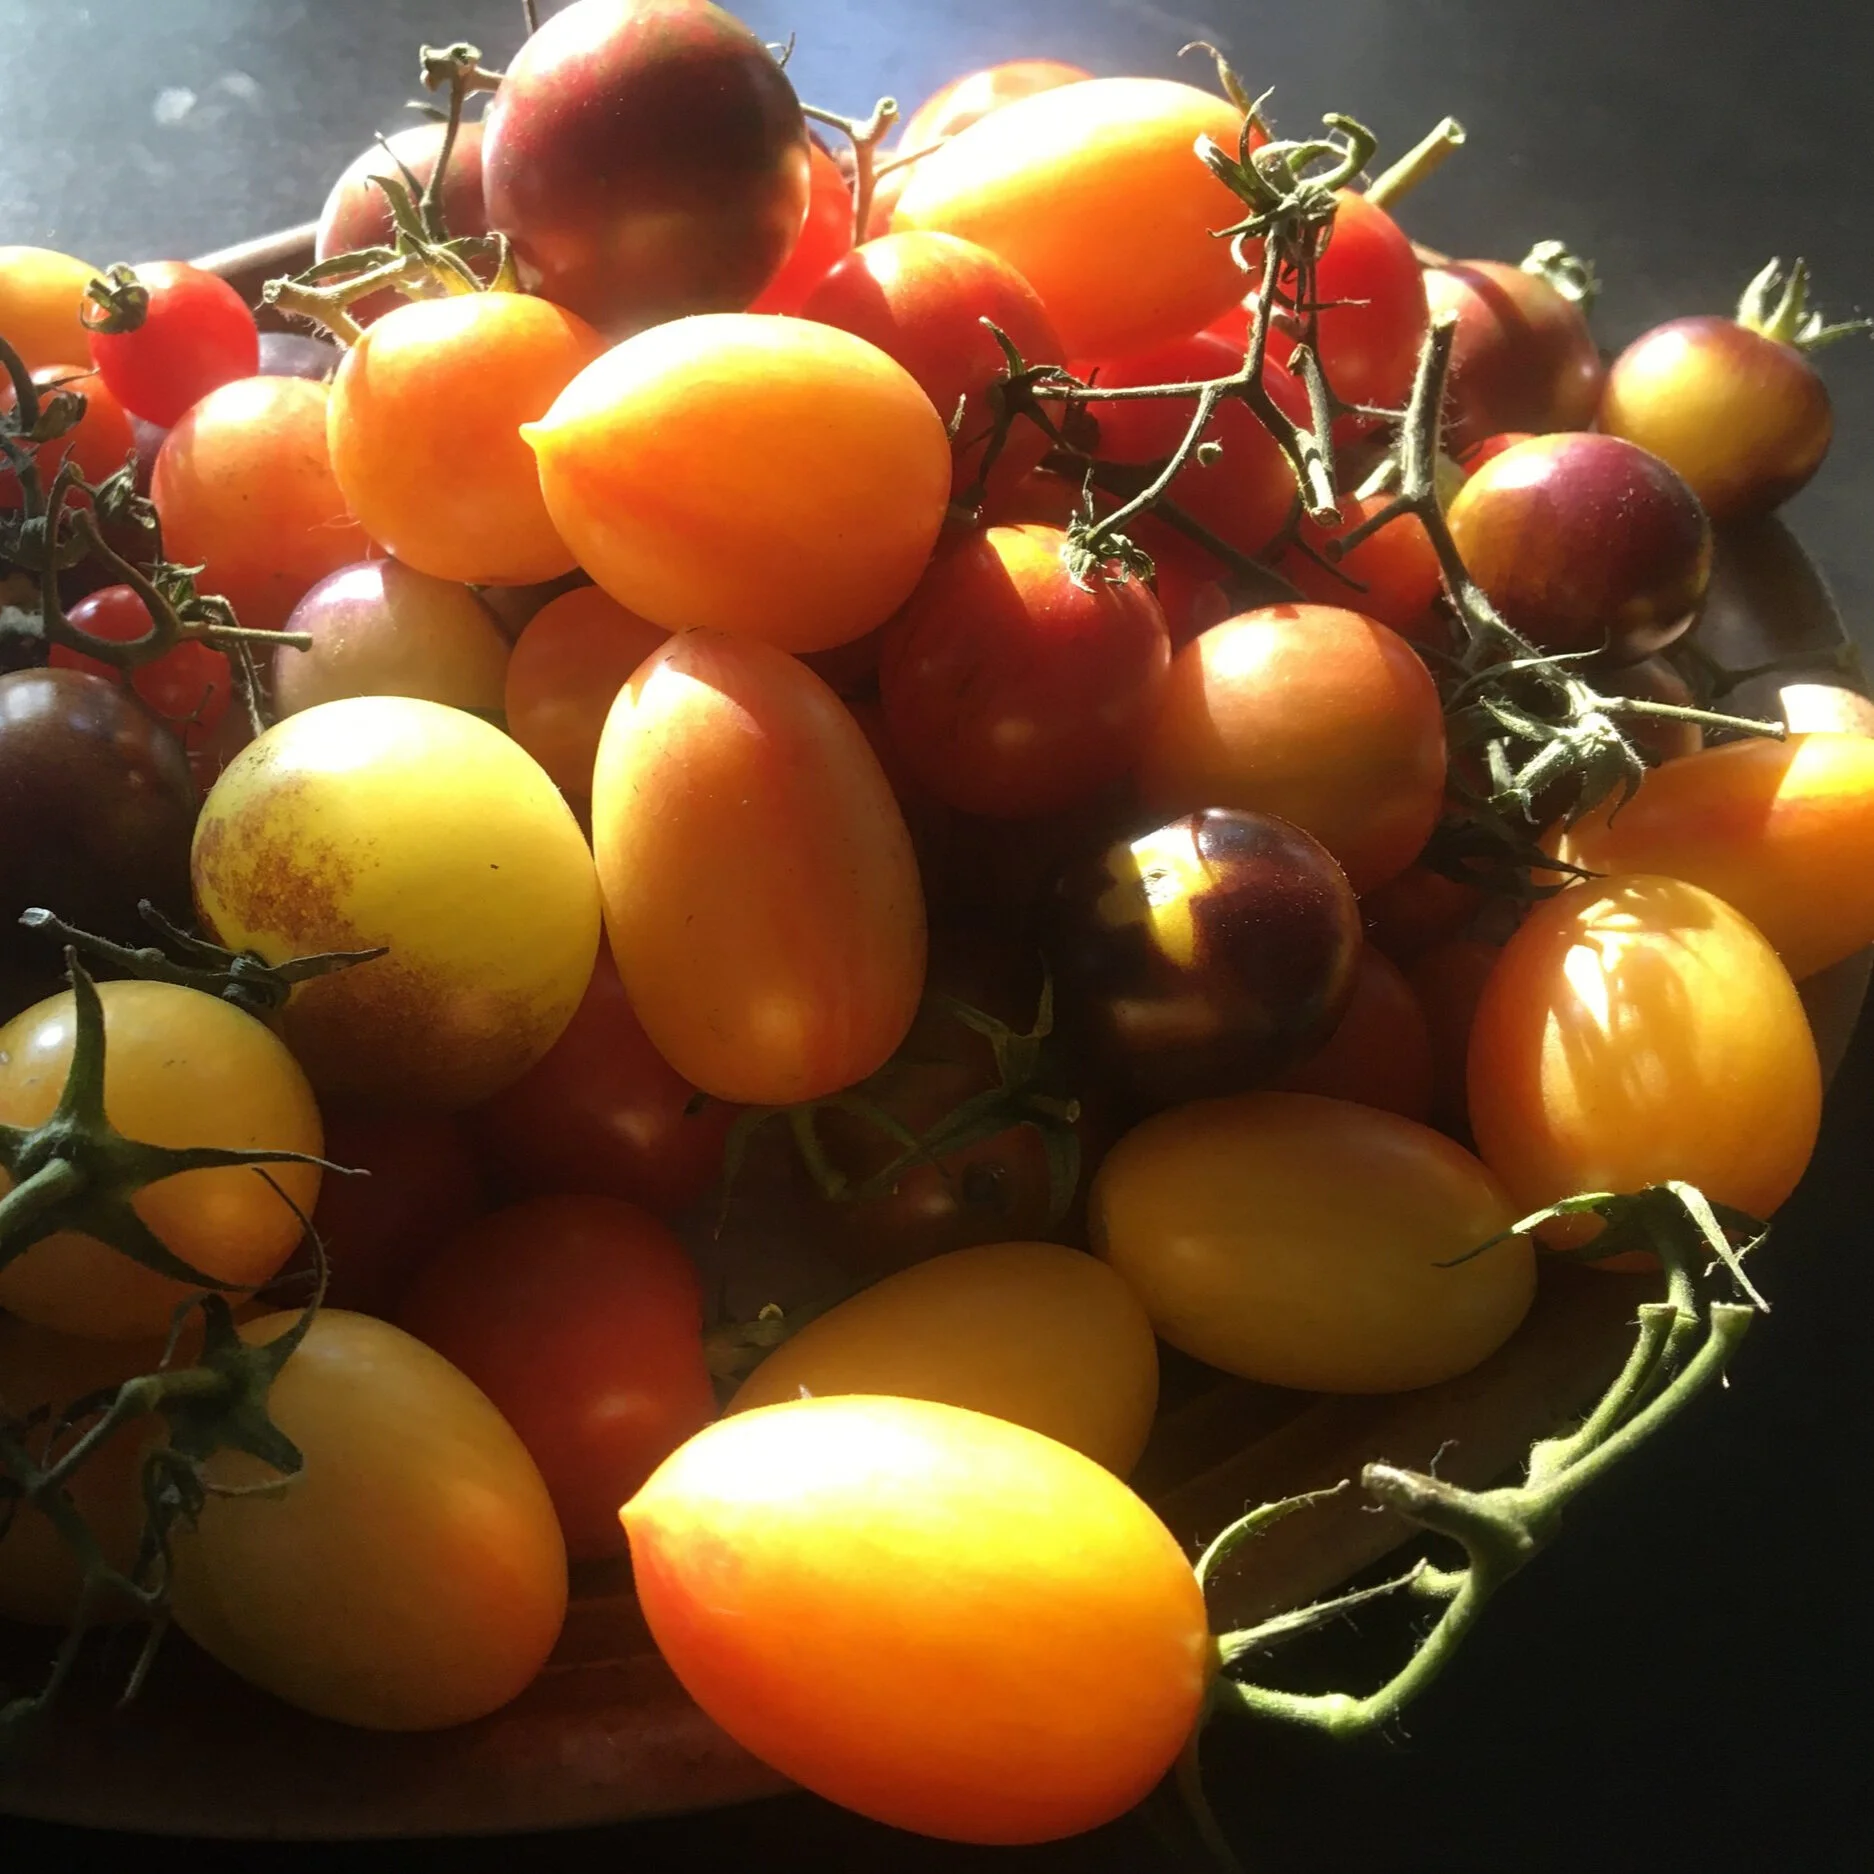
A plate of tomatoes picked green and ripened indoors.
A vine-ripened tomato from the garden has better flavour. That’s because tomatoes ripened on the vine in the garden develop more sugars and acids.
But a green tomato ripened indoors can have a respectable flavour – and it’s certainly far better than the insipid, mealy excuses for tomatoes found at grocers over the winter.
When to Pick Green Tomatoes for Indoor Ripening
Pick your green tomatoes before the first frost in the fall. Tomatoes exposed to frost get mushy and don’t store or ripen well indoors.
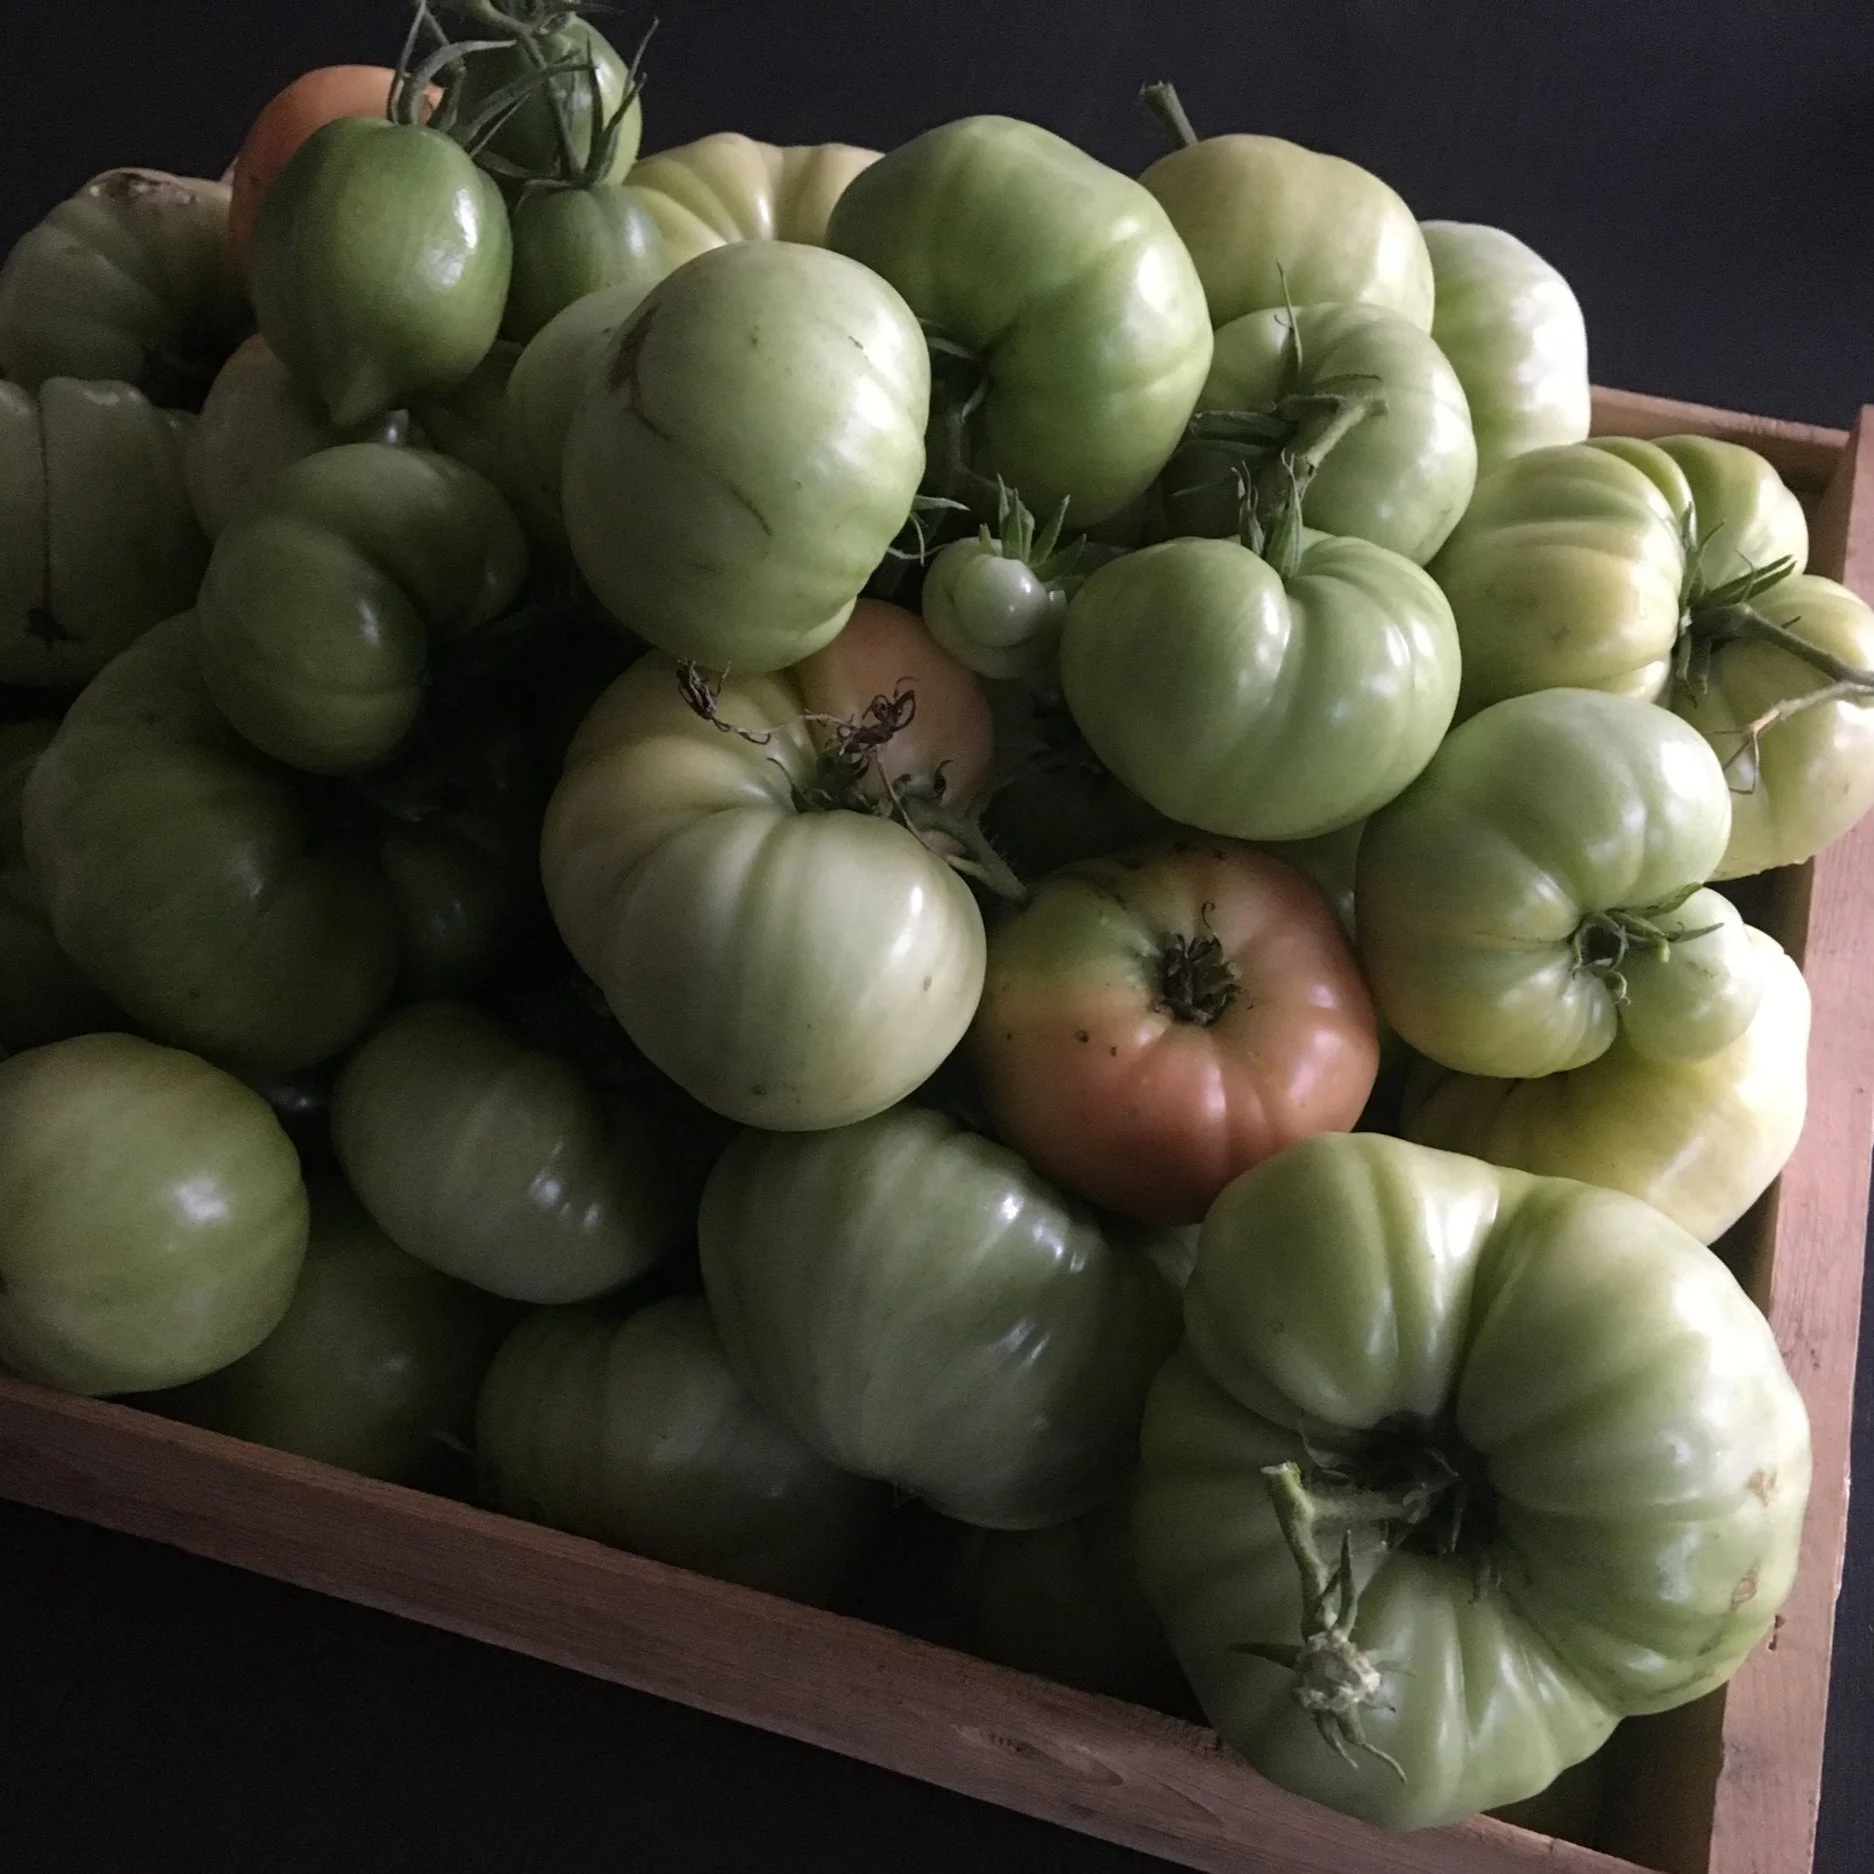
I pick tomatoes that are a mature size, as well as small, undeveloped tomatoes.
What to Pick
I pick everything:
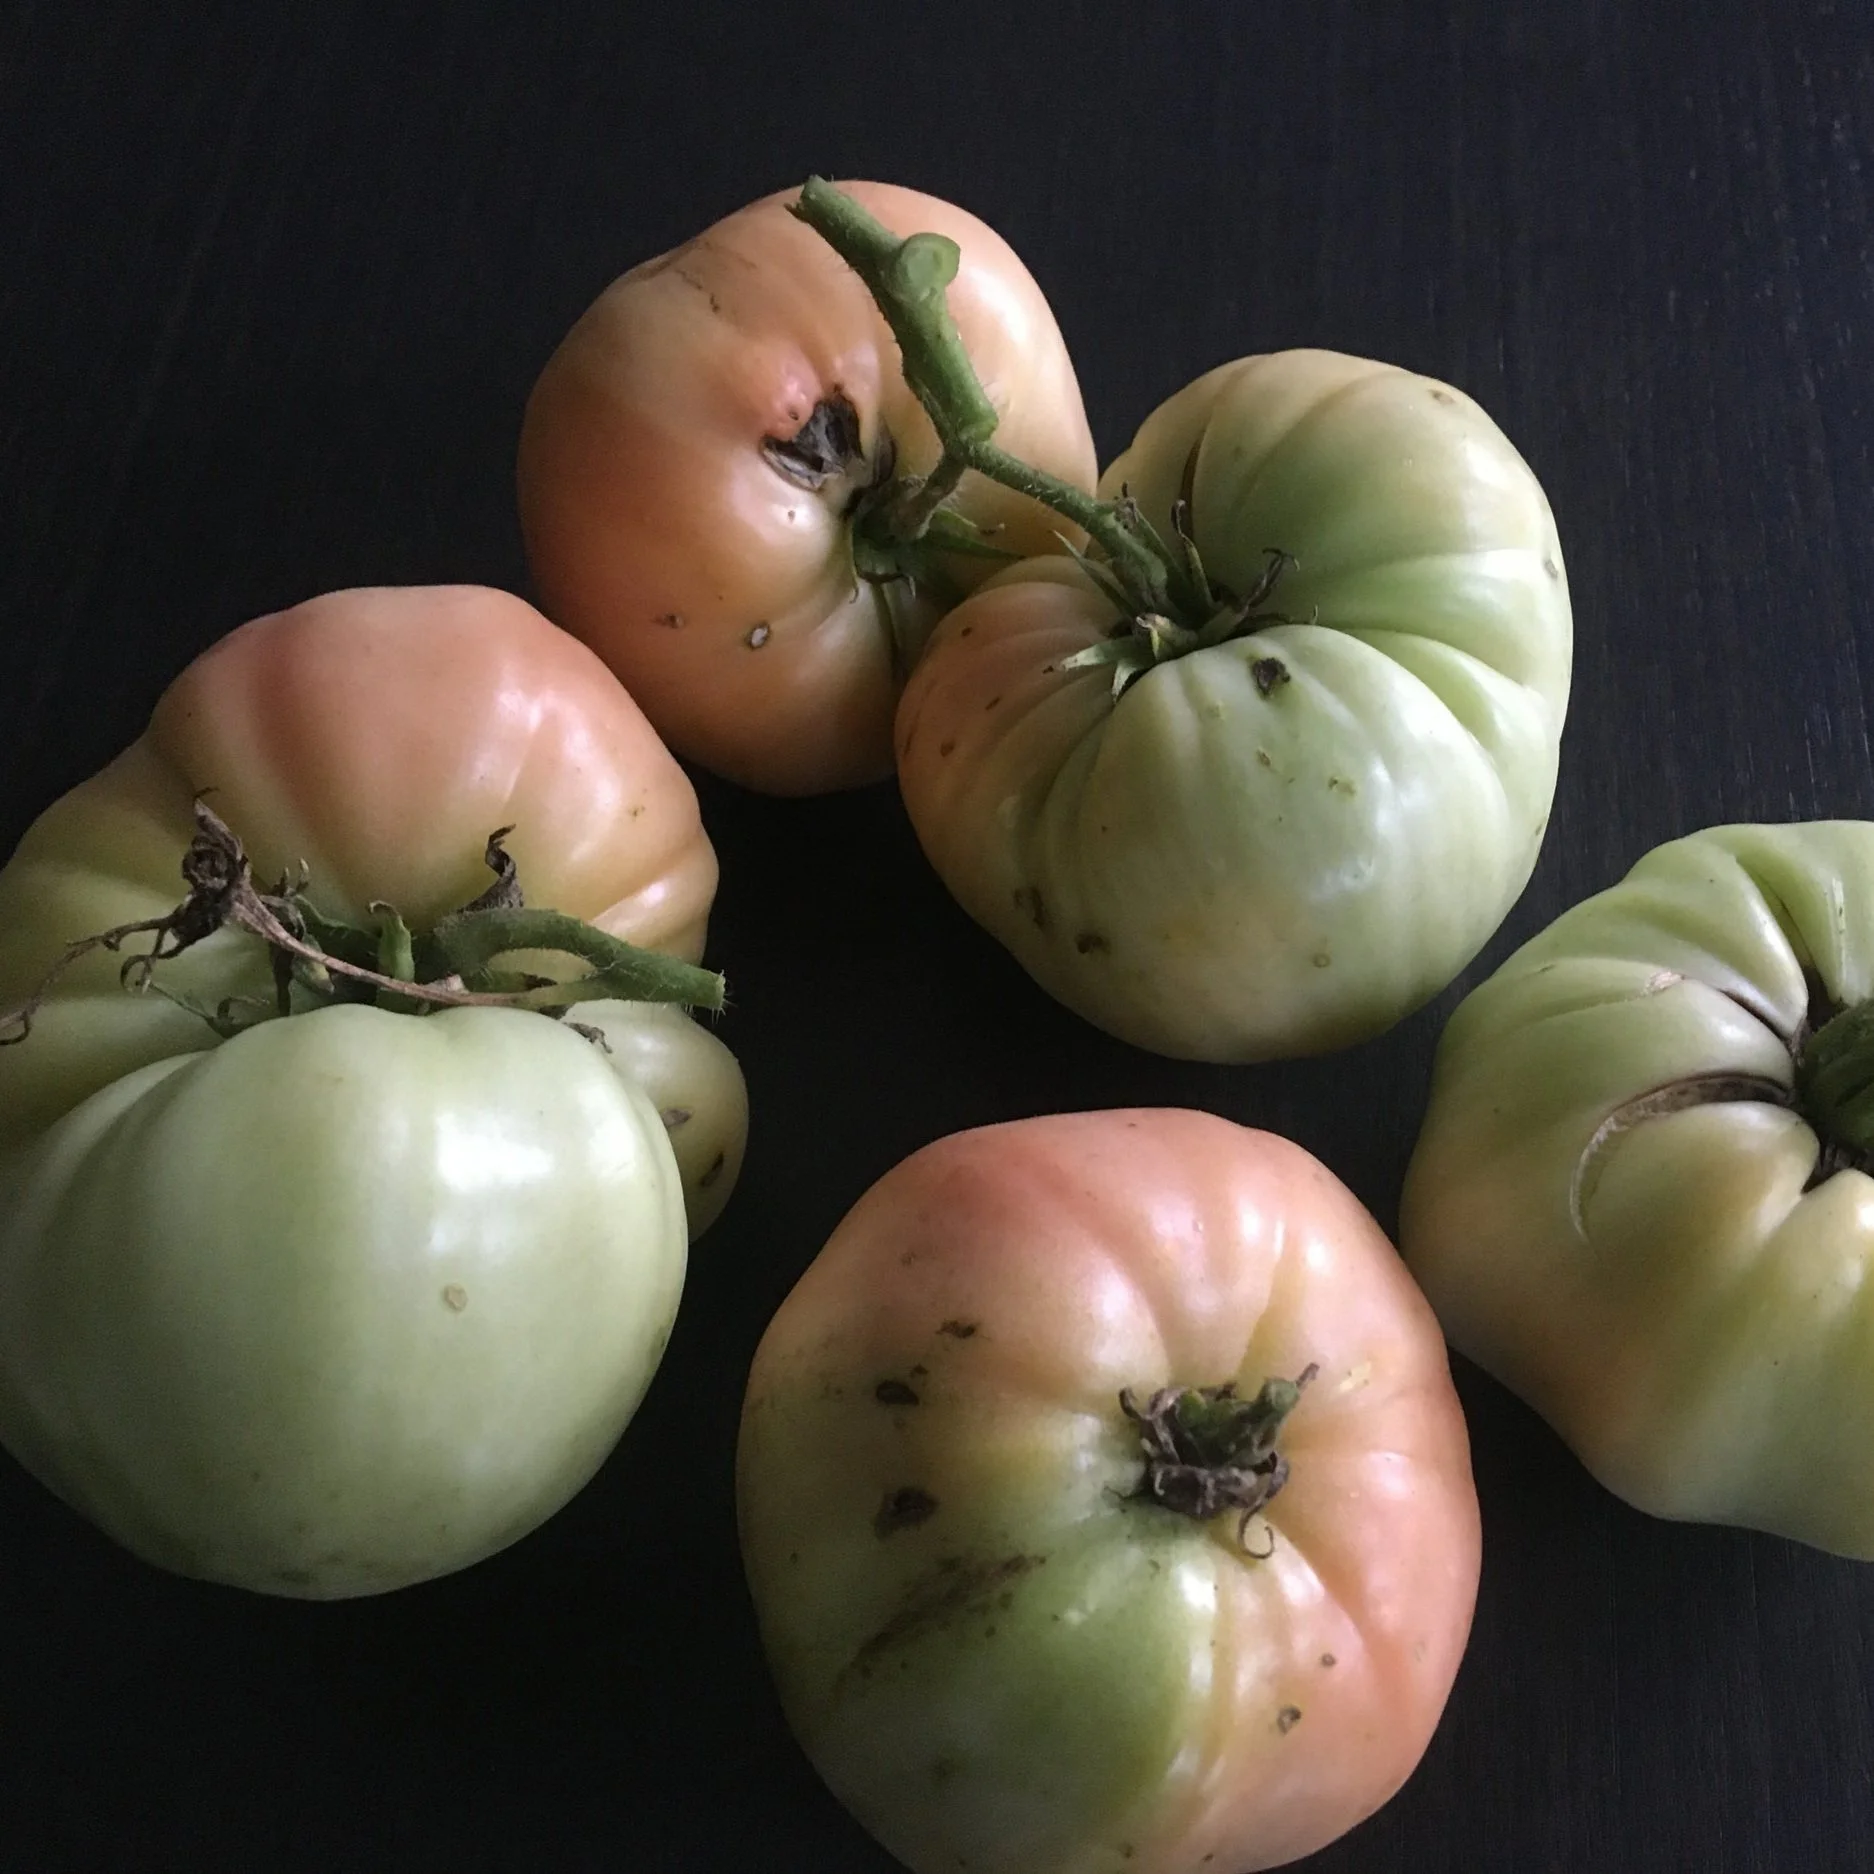
I leave tomatoes that are already colouring up on the kitchen windowsill.
Tomatoes that are a mature size to ripen indoors.
Tomatoes that are small and not fully developed to cook or use in preserves (see my green tomato mincemeat recipe below).
How to Harvest Green Tomatoes
I pick larger tomatoes individually, leaving a small bit of stem attached. The reason that I like to leave a bit of stem attached is that with some tomato varieties, it’s easy to tear the skin while trying to remove the stem.
I leave cherry- and grape-type tomatoes on the stem and harvest the whole cluster.
Another approach is to harvest the whole plant. Cut off entire branches – or even cut off the stem at ground level, leaving the unripe green tomatoes on the plant.
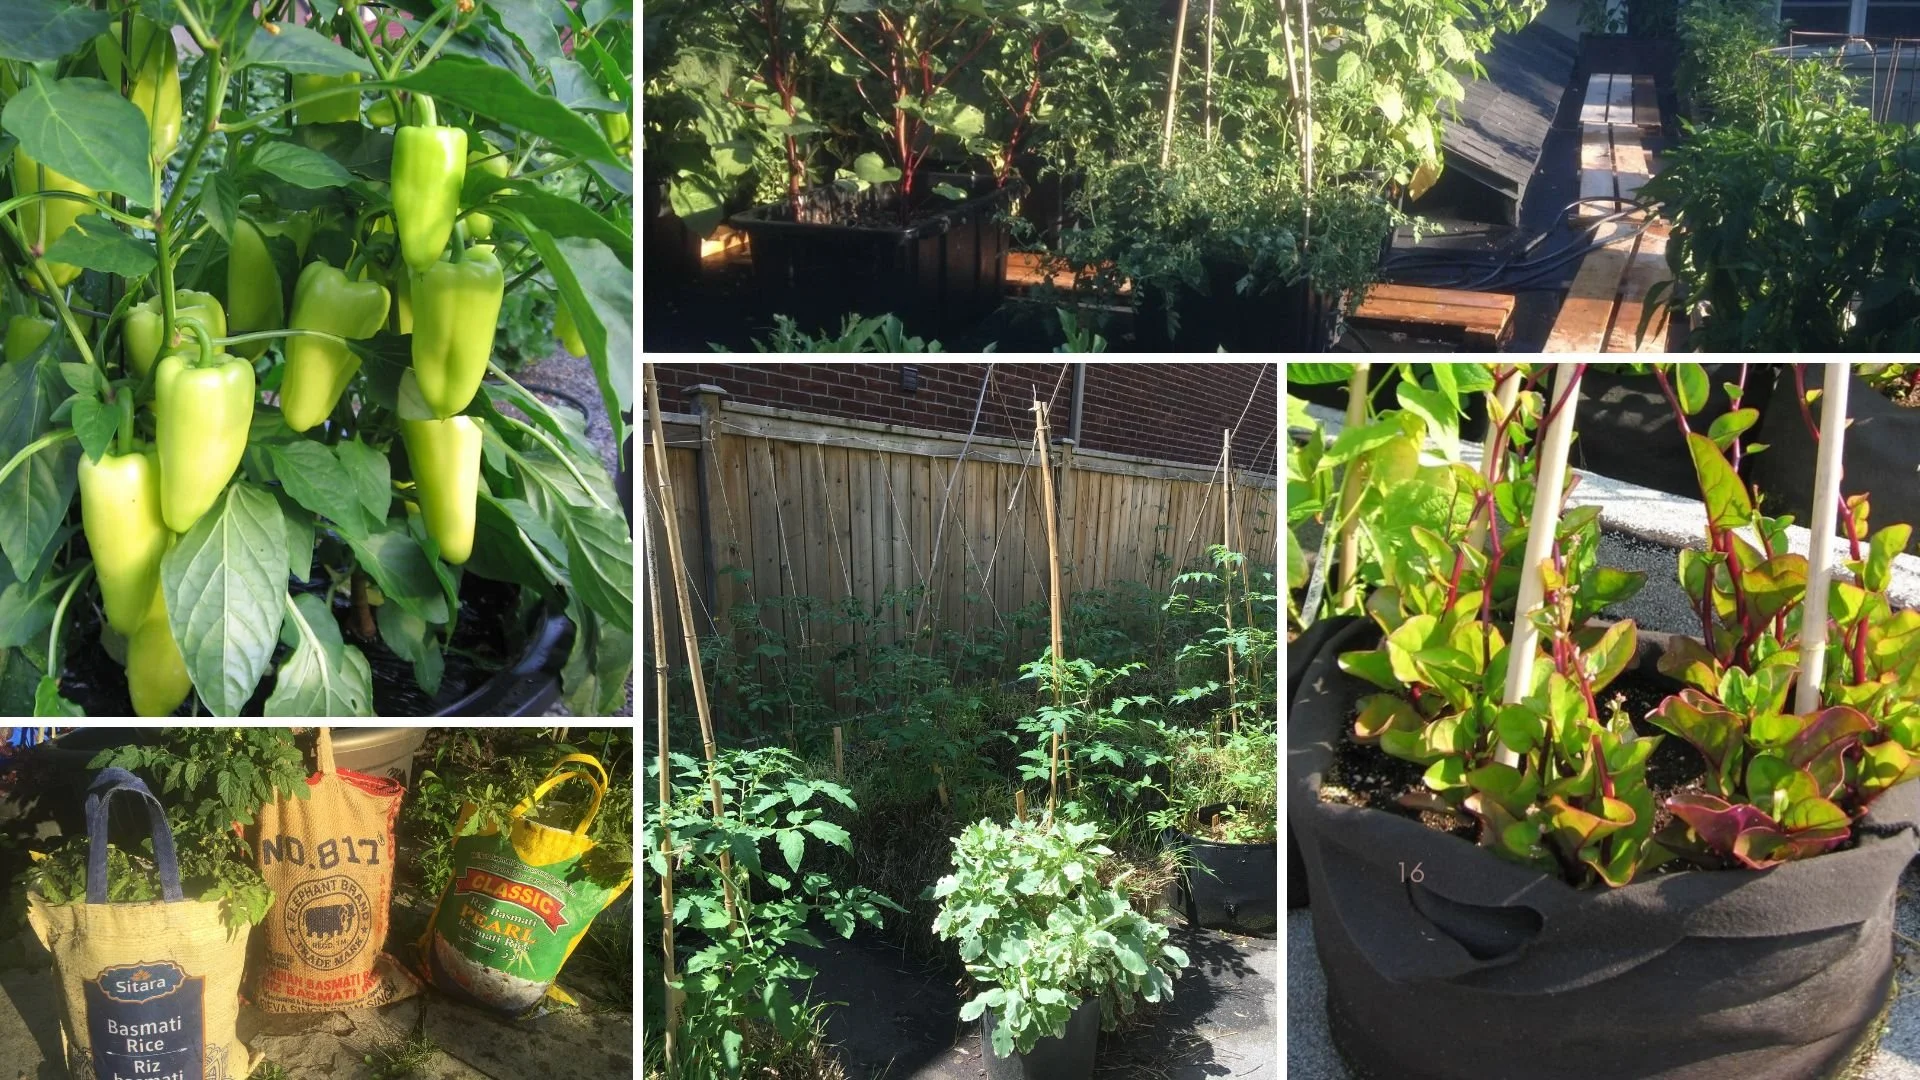
Grow a Container Vegetable Garden
And get an early harvest of crops that usually take too long!
You Control the Ripening Speed
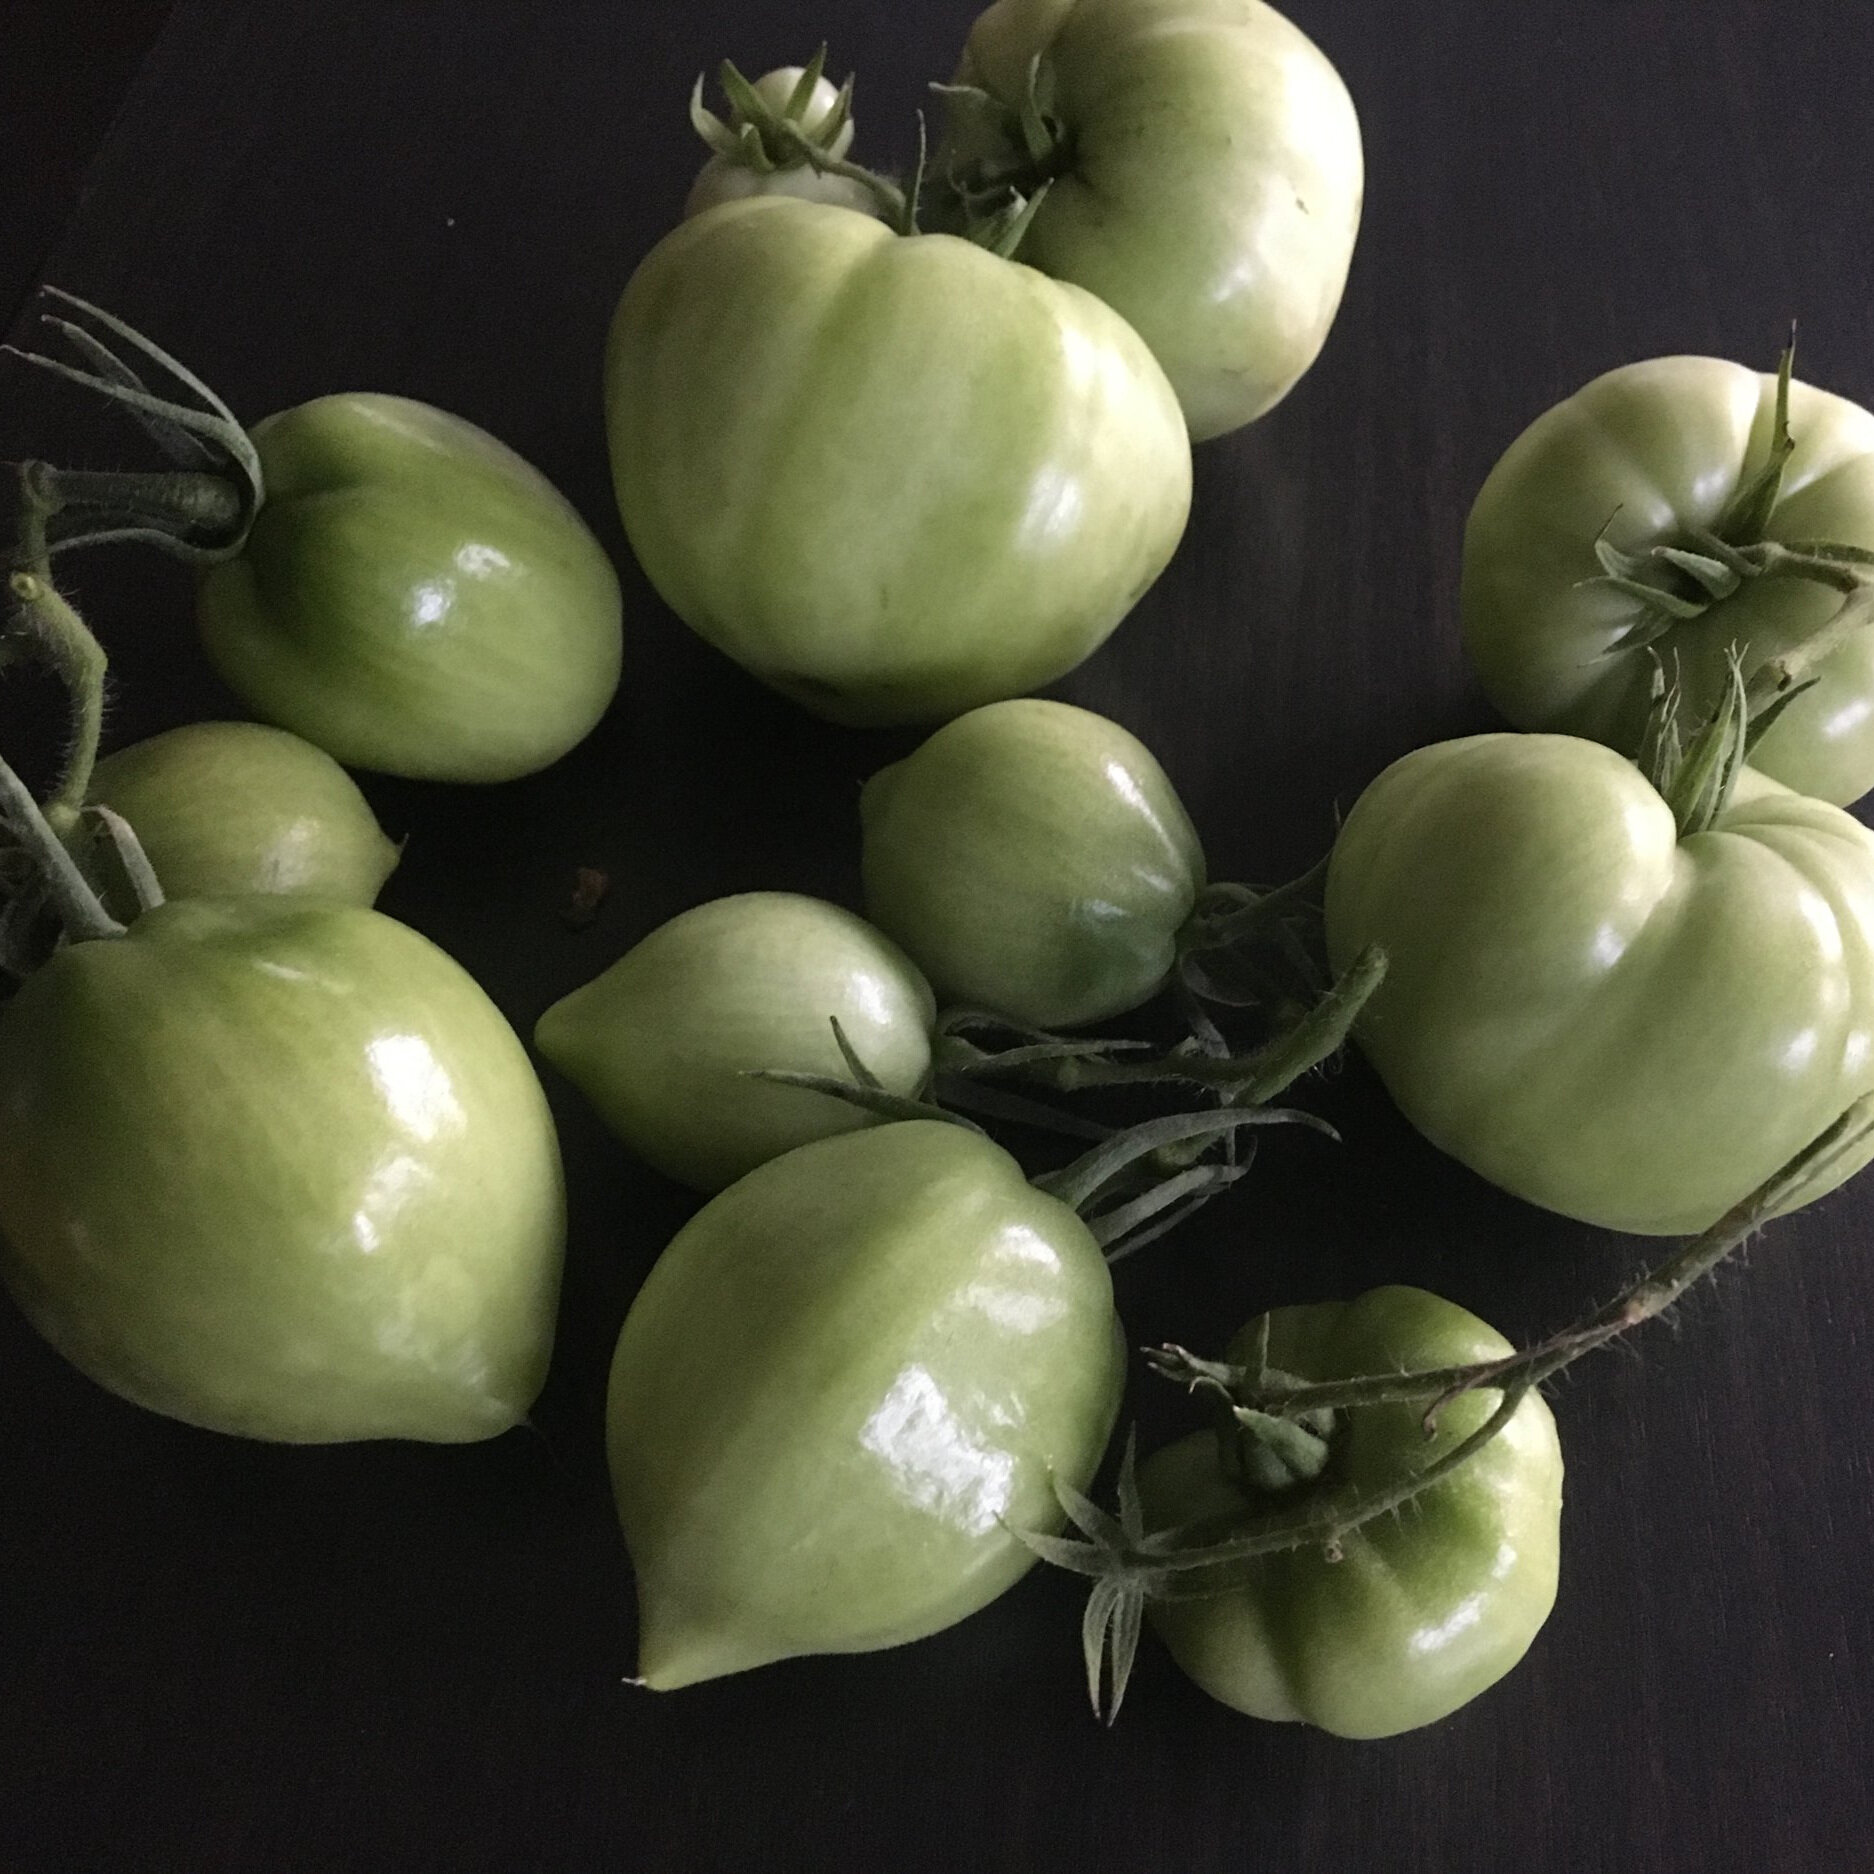
Small tomatoes that are not close to the final size won’t ripen well, but can be used in the kitchen.
Mature tomatoes give off ethylene gas, which causes them to ripen to ripen more quickly. All we have to do is tweak how much of this gas stays around the tomato.
You can stagger the ripening of your green tomatoes using two things:
Temperature. At warmer temperatures ripening happens more quickly.
Ethylene gas. This is the gas the mature tomatoes give off – and which stimulates ripening. If you want to speed up ripening, let the gas accumulate around the tomatoes. If you want to slow down ripening, allow air movement so the ethylene disperses.
How to Ripen Green Tomatoes

I lay out my green tomatoes in plastic trays lined with newspaper.
You don’t need sunlight to ripen green tomatoes.
There are a number of ways to ripen green tomatoes indoors. I lay out my green tomatoes in plastic trays lined with newspaper. (The newspaper prevents smaller tomatoes from falling through the holes; and absorbs juice from any tomatoes that rot.)
I keep the tray in a cool room in my basement. As tomatoes start to show colour, I bring them up to the kitchen to put on my windowsill, where it’s warmer – and where I monitor them more closely as they finish ripening.
If you want to speed up ripening, just capture some of the ethylene gas by putting the tomatoes in an enclosed space. Here are ways to capture some of that ethylene:
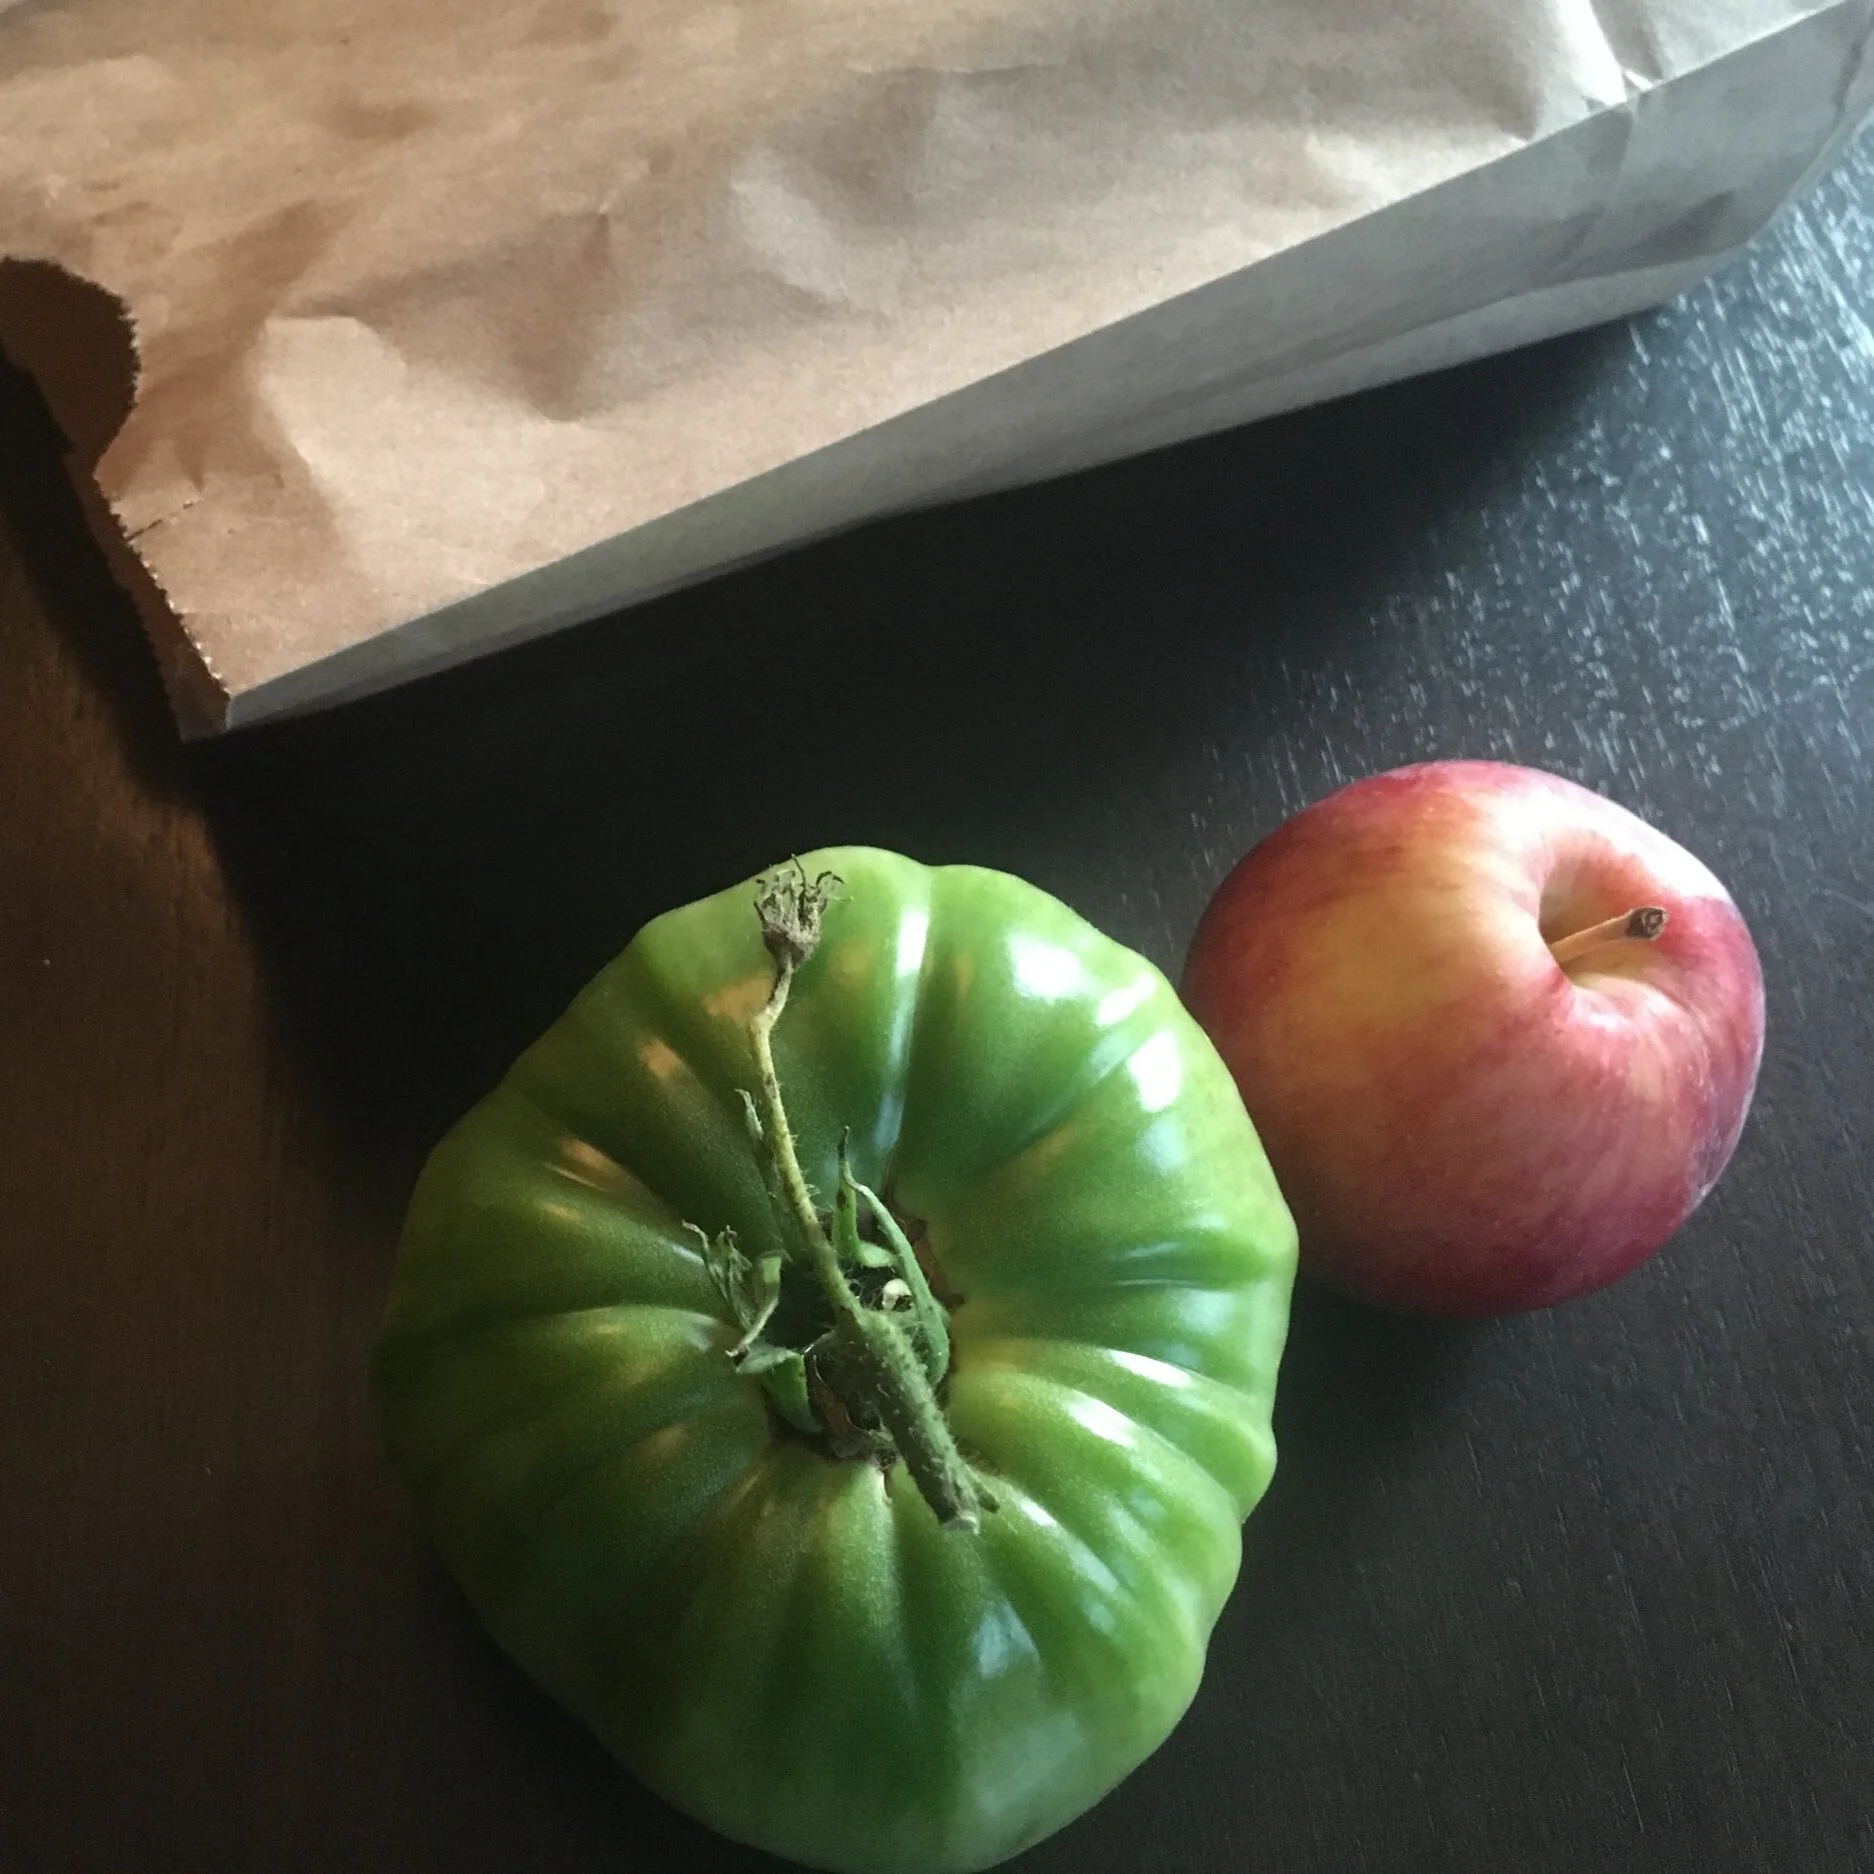
Speed up ripening by putting the tomatoes in an enclosed space. Adding a ripe apple or banana speeds it up more.
Place them in a closed drawer.
Place tomatoes in a closed paper bag (preferable to plastic, which doesn’t breathe at all).
Lay them out in a tray like I do—or on a shelf—and cover with a sheet of newspaper.
Wrap individual tomatoes in newspaper.
If you’ve left on pieces of stem, just be careful not to let the stem puncture any other tomato.
The Banana Trick
Bananas and ripe apples give off ethylene, so you can put a banana or apple in with tomatoes to provide more ethylene and speed up ripening. (I find I don’t need to do this, they ripen fast enough for me.)
Hanging Tomato Plants
If you’ve harvested entire stems or entire plants, simply hang the stems or plants in a cool, dark area and let the tomatoes slowly ripen.
I’m not a fan of this approach because as the tomatoes ripen, they detach from the stem and…splat!
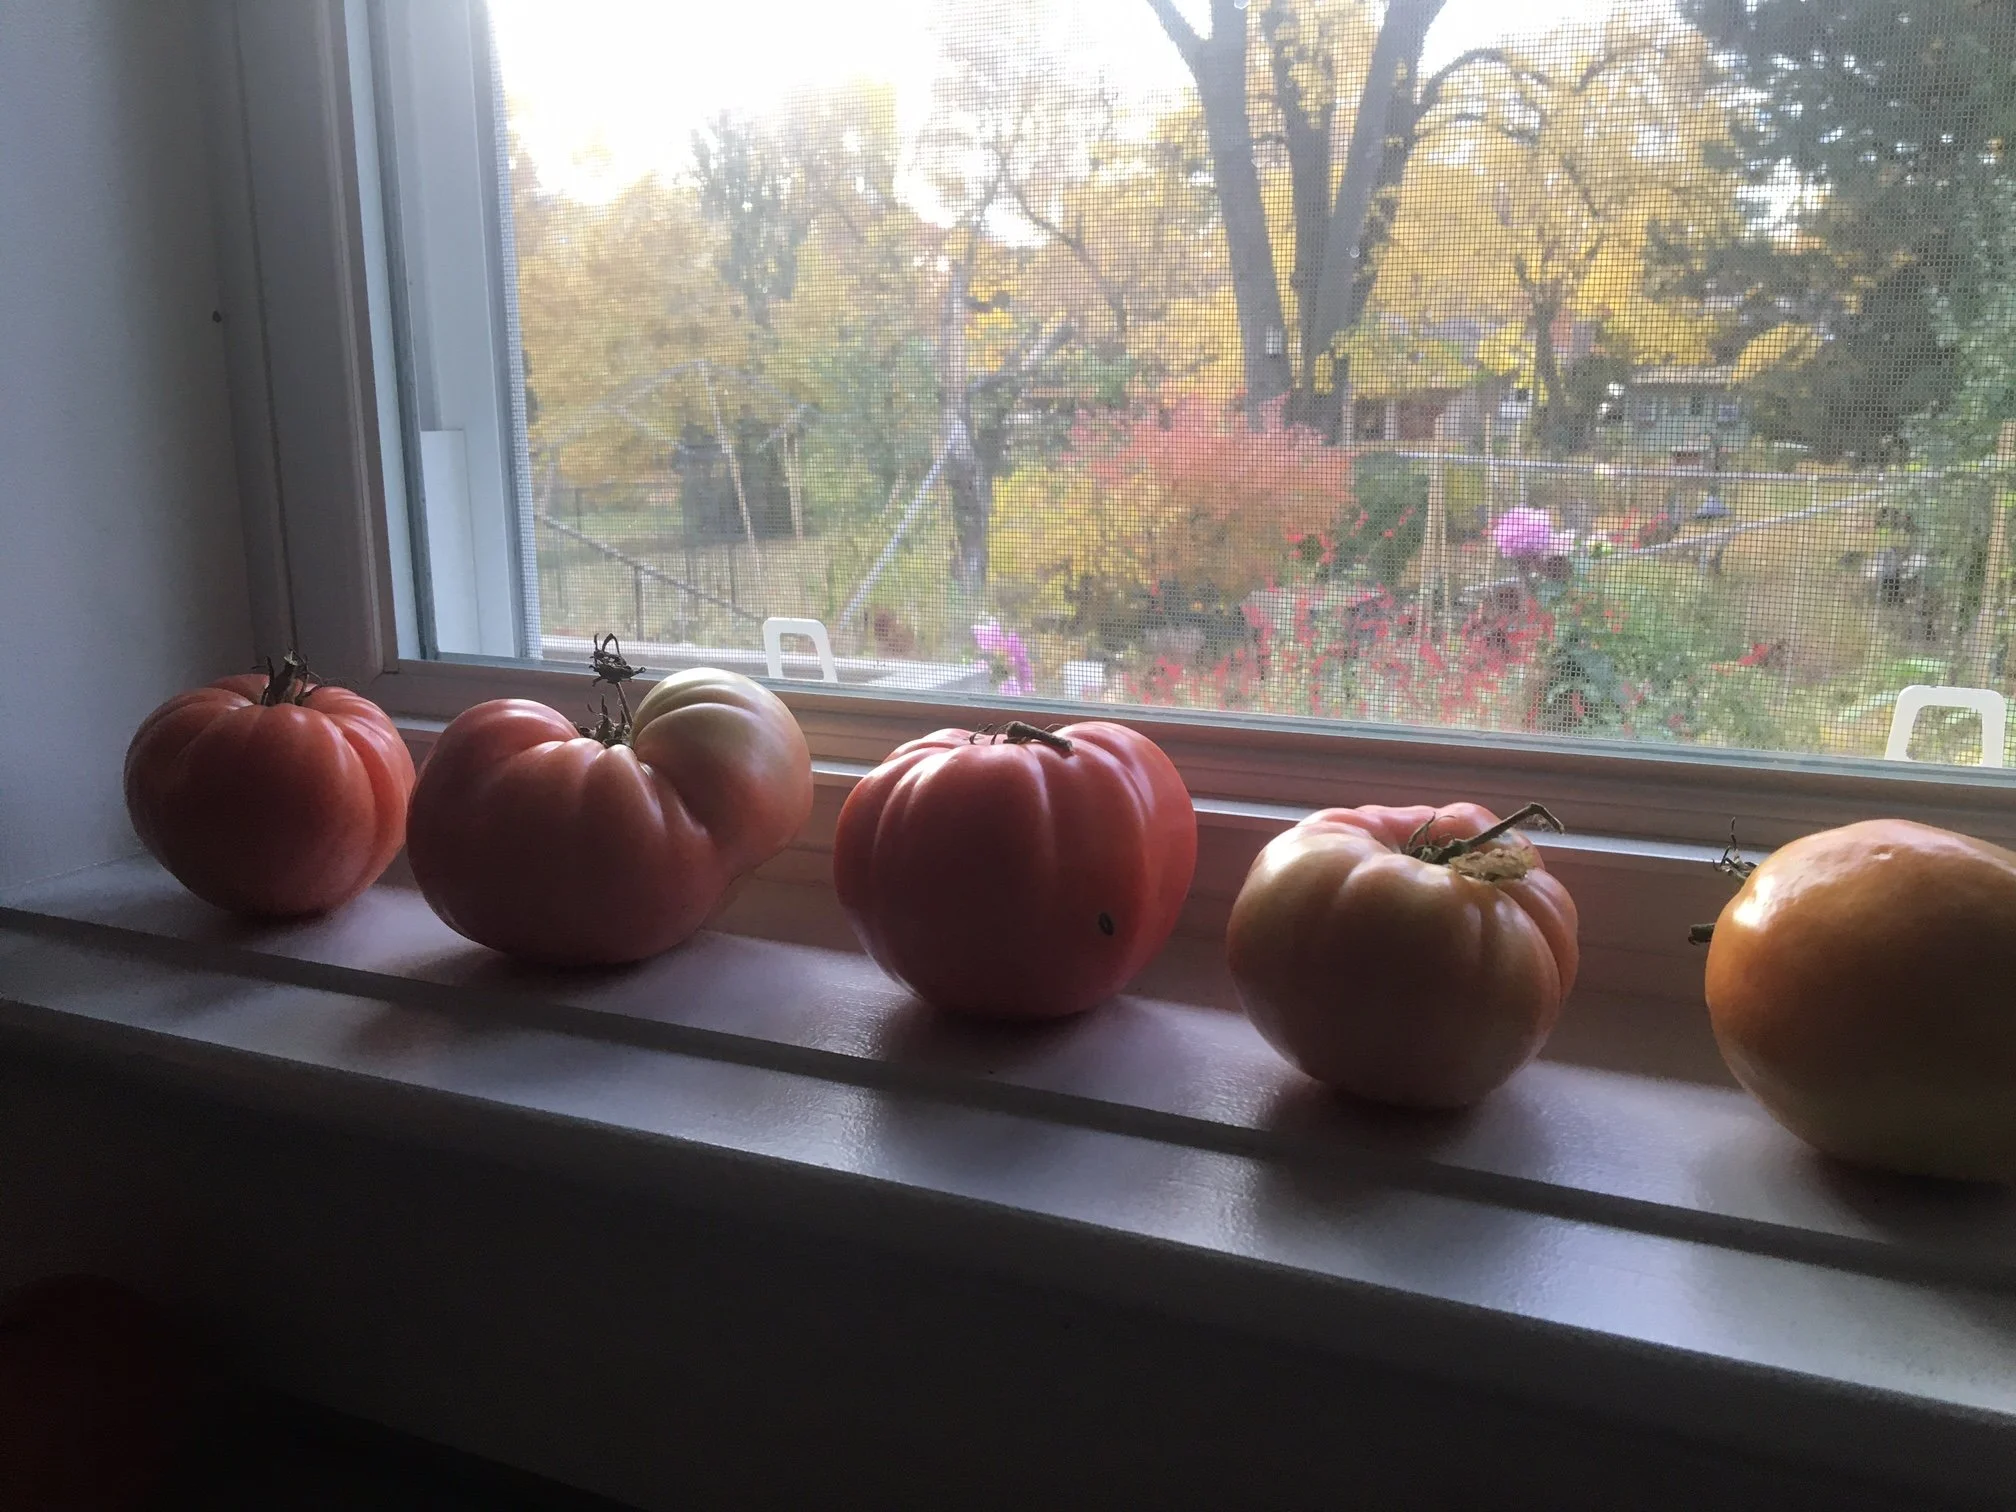
As tomatoes start to show colour, I bring them up to the kitchen to put on my windowsill.
Varieties Suited to Indoor Ripening

A thick-skinned tomato variety that lasts me until spring.
You can ripen all types of tomatoes indoors, but thick-skinned varieties are best for longer-term indoor ripening.
Thin-skinned beefsteak varieties are more prone to rot. It doesn’t mean you can’t ripen these ones indoors – it just means they’re less likely to last long into the winter.
Green Tomato Ripening FAQ
What else can I do with green tomatoes?
I love green tomato fried in the skillet in bacon fat, sprinkled with salt and garlic powder. Some years I make a green tomato mincemeat. You can also make lactic-acid fermented green-tomato pickles – same idea as sauerkraut and brined dill pickles, except using green tomatoes.
Should I wash green tomatoes after picking them?
I don’t. Some people wash them in a bleach solution to disinfect them. Sounds like a lot of bother to me…and I like to keep gardening simple. I wash them once they are ripe, just before I use them.
Can I ripen green tomatoes indoors in the summer too?
Yes! I’ve had large 2-3 pound tomatoes, and just as they ripen a squirrel came along and ate off a corner. It would have been better to pick these before they were fully ripe, and ripen them indoors.
Can you really get them to last until April?

Green tomatoes with cracks and blemishes often rot, so sort them out of your tomato harvest and cook them instead of trying to ripen them.
Yep! The trick is to grow a “keeper” tomato variety. I grow one that came to me from my Dad’s friend Dino. It’s small and thick-skinned...not the juiciest tomato, not the most flavourful tomato – but I can make bruschetta with my own fresh tomatoes in early spring. Not bad!
What about tomatoes that have cracks or blemishes on them?
Tomatoes with cracks and blemishes will not keep for a long time. If they are close to colouring up, you can try to ripen them – just watch closely so you’ll see if they begin to rot around the damaged area. Otherwise, use these tomatoes in one of your green-tomato recipes.
Find This Helpful?
Enjoy not being bombarded by annoying ads?
Appreciate the absence of junky affiliate links for products you don’t need?
It’s because we’re reader supported.
If we’ve helped in your food-gardening journey, we’re glad of support. You can high-five us below. Any amount welcome!
Want to Store More of Your Own Food?
Here are 25 storage crops you can grow in your garden.
More Tomato Articles
Tomato Interviews
Course: Tomato Overload Masterclass
Want to up your game growing tomatoes?
This self-paced course helps you choose great varieties, grow great seedlings, give plants the care they need, and enjoy an abundant harvest.
More on Growing Vegetables
Articles: Growing Vegetables
Courses: Grow Vegetables

Hi, We’re Steve and Emma!
We help people grow food on balconies, in backyards, and beyond—whether it’s edible landscaping, a vegetable garden, container gardens, or a home orchard.
Courses

Free Food- Garden Guide
Books
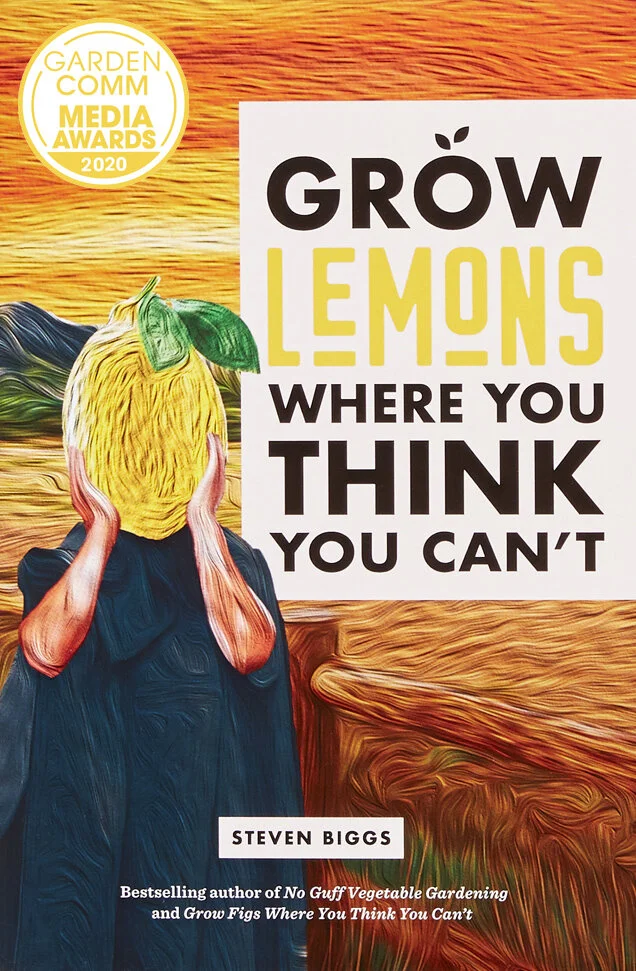
Covering everything from lemon varieties, to location and watering, to pruning and shaping, to overwintering, dealing with pests, and more—and including insights from fellow citrus enthusiasts—this book will give you the confidence you need to grow and harvest fresh lemons in cold climates.
Orders may be shipped from Toronto or printed and shipped directly by our printing partner. Available destinations and shipping charges appear at checkout. All prices are in Canadian dollars.
Prefer an ebook? Find the Kindle edition on Amazon.